How to Generate a Windows System Performance Report
Windows has built-in tools for error checking and optimization such as Performance Monitor. This is a built-in tool in Microsoft Windows operating system that allows users to monitor and analyze system performance.
Table of Contents
Windows has built-in tools for error checking and optimization, allowing you to troubleshoot and resolve computer problems effectively. One such troubleshooting utility in the Windows operating system is Performance Monitor. This is a built-in tool in the Microsoft Windows operating system that allows users to monitor and analyze system performance. Here is a guide to creating a system performance report in Windows.
Instructions for creating a Windows system performance report
Step 1:
You type performance monitor in search and then click on the tool to use.

Step 2:
In the tool interface, expand Data Collector Sets > System .

Next right-click on System Diagnostics and select Start .

Step 3:
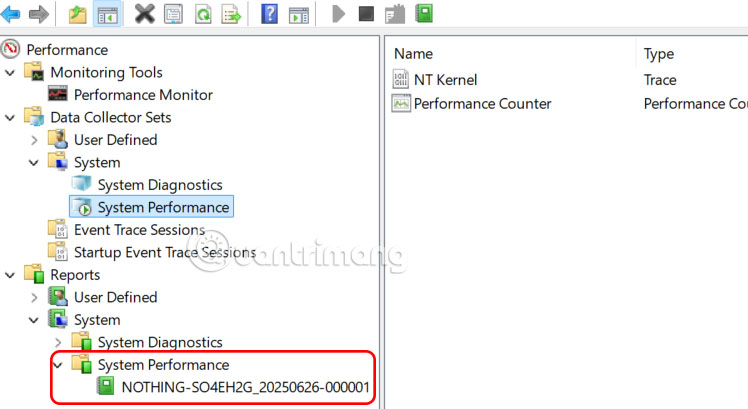
The tool will collect data for about 60 seconds. To view the generated report, on the left side, click Reports to expand the menu.
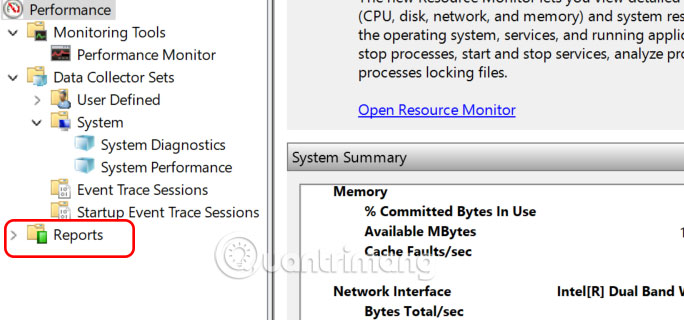
Next we expand System > System Performance and click on the final report to view the contents.
Step 4:
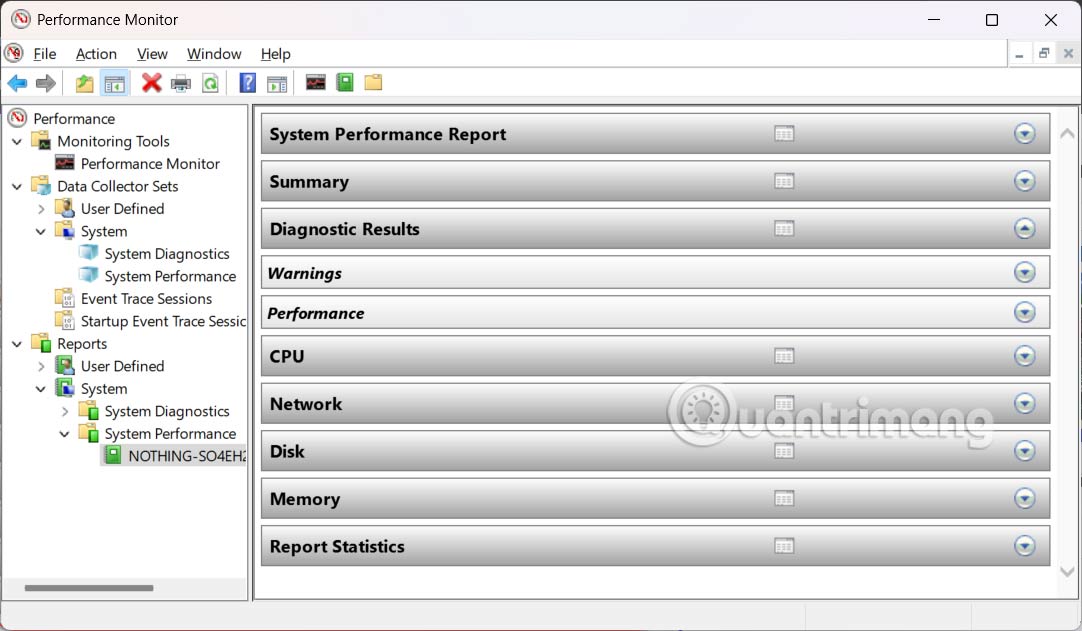
The generated system performance report provides detailed information about your Windows 11 PC including the following information:
- CPU Usage
- Memory usage
- Disk Activity
- Network activity
- Drivers and Services
- Process and application
Step 5:
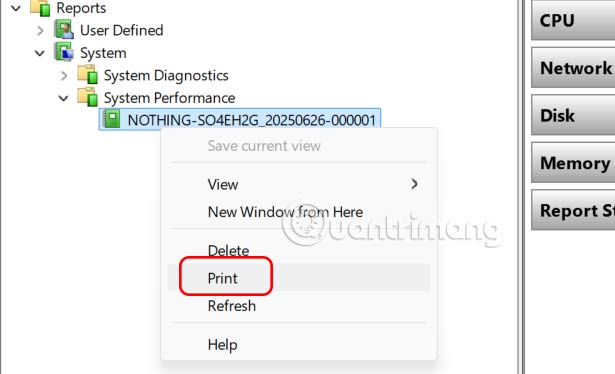
To share your performance report with others, you can export it as a PDF or print it for later analysis. Simply right-click on the generated report and select the Print option .
Was this article helpful?
Your feedback helps us improve.
Related Articles
 How to generate a system performance report in Windows 102 minutes read
 What is System Report in Windows? How to generate and analyze this report?5 minutes read
 Clean up and optimize Windows with System Ninja5 minutes read
 How to Check System Performance in Windows 83 minutes read
 How to enable performance optimization in Windows 106 minutes read
 How to enable Ultimate Performance to optimize performance on Windows 10/1110 minutes read
Reader Comments 0
Sign in with email or Google to join the discussion.