Bullets, Numbering in Word
Bullets and Numbering lists are used in documents to organize, list and emphasize text. In this article, Dexterity Software will learn how to use existing symbols (bullet), insert new bullets and numbers, select bullet icons and multi-level list format.
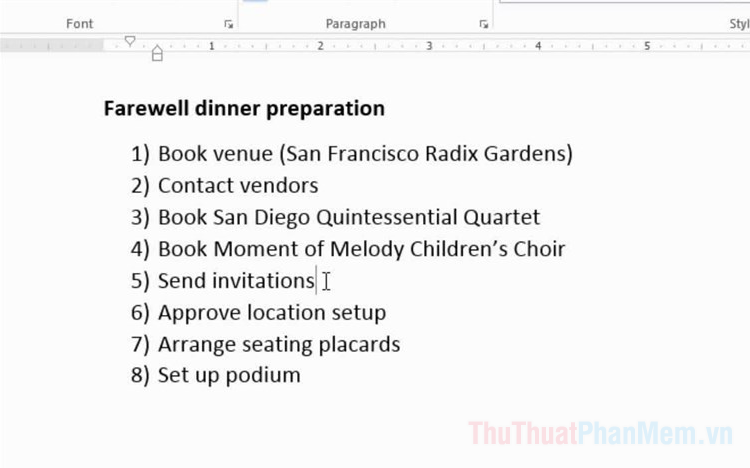
Create lists of Bullets notation
Step 1 : Highlight the text you want to format the list style.
Step 2: On the Home tab (1) , click the drop-down arrow next to the Bullets icon (2) .

Step 3 : Move the mouse pointer over the style Bullet different (1) . A draft of that Bullet type is displayed in the text (2) . Then choose the type of Bullet you want to use.

Result: The text is formatted as a bulleted list.

Create a numbering list of Numbering numbers
With the Numbering tool, you can create your lists in numerical order, roman numbers or alphabets.
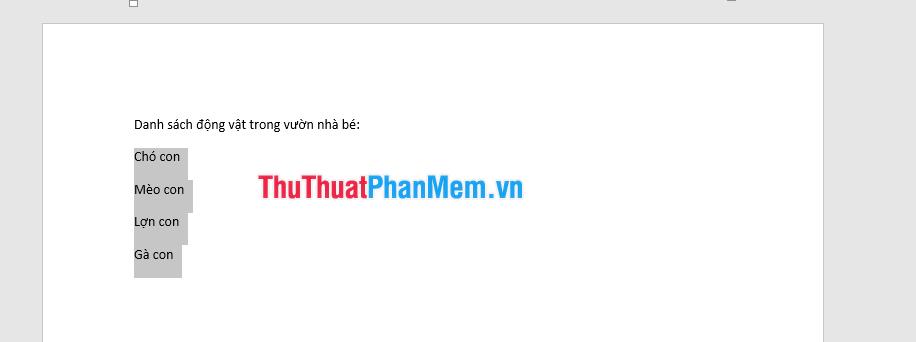
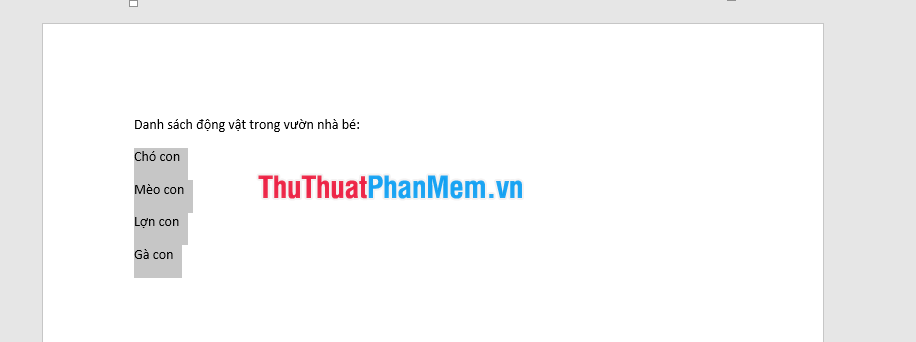
Step 1 : Highlight the text you want to format the list style.
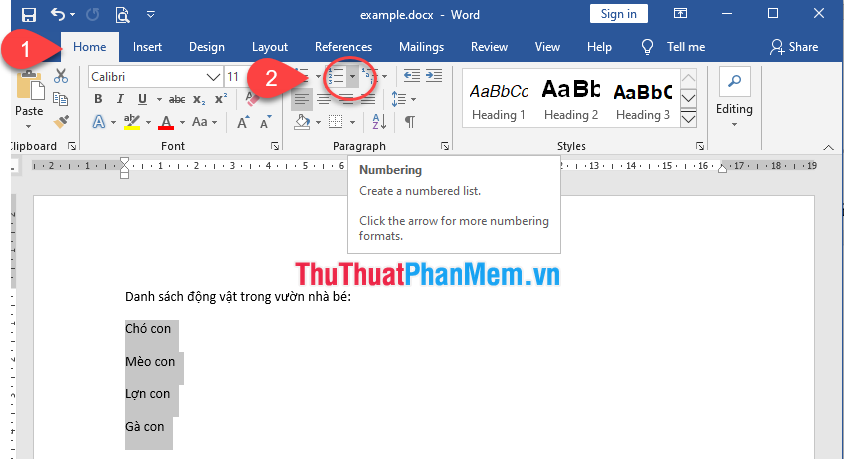
Step 2: On the Home tab (1) , click the drop-down arrow next to the Numbering icon (2) .
Step 3: Move the mouse cursor over the type Numbering different (1) . A draft of that Numbering style is displayed in the text (2) . Then choose the Numbering style you want to use.
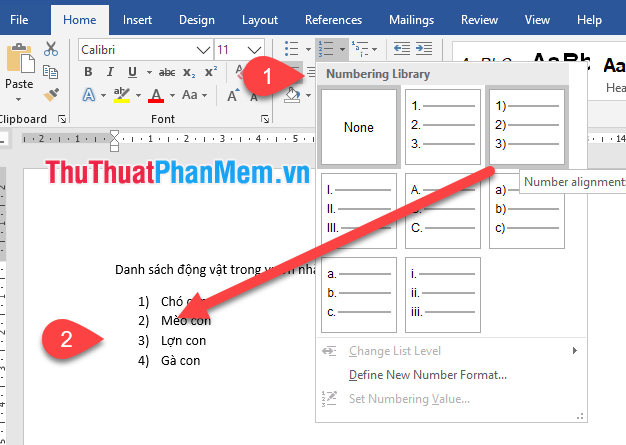
Result: The text will be formatted as an ordered list at the beginning of the paragraph.

Restart the numbered list
If you want to split the paragraph of the list and retype the number in a list, Word has the Restart at 1 option . Here, you can apply a list of numbers or letters.
First, point your mouse at the position where you want to renumber (for example, starting from section 3) Piglets), right click and select Restart at 1.
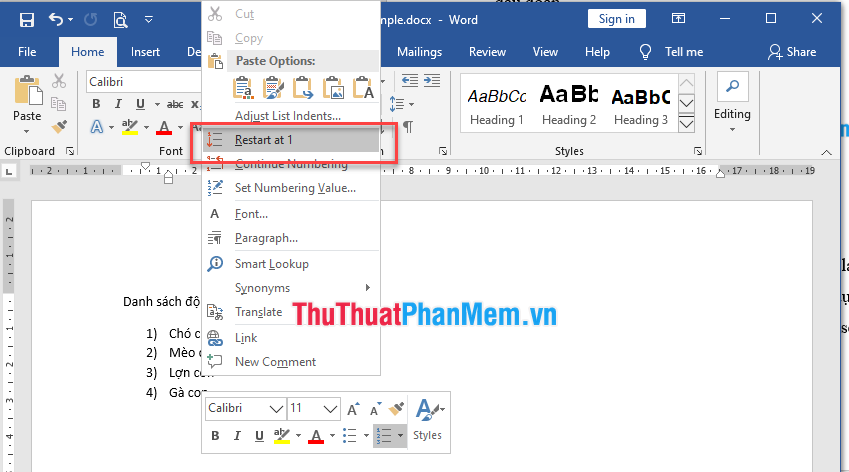
As a result, from the content of the Piglet onwards will be played back from the number 1.

Create MULTILEVEL LIST multi-level lists
Multi-level lists allow you to create lists with different levels.
Place the insertion point at the beginning of the line you want to move.
Step 1: Put the insertion point at the beginning of the line you want to move.
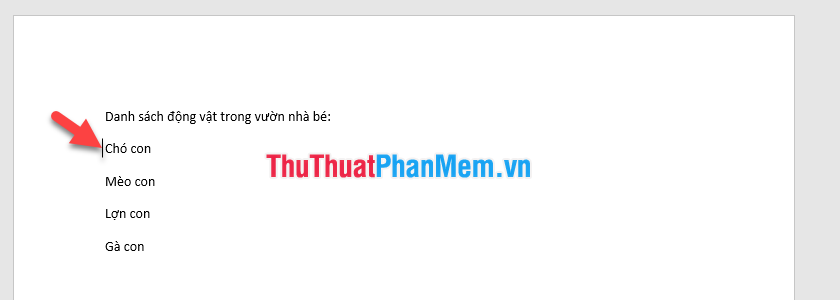
Step 2 : Press the Tab key to increase the indent of the line. The line will move to the right. If you want to be in the 3rd level you press Tab 2 times .

Step 3: Highlight the area to create multi-level lists.
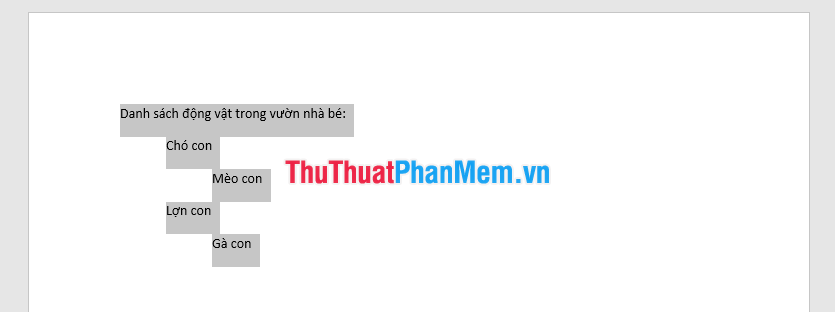
Step 4: On the Home tab (1) , click the drop-down arrow next to the Multilevel List icon (2) .
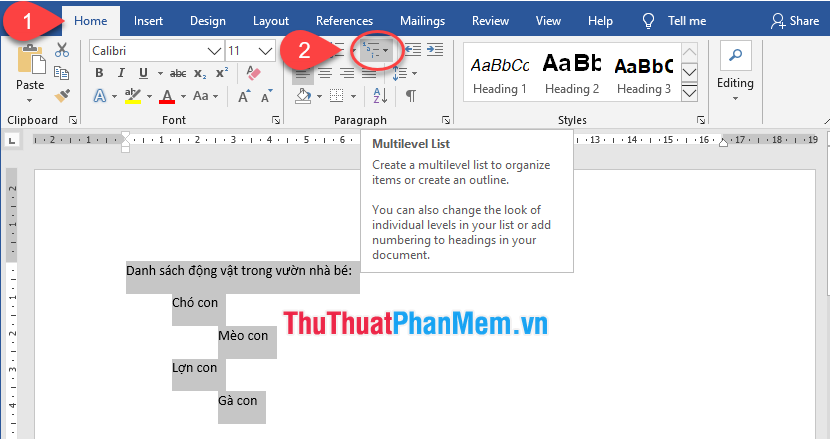
Step 5: Move the mouse pointer over the different types of Multilevel List . Select the type of Multilevel List you want to use.
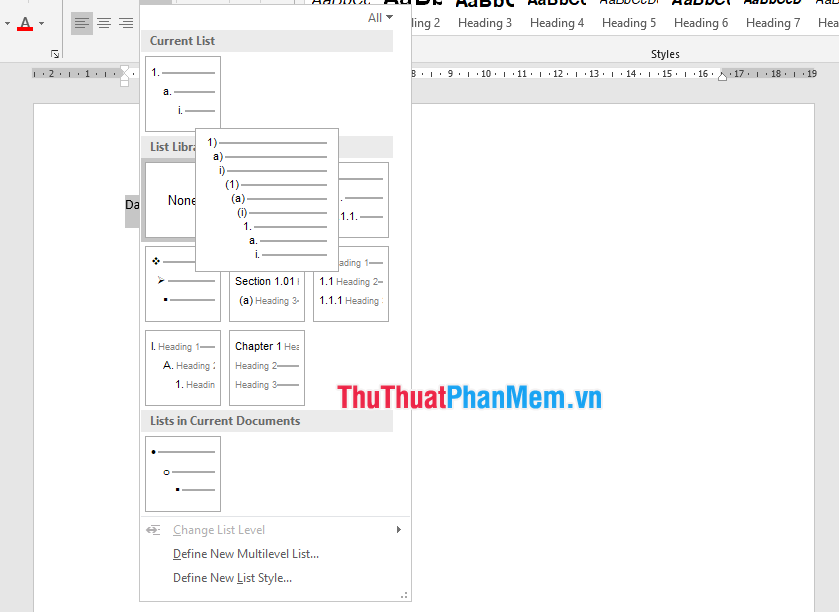
And this is the result:

Note
- To remove numbers or bullet marks from the list, select the list and click the Bulleted or Numbered list command .
- When editing the list, you can press Enter to start a new line and the new line will automatically have bullet or Numbering . At the end of the list, press Enter twice to return to normal format.
- Drag indent on the ruler, you can customize the indent of the list and the space between text with bullet or Numbering .
Above Software Tips guide you how to create a list of symbols (Bullets) and a list of type (Numbering). Very useful, right? Good luck.