Table of Contents
This guide provides a practical overview of Wrap Text in Word, including its main features, benefits, limitations, and important considerations.
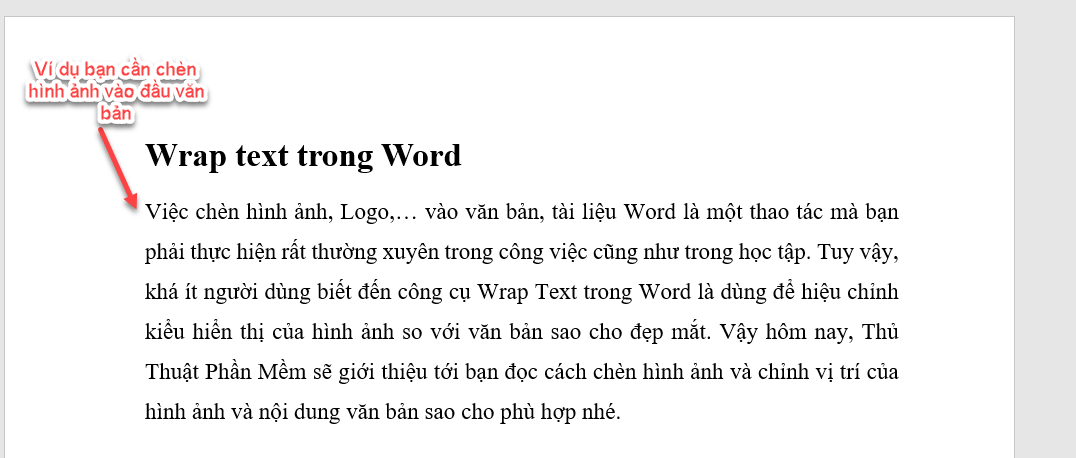
Insert images and in Word text
How to insert images is very simple, to insert an image, you need to specify the location to insert.
On the Insert tab (1) click on the Pictures icon (2) .

Insert Picture window appears, you link to the address to save the image to be inserted, select the image to insert and click the Insert button.

As a result, the image is inserted into the post:

Customize the appearance of pictures inserted in Word
You can customize the position of the image compared to the text to suit your wishes by right-clicking on the image and selecting Text Wrapping . Then choose the type of Warp text you need.

There are several types of Warp text :
- In the Line with Text : Images on the same line as the text. As the picture below:
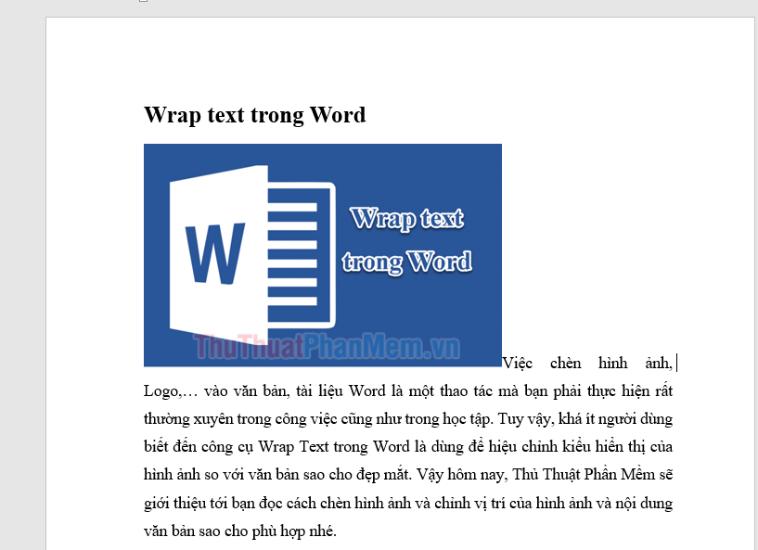
- Square : Text will surround the image.
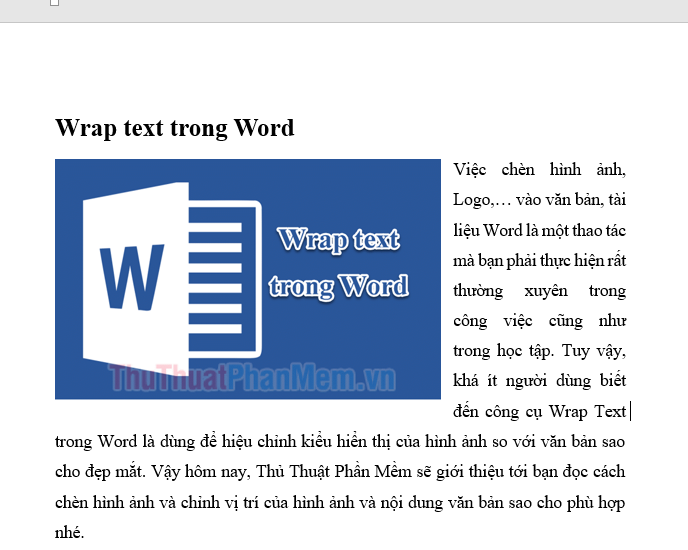
- Tight : The image is scaled down and more symmetrical with the text.
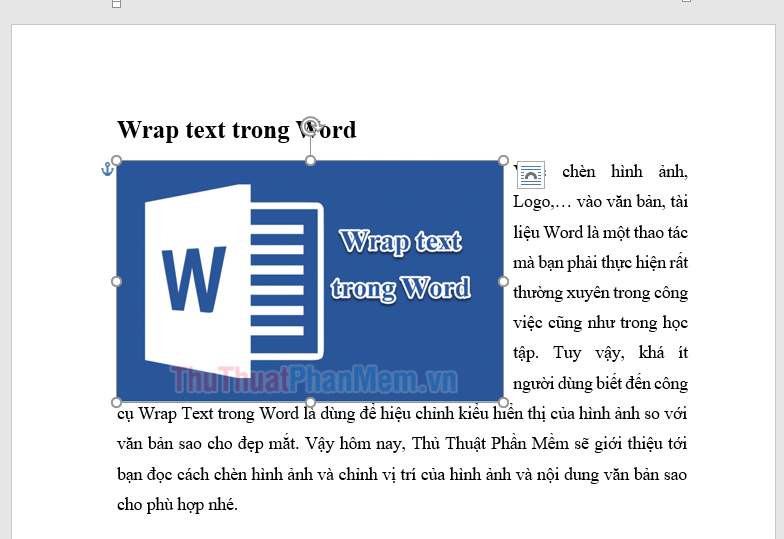
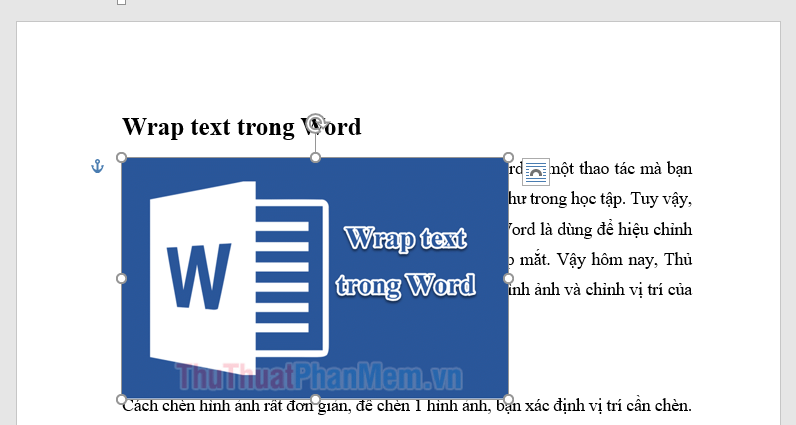
- In Front of Text : The image is in front of the text and the text is covered, we can easily move the image in this mode.
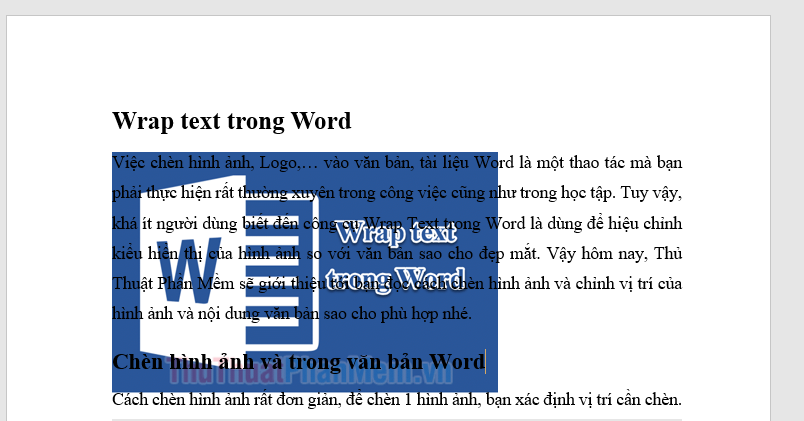
- Behind Text : The image is behind the text, once this mode is selected, it is difficult to move the image.
Above, Software Tips showed you how to adjust the display style of the image to fit the content presented. Good luck!
FAQ
What should I know about Wrap Text in Word?
Focus on the key features, requirements, limitations, and practical use cases explained in this guide.
How do I get the best results with Wrap Text in Word?
Follow the recommended steps, use current software or information, confirm compatibility, and review settings before major changes.
Are there any risks or limitations?
Potential limitations depend on compatibility, data quality, cost, privacy, support, and how the product or method is used.
Related Articles
 How to Wrap Text in Word6 minutes read
 How to Automatically Wrap Lines in Excel (Wrap Text in Excel)4 minutes read
 Text-overflow: Some Properties to Handle Text in CSS7 minutes read
 How to Edit Text in Word: Clear Instructions7 minutes read
 How to Wrap Text Around a Picture in Publisher5 minutes read
 How to Adjust Wrap Text in Google Sheets on PC, Android and4 minutes read
Reader Comments 0
Sign in with email or Google to join the discussion.