Set to automatically delete files in the Download folder on Windows 10
Instructions to install and set up automatic deletion of files in the Download folder on Windows 10 quickly and effectively. To improve your computer's performance.
By default on web browsers, when you download files from the Internet to your computer, those files will automatically be saved in the Download folder of drive C.
And if you forget to clean up the downloaded files in this folder for a long enough time, then surely the C drive space will be occupied quite a lot, and if your C drive space is too small. it will definitely affect the performance of the computer.
To overcome that situation, in today's article I will share with you a small tip to set up automatic deletion of files in the Download folder on Windows 10. The place is considered a transfer station between computers. and web browsers. Help your computer always have enough free space to run smoother and more stable.
Set the file self-destruct mode in the Download folder of Windows 10
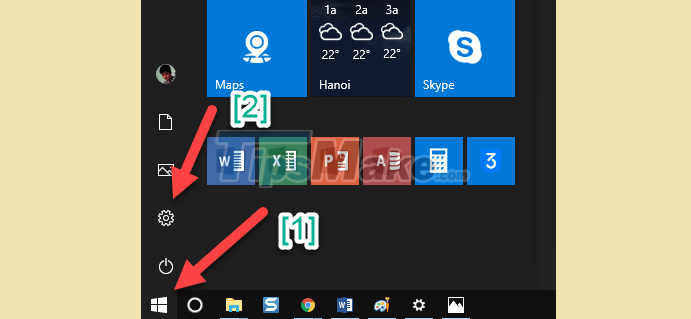
Step 1: First, click the Start button on Windows 10, and select the Settings icon as shown below.
Or you can quickly use the key combination Windows + I
Step 2: Then in the Settings => dialog box, click on System .

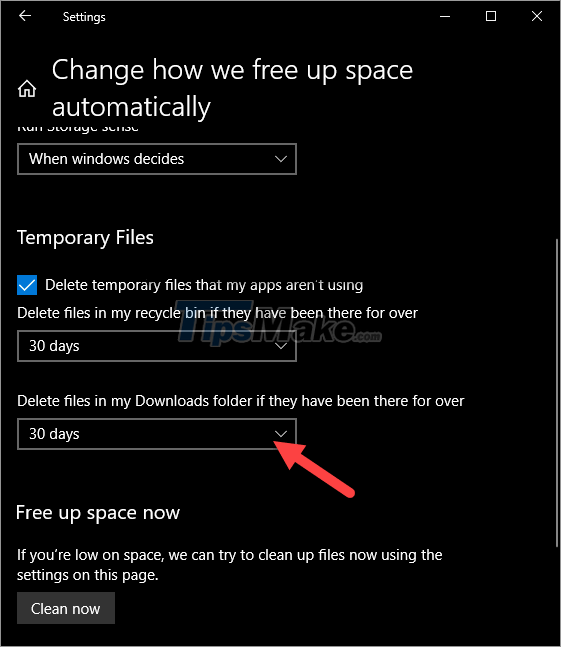
Step 3: Next, select Tab Storage => then click Change how we free up space automatically .

Here you find the section Delete files in the Download folder that have been… . Then choose the number of days that will automatically destroy the file. Minimum is 1 day and maximum is 60 days.
Here I will let 30 days to delete once.
Ok that's it. It is very simple to enable the feature to automatically delete files in the Download folder of Windows 10 operating system to free up storage space on your C drive.
Note: With important files, after downloading, you should back up to drive D or E, to avoid losing files because Windows automatically deletes them in the Download folder.

Tips : In addition to the way above, you can move the Download folder to another partition, which has nothing to do with C drive anymore. This also avoids filling up the C drive, and if you move this Download folder, you don't need to set up automatic file deletion anymore.
Well, at this point, the tutorial on how to set up automatic deletion of files in the Download folder of Win 10 is also finished. Hope the little tips in using Windows 10 today will be useful to you.
Good luck !