Instructions on how to display lines in Word are extremely simple
In this article we will show you how to display lines in Word, in the simplest and most effective way.
Table of Contents
How to display lines in Word
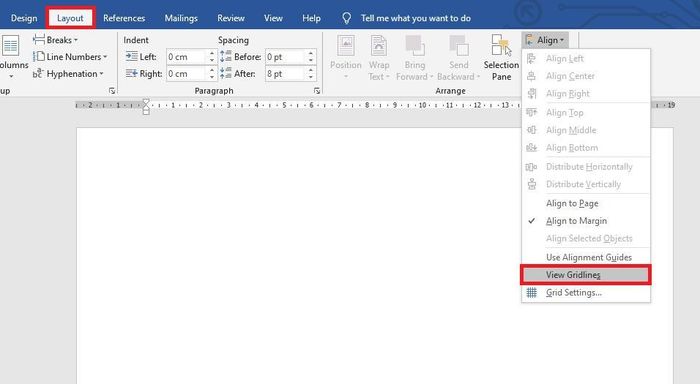
To display grid lines in Microsoft Word, first you need to open the Word file. Then you select the Layout tab on the Ribbon toolbar. Next, select Align in the Arrange section. The scroll bar appears, select View Gridlines .
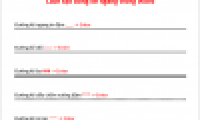
Or you can select the View tab on the Ribbon toolbar. Then check the Gridlines box in the Show section. Just like that, the text page will display grid lines. The grid lines are only visible when you edit. When you print these grid lines will not be printed according to the text.
Next you can customize the width of the grid lines by selecting the Layout tab on the Ribbon toolbar. Then select Align in the Arrange section. The scroll bar appears, select Grid Settings.
At this point, the Grid and Guides dialog box appears, you can change the distance between the lines in the Grid settings section , open the grid lines to the edge of the paper in the Grid origin section . You can click Set As Default to change the default setting for lines in Word. After setting up, select OK to save changes.
To turn off the grid line display feature, select Layout => Align => uncheck the View Gridlines section . Or View => uncheck the Gridlines section .
Thus, the above article has guided you to display lines in Word. Hopefully the above article will be useful to you in the process of editing documents on Word. Good luck!
Was this article helpful?
Your feedback helps us improve.
Related Articles
 2 ways to create horizontal lines extremely fast in WORD3 minutes read
 Excel with hidden lines - How to hide lines and display hidden lines in Excel3 minutes read
 How to delete table lines in Word3 minutes read
 Instructions for drawing straight lines in Word4 minutes read
 Instructions for calculating total lines and columns in Word 20133 minutes read
 How to create horizontal lines in Word5 minutes read
Reader Comments 0
Sign in with email or Google to join the discussion.