Instructions for using email manager Nylas N1
Currently, almost everyone owns several different email addresses and as such, when checking email, they will have to open different email services and then log in each account will take a lot of time. Therefore, the right solution here is to use the email manager on your computer, you only need to log in your email accounts, then every time you need to use, you only have to open the application to be accomplished.
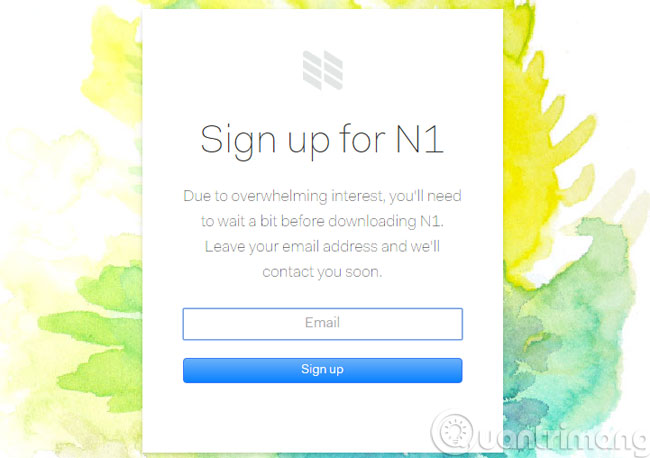
There are many different email managers but today, TipsMake.com will introduce you to a new browser called N1's N1. Since N1 is in the development phase, in order to download and use, you need to register. To register to wait in line, please visit this address and enter your email.

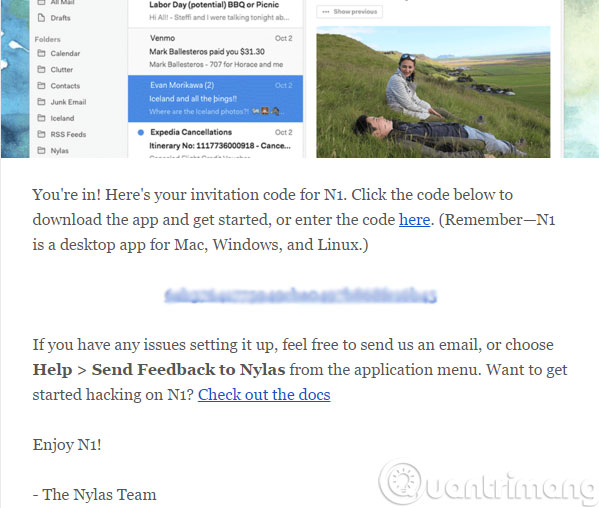
Once approved, you will receive an email with the link to download the installation of N1 with the registration code.

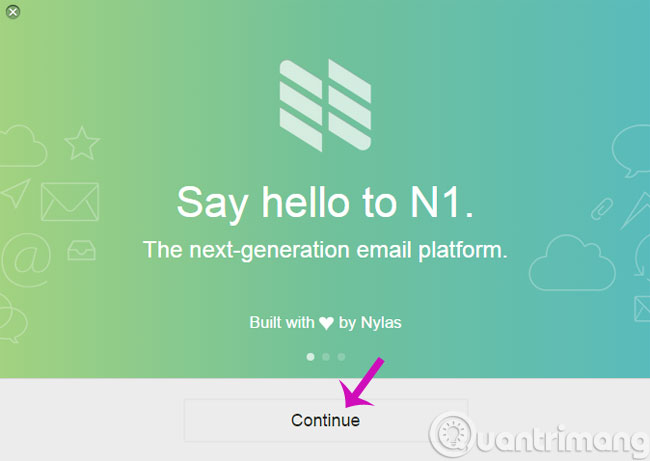
After downloading, launch the installation file of N1 and browse through the software brief information.

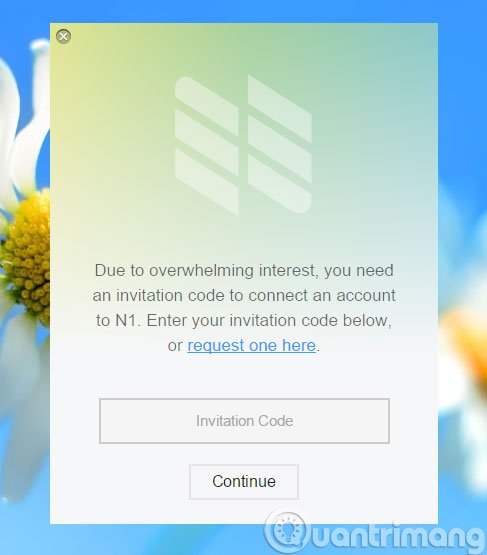
Go to the registration code interface, enter the code you received in the confirmation email from Nylas.

Next, choose the email service that you have an account on. Here you will be provided by N1 to support a number of popular email services such as Gmail , Microsoft Exchange , iCloud , Outlook and Yahoo . If your email account is not on this list, select IMAP / SMTP Setup to set it manually.

Here, we will take an example with Gmail to link to the account. The browser window will open, asking you to login and approve for Nylas Mail N1 to be allowed to link and exploit information from your Gmail account.

Once you have completed the process of connecting to the email service account, you will be moved to the interface options working in N1. Here you will have 2 interface options as you like.

Next are the options to install some supported Plugin, if you are interested, click Install to install. Otherwise, press Start Using N1 to directly access the N1 interface.

Now the interface of N1 is displayed before your eyes. Looks pretty simple, bright and easy to manage, right?

To change the look of N1, click on the 3 dash icon on the upper right corner of the N1 interface and select Preferences .

The Preferences dialog box appears, click on the Appearance tab and click on the display interface you want. There is an option to activate the dark background interface for N1.

In addition to the interface option, Preferences also provides a number of other manipulation options such as adding accounts ( Accounts ), quick shortcut shortcuts ( Shortcuts ), notifications ( Notifications ).
When you need to compose an email, click the email compose icon above the account name. The email compose dialog box will appear. It can be seen that the email editor interface of N1 is quite simple and extremely minimalist.

- Instructions for configuring and setting up email with Thunderbird
- Install and configure Windows Live Mail on Windows 10
- Create group of email addresses in MS Outlook 2010
Good luck!