Installing Windows 10 Technical Preview on a virtual machine is available in Windows

In fact, this approach is quite simple and you will not need to install any other virtualization tools because Windows has done everything for you. If interested, here is how. This tutorial will show you how to install Windows 10 Technical Preview on the virtual VHD partition to create a bootable version of the current Windows version.
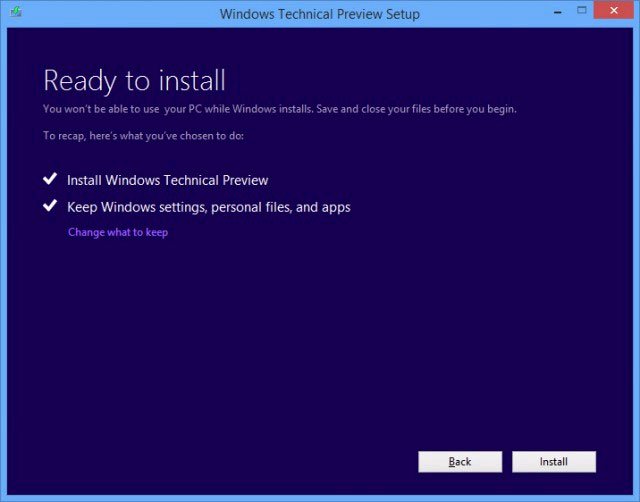
In fact, this approach is quite simple and you will not need to install any other virtualization tools because Windows has done everything for you. If interested, here is how. This tutorial will show you how to install Windows 10 Technical Preview on the virtual VHD partition to create a bootable version of the current Windows version.

Installing Windows 10 Technical Preview on a virtual machine is available in Windows Picture 1Installing Windows 10 Technical Preview on a virtual machine is available in Windows Picture 1

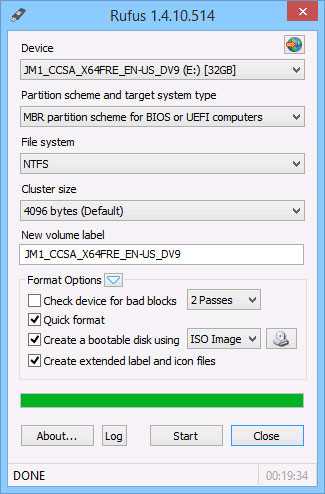
Download the Windows 10 Technical Preview ISO file here , then use Windows 7 USB / DVD Download Tool or Rufus to create USB Windows 10 Technical Preview installation .
Installing Windows 10 Technical Preview on a virtual machine is available in Windows Picture 2Installing Windows 10 Technical Preview on a virtual machine is available in Windows Picture 2

Then start the Disk Management GUI feature by entering the command ' diskmgmt.msc ' into the Run dialog and pressing ENTER .

Installing Windows 10 Technical Preview on a virtual machine is available in Windows Picture 3Installing Windows 10 Technical Preview on a virtual machine is available in Windows Picture 3

Go to Action > Create VHD .

Installing Windows 10 Technical Preview on a virtual machine is available in Windows Picture 4Installing Windows 10 Technical Preview on a virtual machine is available in Windows Picture 4

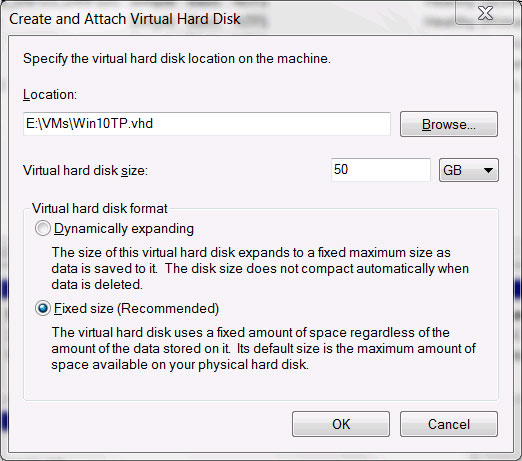
Proceed to adjust storage path and capacity for VHD file. Finally click OK to save.
Installing Windows 10 Technical Preview on a virtual machine is available in Windows Picture 5Installing Windows 10 Technical Preview on a virtual machine is available in Windows Picture 5

Now restart the computer and connect the USB 10 Technical Preview to the Windows 10 installation, then select Custom : Install Windows Only.

Installing Windows 10 Technical Preview on a virtual machine is available in Windows Picture 6Installing Windows 10 Technical Preview on a virtual machine is available in Windows Picture 6

On the next screen, press the Shift + F10 shortcut key to call Command Prompt and enter the following two Diskpart statements, in which [ path-VHD ] is the path of the VHD file you has set up above.

Diskpart:> select vdisk file = [path-VHD]
Diskpart:> attach vdisk

Installing Windows 10 Technical Preview on a virtual machine is available in Windows Picture 7Installing Windows 10 Technical Preview on a virtual machine is available in Windows Picture 7

After the above 2 commands are executed, you will see the virtual VHD drive appear in the list of installed partitions. Please select it and proceed with the installation.

Installing Windows 10 Technical Preview on a virtual machine is available in Windows Picture 8Installing Windows 10 Technical Preview on a virtual machine is available in Windows Picture 8

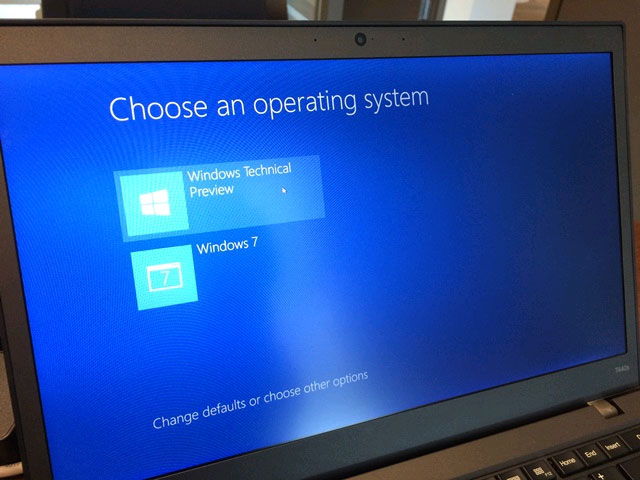
After the installation process has finished, when you restart Windows, you will see the boot menu of the two operating systems in use and just installed.
Installing Windows 10 Technical Preview on a virtual machine is available in Windows Picture 9Installing Windows 10 Technical Preview on a virtual machine is available in Windows Picture 9


You can also consult how to install Windows 10 on a virtual machine  VMware Workstation or VMware Player here !

Pretty simple, isn't it?

4.7 ★ | 3 Vote