How to install Windows 11 Preview on VirtualBox virtual machine
Note:
- This is not a trial version released by Microsoft itself, so you should not install it on a real machine, but only test it on a virtual machine.
- Please back up your data using Recovery to avoid the blue screen error that causes many DLL files to be lost.
- Many machines cannot run, so you should consider before using.
1. How to install Windows 11 on a virtual machine
Step 1: You need to prepare all the necessary files below.
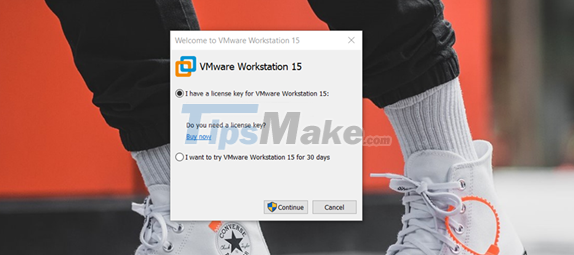
Step 2: you install the VMware Workstation application and choose a free 30-day trial (if you have a Key, you can use it).
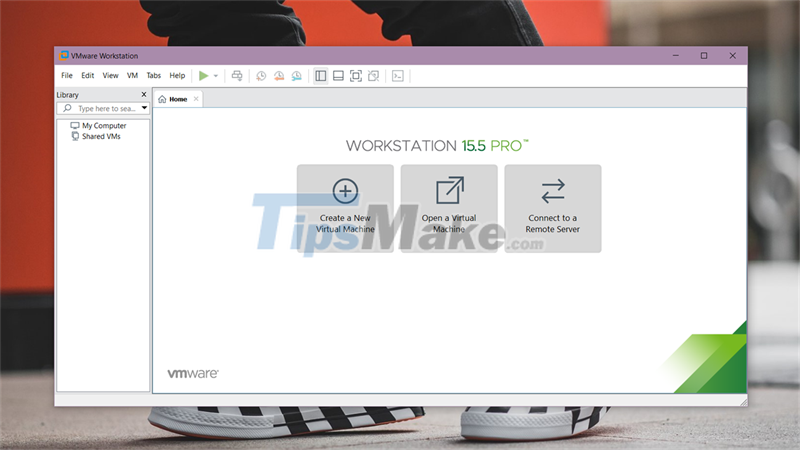
Step 3: Click Create a New Virtual Machine to create a new virtual machine.
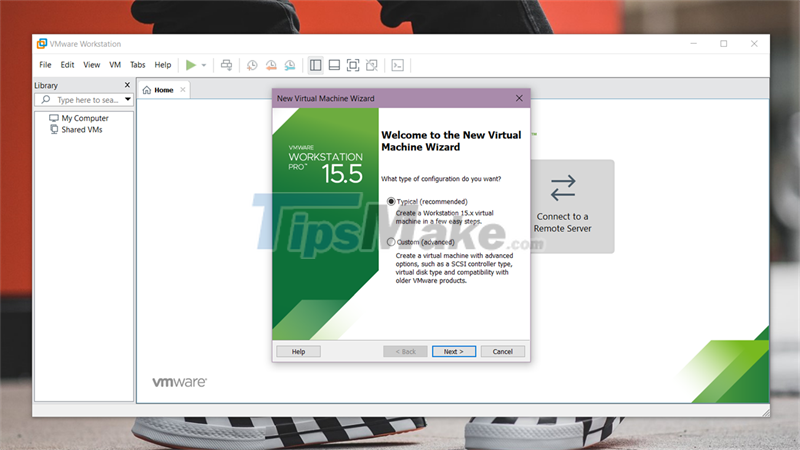
Step 4: you choose to continue to Typical to set up automatically that the machine recommends.
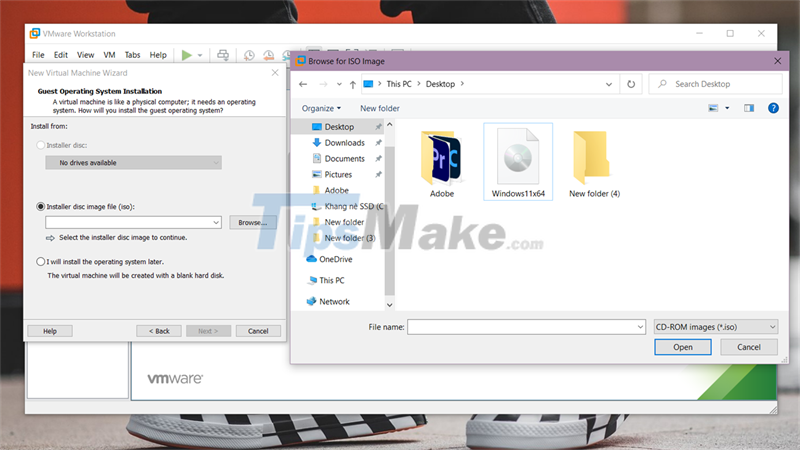
Step 5: A window appears, select Browse. and find the Windows 11 ISO file you just downloaded.
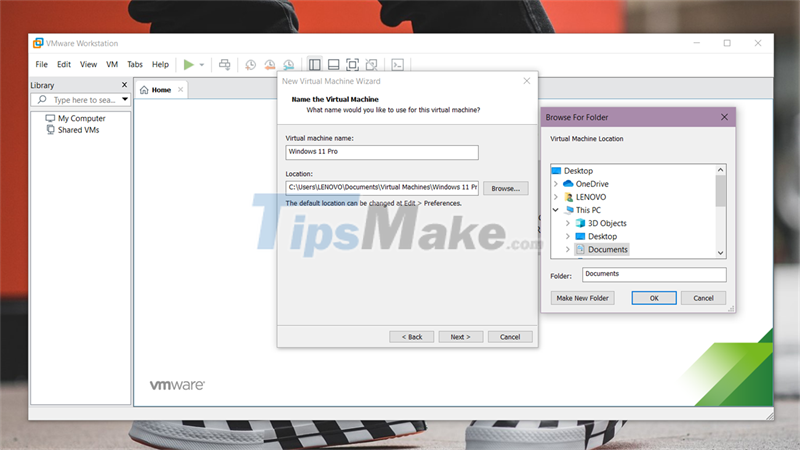
Step 6: you should name it Windows 11 Preview and create a new folder to save this virtual machine for easier management.
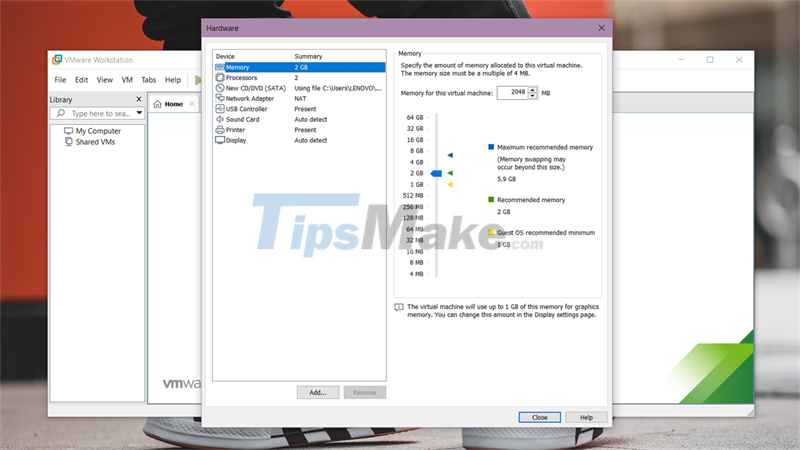
Step 7: In the next step, you need to set up the hardware for the optimal virtual machine to be 4GB of RAM and 2 cores and 2 threads.
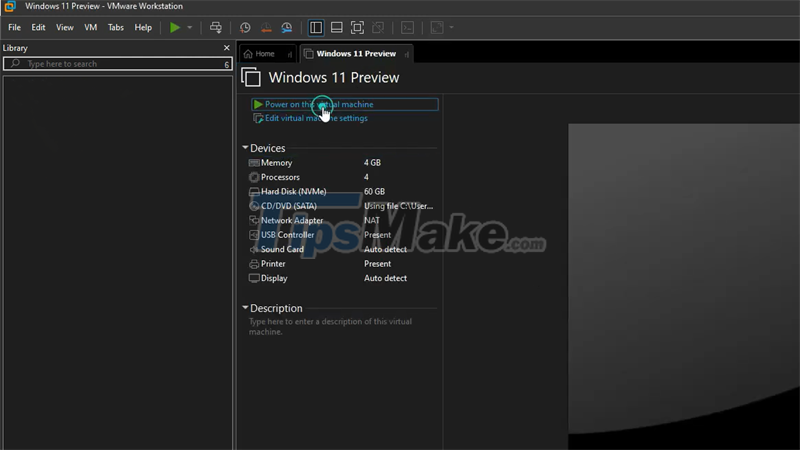
Step 8: Select as shown in the image to launch the installed version of Windows 11.
Step 9: In this step, the interface of the Windows window has changed a bit, but the installation method is similar.

Step 10: you choose I dont have product key.
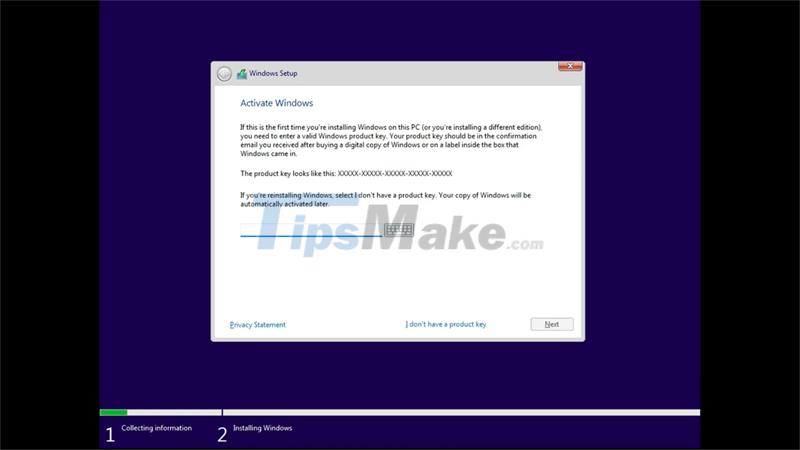
Step 11: you select the version of Windows 11 Pro and set up the settings as on Windows 10 .
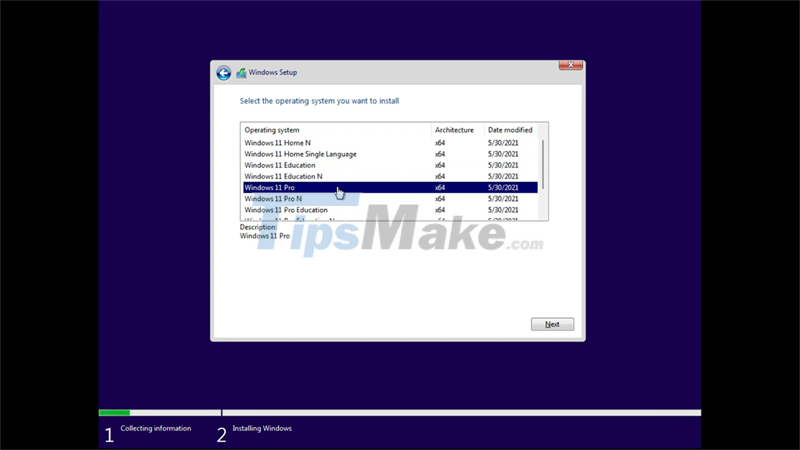
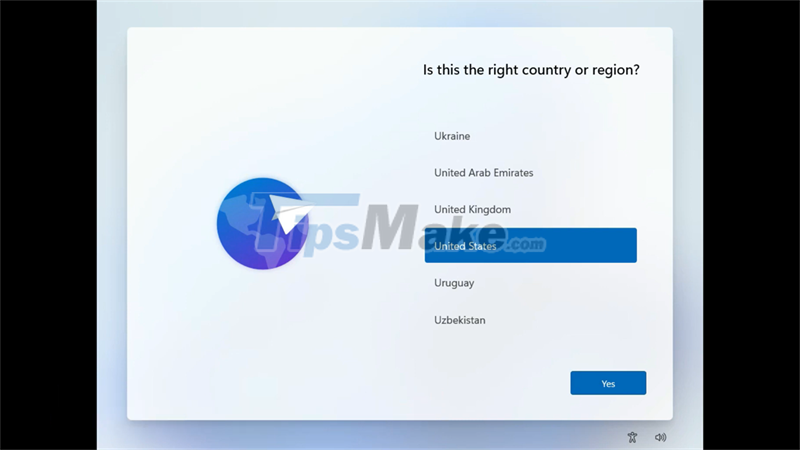
Step 12: Wait for a while when the machine is installed, the regional installation screen will appear like on Windows 10 , this step is quite easy, you just need to keep it and select next . Since this step the interface has been much nicer. The corners of the window have been curved and much more beautiful.
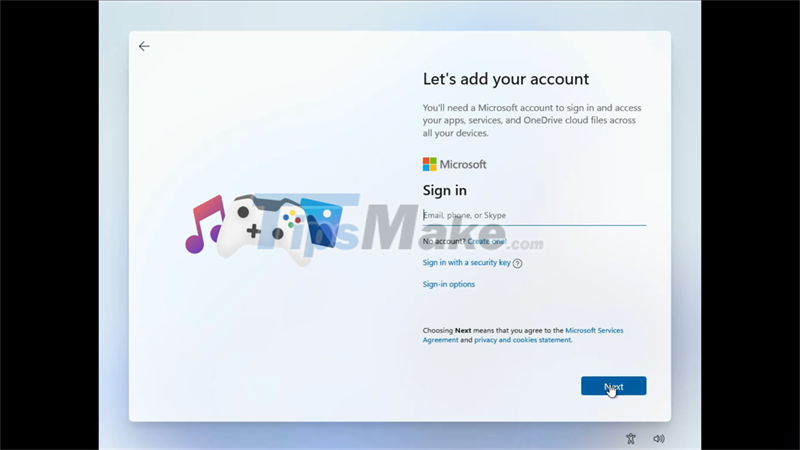
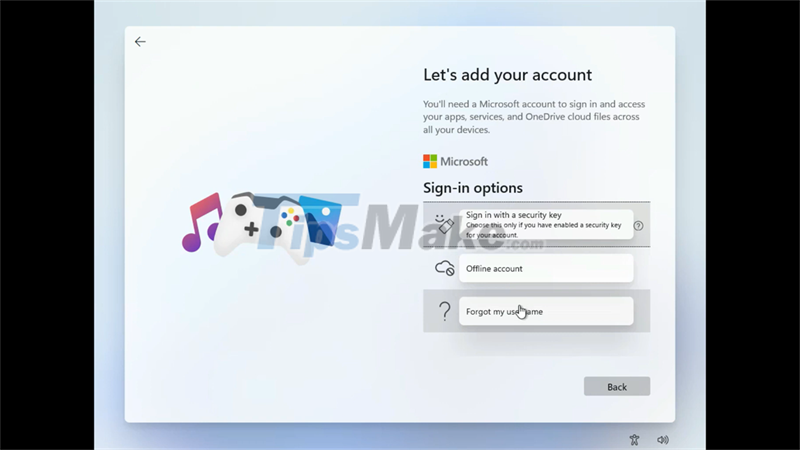
Step 13: At this point, you should not log into your account on the computer . If so, please log in to your Clone (virtual) account or set it to Offline . you choose Sign-in Option .
Step 14: Then, you choose to go to Offline Account to use the device.
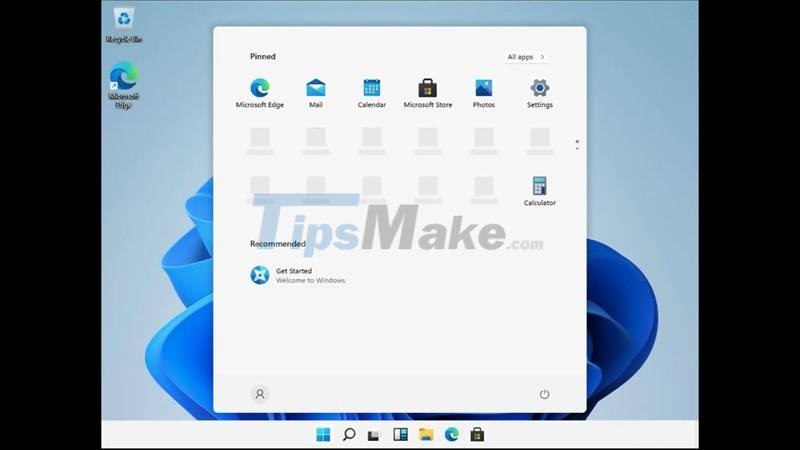
Step 15: The rest of the steps you just need to Next . Finally, this is the result when I have successfully installed Windows 11 on a virtual machine .
2. Instructions on how to recover data if there is an error
You can use the file you just backed up to restore your Windows 10. There are many machines that automatically Backup the latest stable working version.
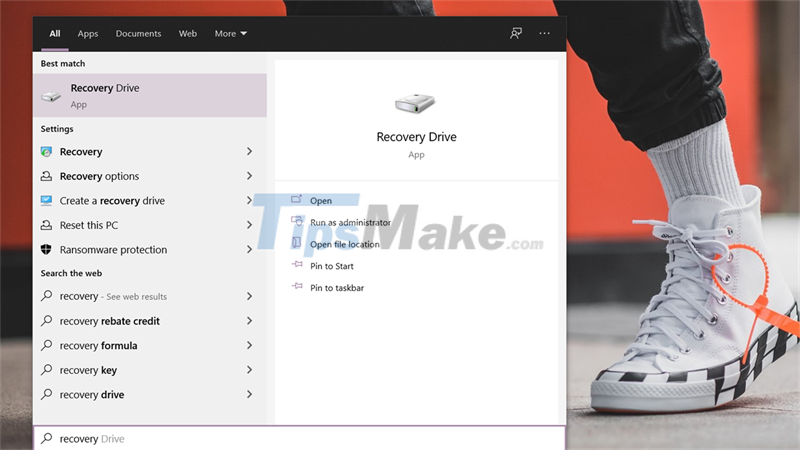
Step 1: Open the search bar and find the words Recovery or System Restore in the Windows 11 restore application .
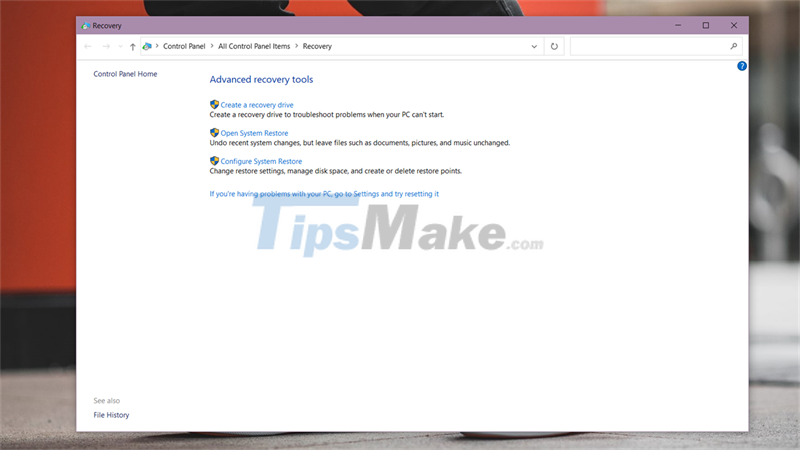
Step 2: Select Open System Restore and the application will show you a copy that the system used most recently to back up.
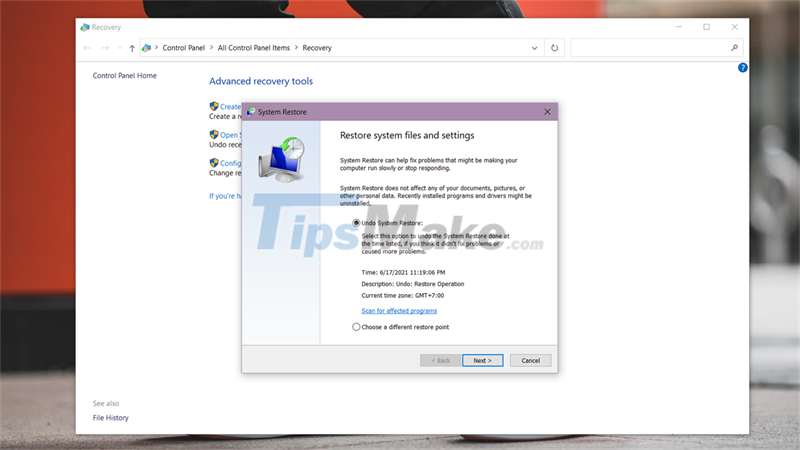
Step 3: you select Next , then wait for a while when the machine does not recover.
How do you like this version of Windows 11? Thank you very much for viewing the article.