How to use Jump Point to manage files on Windows 10
Jump Point application on Windows 10 helps users manage all files on the system in the most scientific way for us to easily track..
Jump Point application on Windows 10 helps users manage all files on the system in the most scientific way for us to easily track. The file types will be managed separately according to the file format. In terms of interface, Jump Point is not too different from Windows Explorer, making it easier for users to use. In addition, the Jump Point application also has the feature of grouping files or folders with the same purpose of work into different spaces, similar to Opera's Workspace feature. The following article will guide you how to use the Jump Point application on Windows 10.
Guide to file management on Jump Point
Step 1:
Users download the Jump Point application for Windows 10 by following the link below.
Download the Jump 10 Windows 10 app
https://www.microsoft.com/en-us/p/jump-point/9pl7b4pz0hs0
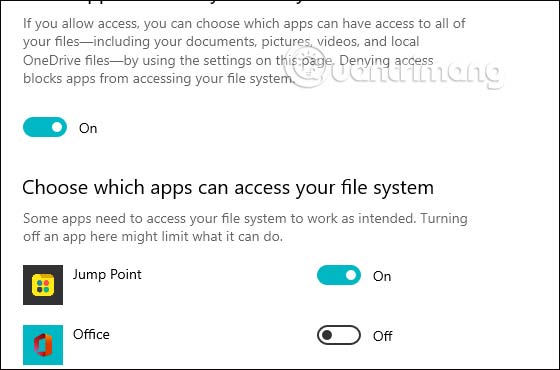
To manage the files, you need to allow Jump Point to access the file system . Go to Windows Settings> Privacy> File system and enable Jump Point.
Step 2:
The first is the Dashboard interface with shortcuts for quick access to items in the system. The items displayed on the Dashboard can be changed by clicking the gear icon

Step 3:
In addition, in this interface, the left will be the menu bar for us to access the drive on the computer, OneDrive, Favories or Workspace. At the top are options Home, View, Tools with different tools.
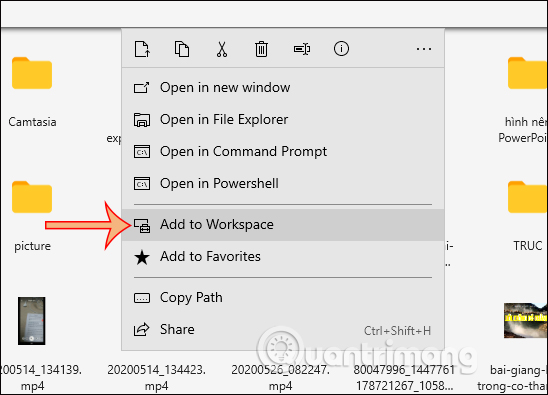
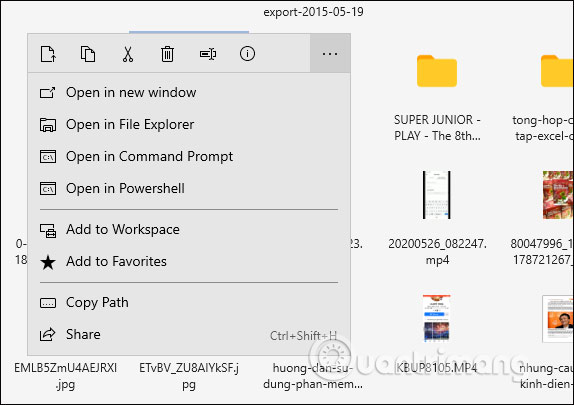
When you click on a folder or file you will see a toolbar display with different option icons, click on the 3-dot icon to expand the selection menu.
Step 4:
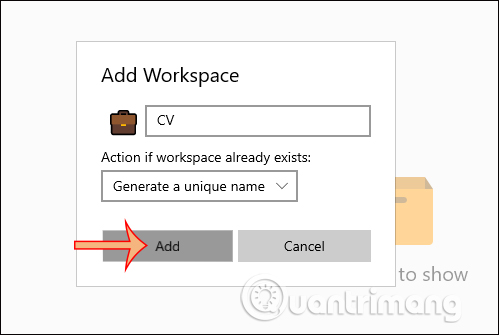
To add more workspaces for different purposes, click Workspaces in the Home bar, then click Next and New Workspace .
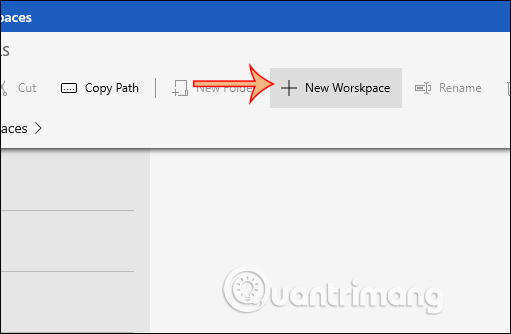
Then you enter a name for this Workspace , keep the Generate a unique name and click Add to add.
Step 5:
Once you have created the workspace, in the interface of the folder we right-click> select Add to Workspace, then select the workspace you want to move to and click Save to save.