Instructions for creating backup and restore points (Restore Point) on Windows 10
Restore Point, which was first introduced in Windows ME version, is one of the best and unique features of Windows operating system, which helps users quickly restore system files to their current state. Previous status without changing saved data.
Table of Contents
Restore Point, which was first introduced in Windows ME version, is one of the best and unique features of Windows operating system, which helps users quickly restore system files to their current state. Previous status without changing saved data.
In the following article, Network Administrator will guide you how to create backup and restore points (Restore Point) on Windows 10.
1. How to check if the System Restore Point has been activated or not?
To check if the System Restore Point has been activated or not, follow the steps below:
1. Open Start Menu then enter the keyword Create a restore point into the Search frame and press Enter.
2. At this time, the System Properties window appears. Click the System Protection tab.
Under Protections Settings , check if the option settings are in ON or OFF status.
If System Protection is OFF, select the system drive on the computer and then click Configure .

3. Select the Turn on system protection option .
4. Click Apply .
5. Click OK.

2. Create backup and restore point shortcut (System Restore Point Shortcut)
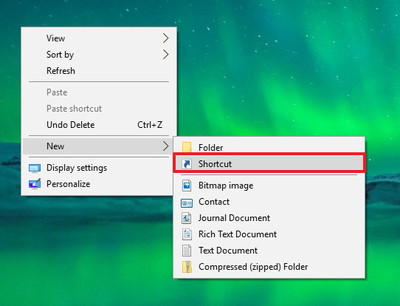
1. Right-click the desktop, then select New and then select Shortcut .
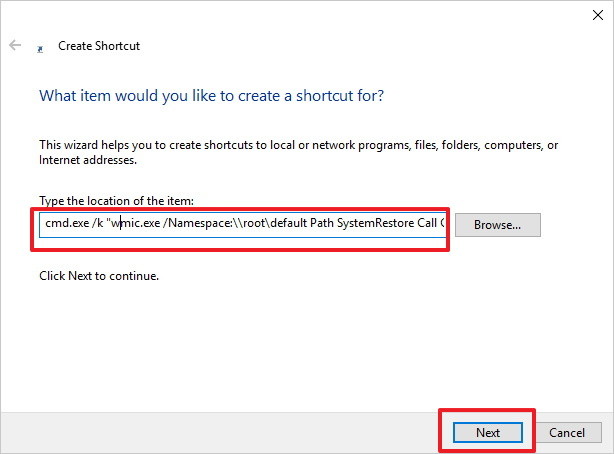
2. On the Shortcut Wizard window, enter the command:
cmd.exe / k "wmic.exe / Namespace: rootdefault Path SystemRestore Call CreateRestorePoint" My Shortcut Restore Point ", 100, 7"
Then click Next .
3. Enter the shortcut name and click Finish.

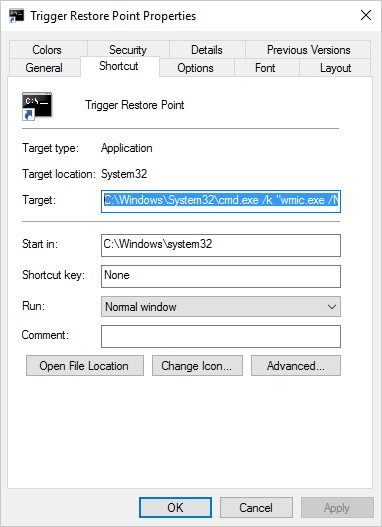
4. Right-click the shortcut you just created, then select Properties.
5. If you want to add another icon, click Change icon .
6. Enter the path below in the box and press Enter:
C: WindowsSystem32imageres.dll
7. Select the icon you want and click OK .
8. Click on Advanced .
9. Select Run as administrator .
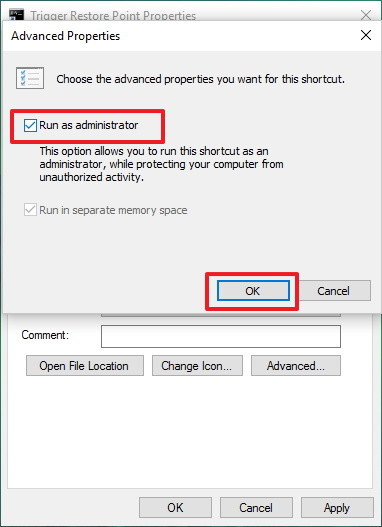
10. Click OK.
11. Click Apply.
12. Click OK to complete the process.
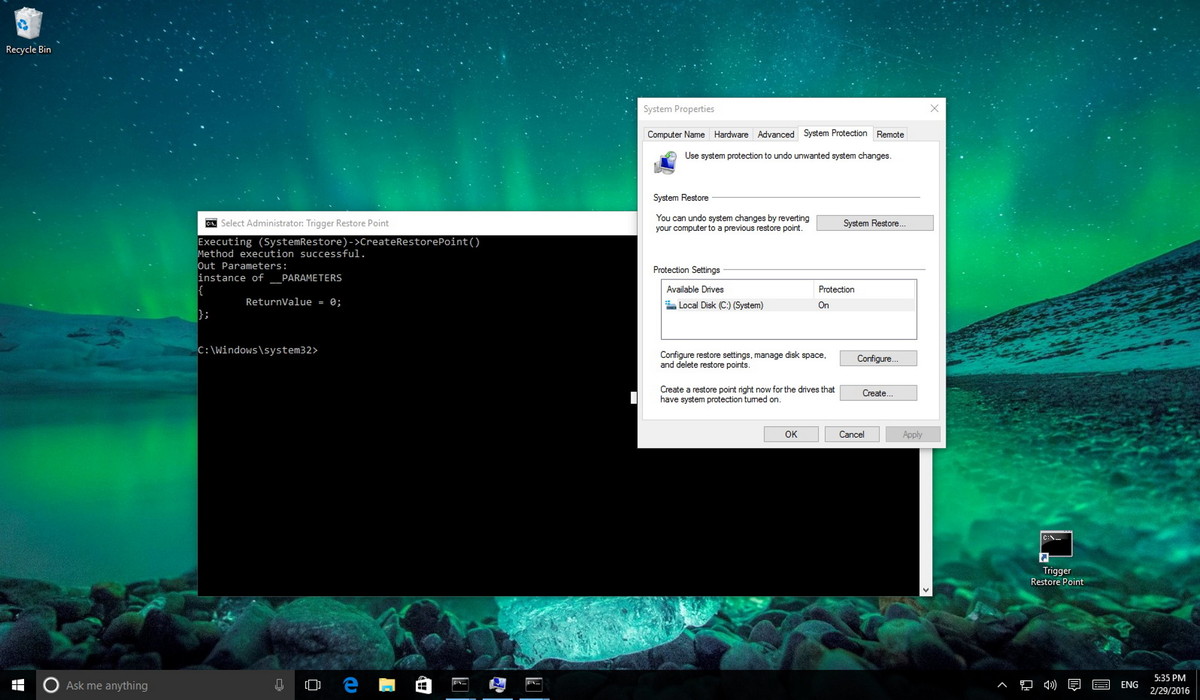
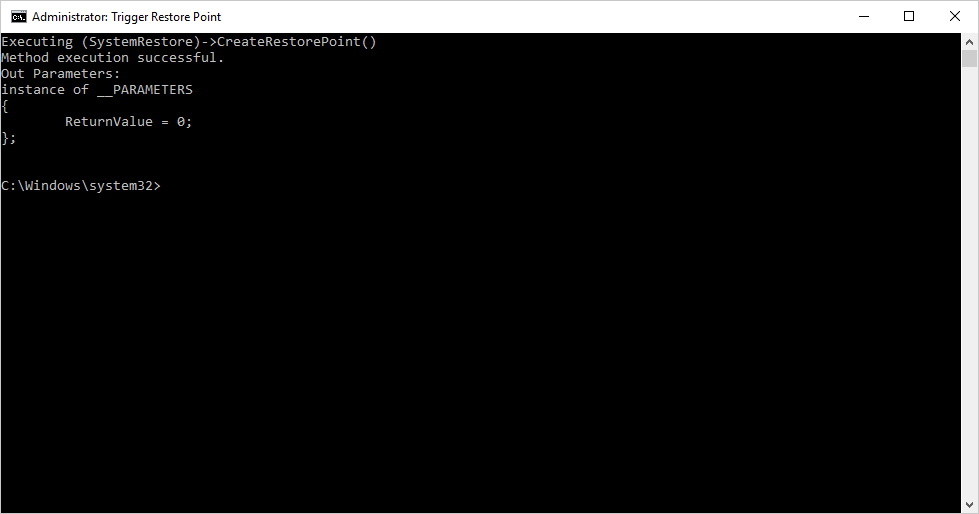
13. Finally, double-click the Shortcut icon you just created on the Desktop screen to check.
If the Command Prompt window as shown below means you have followed the steps correctly:
Refer to some of the following articles:
-
How to activate Dark Mode on Windows 10?
-
Instructions for completely removing Onedrive application on Windows 10
-
3 ways to hide recovery partition (Recovery) on Windows 10 / 8.1 / 7
Good luck!
Was this article helpful?
Your feedback helps us improve.
Related Articles
 Configure the System Restore feature in Windows 108 minutes read
 How to delete System Restore Points in Windows 103 minutes read
 How to delete individual system restore points in Windows5 minutes read
 How to create Restore Point on Windows 10 with just 1 double click4 minutes read
 How to use Backup and Restore on Windows 7?5 minutes read
 Instructions for restoring the system on Windows5 minutes read
Reader Comments 0
Sign in with email or Google to join the discussion.