How to Set Default Paper Size on Mac
Setting the default paper size for all printers connected to your Mac is an incredibly simple process..
If you frequently print to different paper sizes on your Mac, you may find it annoying how often the system chooses the wrong paper size that you don't want to use. Fortunately, setting the default paper size for all printers connected to your Mac is an incredibly simple process. Here's how to do it.
Set the default print size on Mac
To get started, click the Apple icon in the upper-left corner of the screen and select 'System Preferences' in the drop-down menu.

On the System Preferences window that appears, click 'Printers & Scanners'.

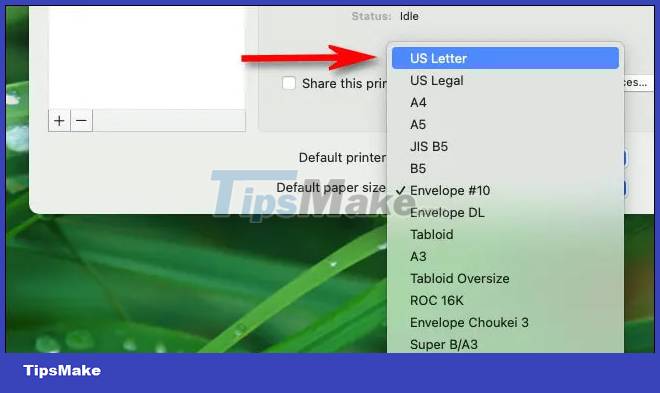
On the Printers & Scanners settings page, look to the bottom of the window. Find the option labeled 'Default Paper Size' and click the drop-down menu next to it.

In the Default Paper Size menu that appears, click to select the paper size you want to use as the default. This setting will be applied synchronously to all the printers installed on your Mac.
Close System Preferences and from now on, the paper size you choose will be set as the default for all printing processes on the system.
Hope you are succesful.