How to Reduce Size of Excel Files
This wikiHow teaches you how to reduce the amount of storage a Microsoft Excel file uses by removing some formatting, compressing images and saving the file in a more efficient format. Open a Microsoft Excel file. Do so by double-clicking...
Table of Contents
Part 1 of 6:
Saving as a Binary File
-
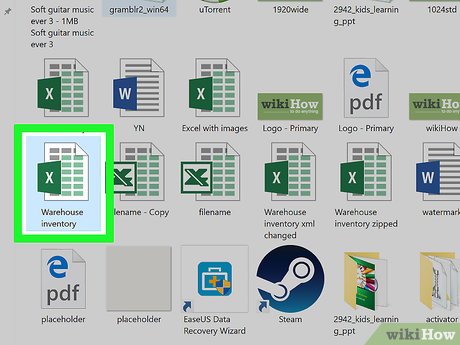 Open a Microsoft Excel file. Do so by double-clicking on the green and white app with an X, then clicking on File and Open..., and selecting the file.
 -
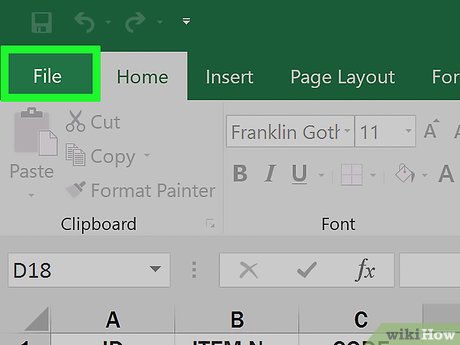 Click File.
 -
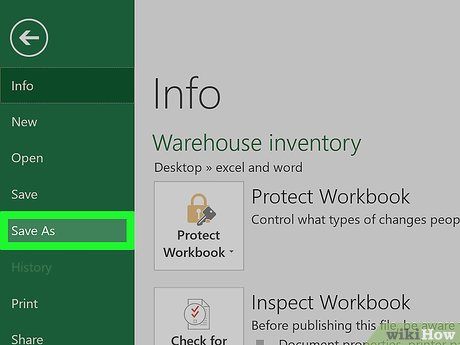 Click Save As….
 -
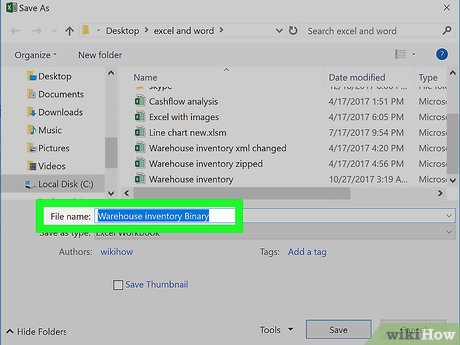 Type a file name.
 -
 Click the "File Format:" drop-down.
 -
 Click Excel Binary Workbook under "Specialty Formats." Files saved in this format are considerably smaller than standard .xls files.
 -
 Click Save. The smaller Excel file will be saved on your computer.
Part 2 of 6:
Removing Formatting from Empty Rows and Columns
-
 Open a Microsoft Excel file. Do so by double-clicking on the green and white app with an X, then clicking on File and Open..., and selecting the file.
 -
 Select all empty rows. To do so, click on the first empty row number, then press and hold Ctrl+⇧ Shift+↓ (Windows) or ⌘+⇧ Shift+↓ (Mac).
- The arrow keys are in the lower-right corner of most keyboards.
-
 Click on the Home tab (Windows) or Edit in the menu bar (Mac).
 -
 Click Clear.
 -
 Click Clear All (Windows) or Format (Mac). This clears unnecessary formatting from cells that are not being used.
 -
 Select all empty columns. To do so, click on the first empty column letter, then press and hold Ctrl+⇧ Shift+→ (Windows) or ⌘+⇧ Shift+→ (Mac).
- The arrow keys are in the lower-right corner of most keyboards.
-
 Click the Home tab (Windows) or Edit in the menu bar (Mac).
 -
 Click Clear.
 -
 Click Clear All (Windows) or Format (Mac). This clears unnecessary formatting from cells that are not being used.
Part 3 of 6:
Remove Conditional Formatting
-
 Open a Microsoft Excel file. Do so by double-clicking on the green and white app with an X, then clicking on File and Open..., and selecting the file.
 -
 Click the Home tab at the top of the screen.
 -
 Click Conditional Formatting. It's in the "Styles" part of the ribbon.
 -
 Click Clear Rules.
 -
 Click Clear Rules from Entire Sheet.
Part 4 of 6:
Removing Formatting from Empty Cells in Windows
-
 Open a Microsoft Excel file. Do so by double-clicking on the green and white app with an X, then clicking on File and Open..., and selecting the file.
 -
 Click the Home tab at the top of the screen.
 -
 Click Find & Select. It's in the "Editing" part of the ribbon.
 -
 Click Go To….
 -
 Click Special….
 -
 Click the Blanks radio button.
 -
 Click OK. All the empty cells in the data set will be highlighted.
 -
 Click Clear. It's the eraser icon.
 -
 Click Clear All.
Part 5 of 6:
Removing Formatting from Empty Cells on Mac
-
 Open a Microsoft Excel file. Do so by double-clicking on the green and white app with an X, then clicking on File and Open..., and selecting the file.
 -
 Click Edit. It's in the menu bar at the top of the screen.
 -
 Click Find.
 -
 Click Go To….
 -
 Click Special….
 -
 Click the Blanks radio button.
 -
 Click OK. All the empty cells in the data set will be highlighted.
 -
 Click Edit in the menu bar.
 -
 Click Clear.
 -
 Click Format.
Part 6 of 6:
Compressing Images
-
 Open a Microsoft Excel file. Do so by double-clicking on the green and white app with an X, then clicking on File and Open..., and selecting the file.
 -
 Open the Compression dialog box. To do so:
- In Windows, click on an image, then click on the Format, tab and click on Compress in the toolbar.
- On Mac, click on File and then Reduce File Size….
-
 Click the drop-down menu next to "Picture Quality."
 -
 Select a lower image resolution.
 -
 Check "Delete cropped areas of pictures."
 -
 Click All pictures in this file.
 -
 Click OK. The images in the file have been compressed and extraneous image data has been deleted.
Was this article helpful?
Your feedback helps us improve.
Related Articles
 How to reduce the size of Excel files2 minutes read
 Compress PDF files, reduce PDF size extremely quickly6 minutes read
 How to compress PDF files on macOS does not reduce quality3 minutes read
 How to reduce the size of PDF files effectively4 minutes read
 Reduce the size of Word files with FileMinimizer3 minutes read
 Tips to reduce the size of PowerPoint files should be known11 minutes read
Reader Comments 0
Sign in with email or Google to join the discussion.