How to Perform a Mail Merge in Word 2010
Creating multiple e-mails, and changing the recipients information for each e-mail, can be a tedious task However; Word 2010 comes with a Mail Merge feature allowing the user to create multiple e-mails for different recipients at once.....
With the Mailings Tab
-
 Launch Word 2010.
 -
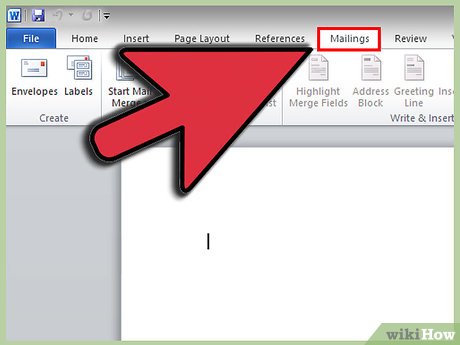 Navigate to Mailings Tab.
 -
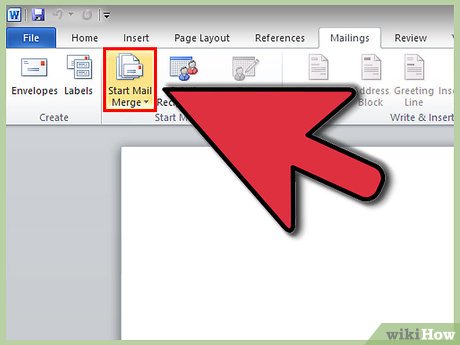 Go to Start Mail Merge options.
 -
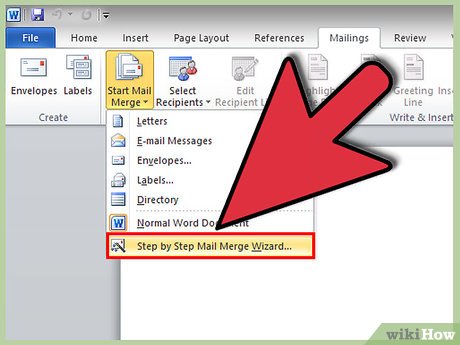 Click Step by Step Mail Merge Wizard.
 -
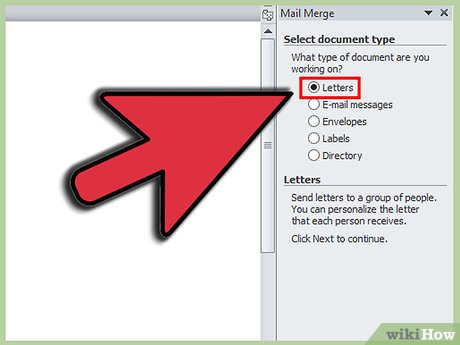 Choose the type of document you want.
 -
 This step will ask you to choose what document to use/type document now.
 -
 Choose your recipients.
 -
 Choose the Excel worksheet that has your chosen recipients.
 -
 Click Open.
 -
 Follow the rest of the Mail-Merge Wizard. Depending on the options chosen different dialog boxes will show up, making very difficult to provide a step by step for the rest. However; the rest of the steps are self-explanatory.
 -
 Click Finish and Merge on the Mailings Tab when done.
Without the Mailings Tab
-
 Open the document you want to merge.
 -
 Choose the type of document you want to create (letter, envelope, label, e-mail, or directory).
 -
 Choose the list of recipients you want to send the document to.
 -
 Add merge fields. Put the cursor where you want the merge field to appear, then click add field on the ribbon.
 -
 Finish and merge.
 -
 Check for errors that could have been introduced, during the merge.
 -
 Send the merge by e-mail.
- You can also print the merge.