How to fix Windows Cannot Access error in LAN
Windows Cannot Access LAN connection error usually occurs when the computer on the network has not set up LAN sharing or IP address is not valid.
Table of Contents
With some solutions in this article, you can fix the Windows Cannot Access error easily.
1. Use the self-diagnosis feature
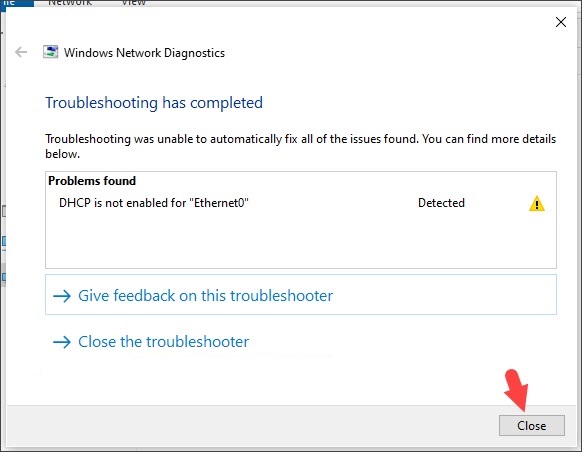
Step 1: After receiving the error message as shown below, click Diagnose .

After that, the debugging will automatically proceed.

Step 2: After error scan is completed, click on Try these repairs as an administration .

Select Apply this fix .

Click Close to close the diagnostic and try to connect to another machine on the network.
2. Switch your Public network settings to private
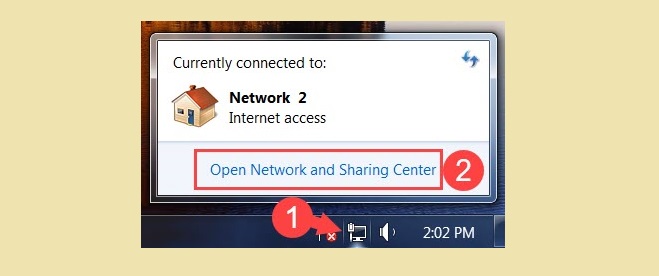
On Windows 7
Step 1: Click on Network (1) => Open Network and Sharing Center (2) .

Step 2: Click on Public network .

Step 3: You can choose Home network or Work network . After that, the network will automatically change from Public to Home network or Work network .

If there is a notice to share in Workgroup, click Cancel to cancel and set it up later.

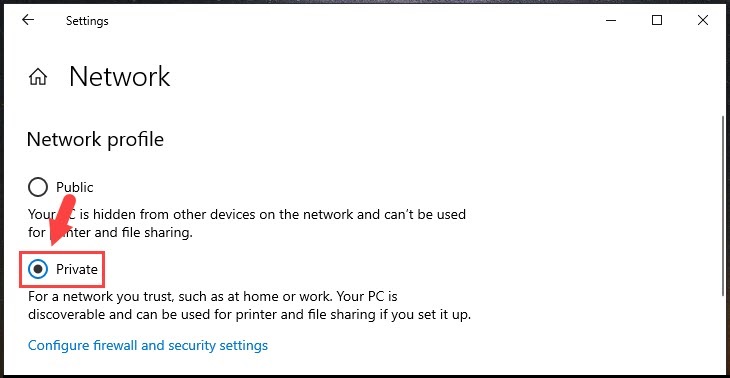
On Windows 10
Step 1: Click on Network (1) => Network & Internet settings (2) .

Step 2: Click on Ethernet (1) => Network (2) .

Step 3: You tick Private .
3. Enable TCP / IP NetBIOS Helper service
Step 1: Press the Windows + R key combination to open the Run dialog box . Next, enter the command services.msc (1) => OK (2) .
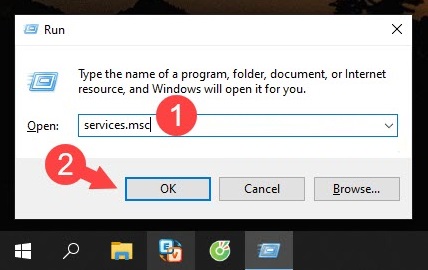
Step 2: Find and right-click the TCP / IP service NetBIOS Helper (1) => Start (2) .

4. Turn off firewall
Firewalls are really useful because they are your gateway to protect your computer against intruders. However, a firewall also causes your computer to be unable to access other computers on the LAN.
On Windows 7
Step 1: Go to Start (1) => search with the keyword Firewall (2) => Windows Firewall (3) .

Step 2: Select Turn Windows Firewall on or off .

Step 3: Select Turn off Windows Firewall (1) => OK (2) .

On Windows 10
Step 1: You click on Search (1) or use the keyboard shortcut Windows + S to open. Next, you enter the keyword firewall (2) => Windows Defender Firewall (3) .

Step 2: Select Turn Windows Defender Firewall on or off .

Step 3: Check Turn off Windows Defender Firewall (1) => OK (2) .

5. Turn off error setting when no password is set
If the machine does not set a password for the User Account, an error may arise during the access. The treatment is as follows:
On Windows 7
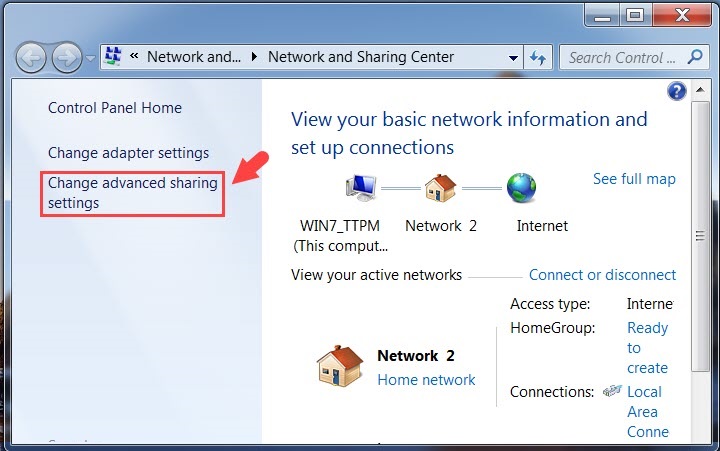
Step 1: Click on Network (1) => Open Network and Sharing Center (2) .
Step 2: Choose Change advanced sharing settings .
Step 3: Select Home or Work (current profile) (1) => Turn off password protected sharing (2) => Save changes (3) .

On Windows 10
Step 1: Click on Network (1) => Network & Internet settings (2) .

Step 2: Select Network and Sharing Center .

Select Change advanced sharing settings .

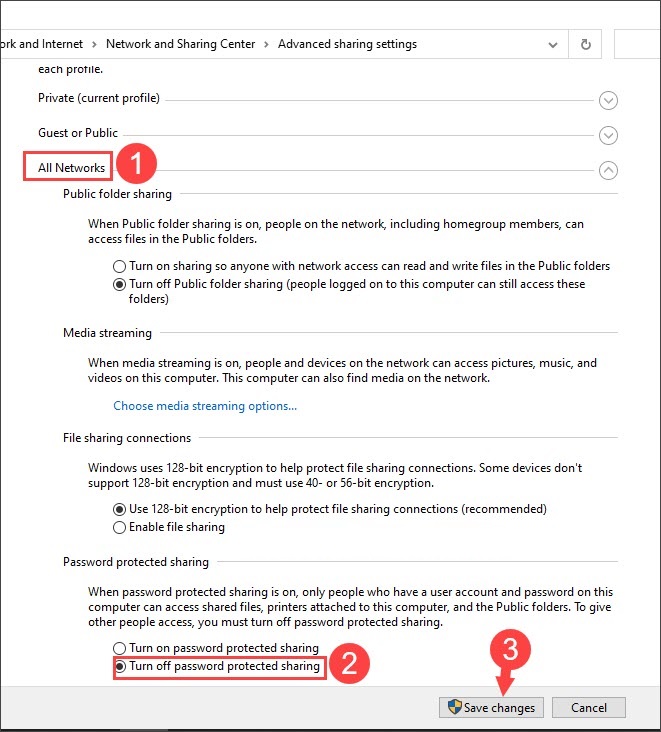
Step 3: Click on All Networks (1) => Turn off password protected sharing (2) => Save changes (3) .
6. Set up a Guest account
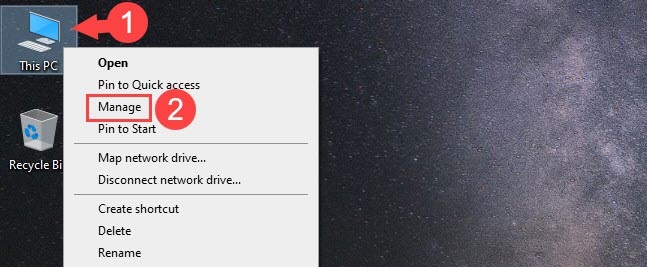
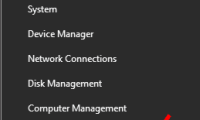
Step 1: Right-click This PC (1) => Manage (2) .
Step 2: Select Local Users and Groups (1) => choose Users (2) => right click on Guest (3) => Properties (4) .

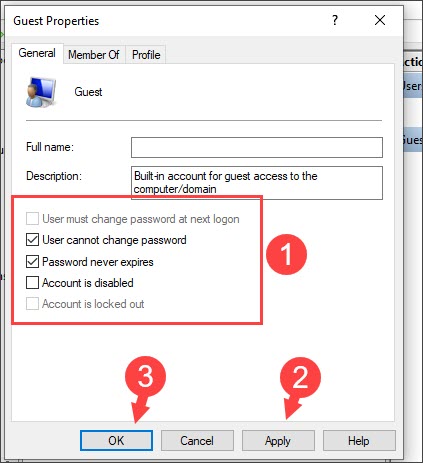
Step 3: You set as shown below (1) => Apply => OK (3) .
With the solutions in this article, you will no longer have the error Windows Cannot Access hindering you. Good luck!
Was this article helpful?
Your feedback helps us improve.
Related Articles
 5 most common Windows errors and this is a fix11 minutes read
 How to fix 'Windows Cannot Access the Specified Device, Path or File' error10 minutes read
 Instructions for fixing Access Denied errors during file or folder access on Windows23 minutes read
 Access is denied error Windows 10 - The fastest way to fix it19 minutes read
 How to Fix 'IPv4/IPv6 No Internet Access' Error on Windows9 minutes read
 How to fix 'Access is Denied' error on Windows 103 minutes read
Reader Comments 0
Sign in with email or Google to join the discussion.