How to enable God Mode on Windows 11
God Mode in Windows 11 can take you to printer or Bluetooth settings with a single click..
The fresher and more appealing the user interface of Windows is, the harder it is to access the most advanced (and often important) settings. Windows 11, like Windows 10 before it, tries to guide you to the new Settings menu that looks more modern, while 'burying' but not completely removing the old-style Control Panel, which still contains a lot of important options.
The good news is that you can see the full list of shortcuts directly by enabling God Mode or, more precisely, creating a God Mode folder. Sadly, this God Mode is not as powerful as the usual modes found in video games, where you can go through walls, be invincible, or get all the weapons. But God Mode in Windows 11 can take you to printer or Bluetooth settings with a single click. Here's how to do it.
How to enable God Mode in Windows 11
Step 1. Right-click on the desktop and select New > Folder .
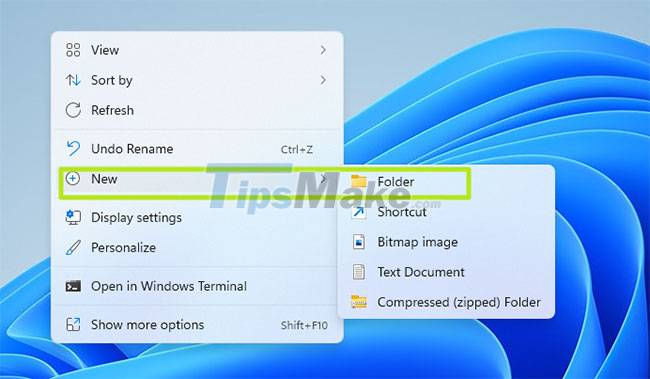
Step 2. Name the folder as follows:
GodMode. {ED7BA470-8E54-465E-825C-99712043E01C}
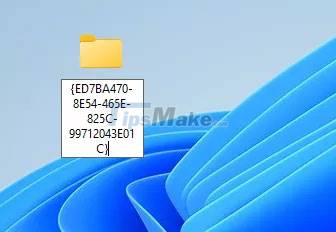
The name will disappear once you're done.

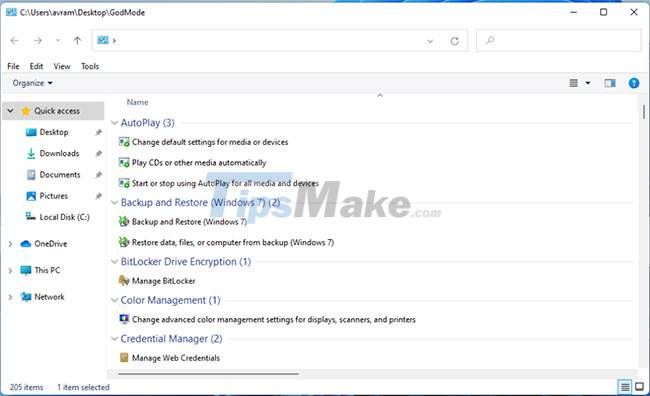
Step 3. Open the folder. You'll notice more than 200 settings menus to choose from, organized into categories like Security and Maintenance and Power Options .
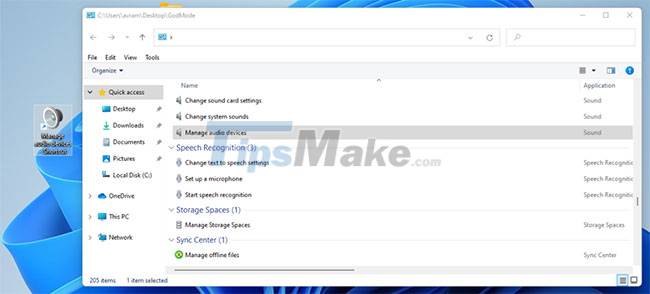
Step 4. Drag and drop individual shortcuts to the desktop if you want faster access. For example, if you want one-click access to the Manage audio devices menu , drag it to the desktop and you'll have a dedicated shortcut there.
Note that the God Mode folder icon may change at some point, possibly after you reboot. In the example, it looks like in the screenshot below.

No matter what the icon looks like, the God Mode folder is an effective time-saver.
Hope you are succesful.