How to Edit the Windows Registry
Part 1 of 3:
Making a Registry Backup
-
 Make a backup of the Windows Registry. Do this before you edit it so you can revert to the pre-edited version if necessary.
 -
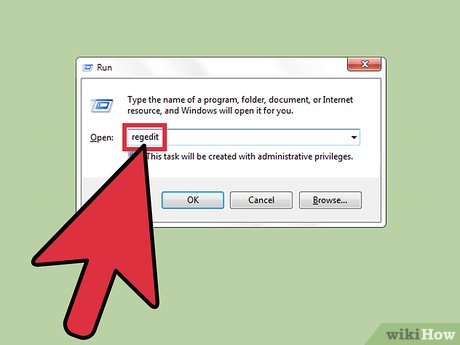
 Press ⊞ Win+r. The Run window opens.
 -
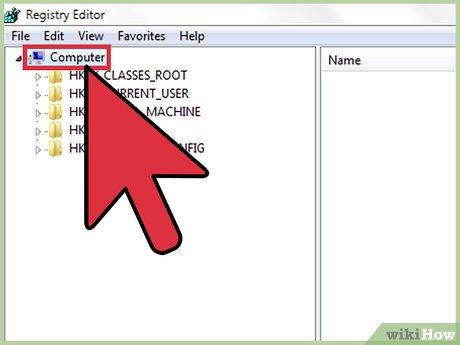
 Type "regedit" without the quotes and press ↵ Enter. If prompted by User Account Control, click Yes to open the Registry Editor.
 -
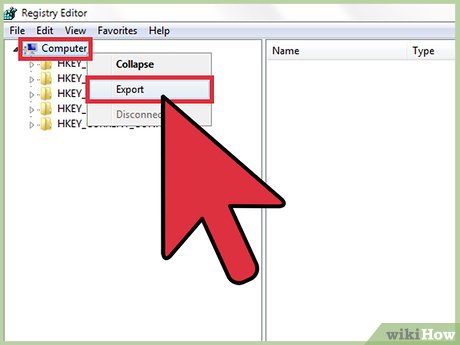
 Right-click the Computer icon in the left pane.
 -
 Click Export.
 -
 Choose a location and type a name for the backup.
 -
 Click Save.
Part 2 of 3:
Editing the Registry
-
 Edit the Registry. The Registry contains two basic elements: keys and values. If you know the key you want to edit, press Control+f to open the Find dialog box. [1]
 -
 Type the key name and click Find Next.
 -
 Edit the key's value data. When you find the key, double-click it to edit the value data.
 -
 Click OK to save your edits. Some edits may require a Windows restart to take effect.
Part 3 of 3:
Restoring a Registry Backup
-
 If necessary, you can restore your Registry backup. Keep track of your edits so you can return them to their original value if desired. If you make multiple unsatisfactory edits, you may want to restore your entire Registry backup rather than correct each edit.
 -
 Open the Registry Editor.
 -
 In the File menu click Import.
 -
 Locate the backup file you saved and click Open.
5 ★ | 1 Vote
You should read it
- How to re-enable Registry backup on Windows 10
- How to Make and Restore a Backup of the Windows Registry
- How to enable automatic backup of Registry on Windows 10
- How to turn on automatic registry backup in Windows 10
- Backup and restore Registry in Windows XP (Part 1)
- 36 best free registry cleaning software 2018


 How to Do a System Restore
 How to Capture Gaming Screenshots
 How to Remove Chrome Remote Desktop on Windows
 How to Adjust, Tilt, and Turn Your Windows Screen
 How to Upgrade Windows 7 to Windows 8
 How to Unlock Bitlocker Encrypted Drive from Command Prompt