Backup and restore Registry on Windows
Using the Registry to edit the system is always one of the top choices of users and sometimes leads to situations that cause serious system failure..
Registry is an integral part of Windows operating system. This database contains important information that stores all settings of the operating system on the computer, including configuration, device driver information. In other words, anything important you can think of is stored inside the Registry.
Although important, this is an open database that allows users to change data. Using the Registry to edit the system is always one of the top choices of users and sometimes leads to situations that cause serious system failure. Therefore, to ensure the Registry can be "safe" in any case, you should back up this database before making any changes to the system and restore it if you encounter problems. .
In this article, TipsMake.com will teach you a simple way to backup and restore Registry settings in Windows 10 / 8.1 / 8/7. Invite to follow the article.
1. Backup and restore the Registry on Windows manually
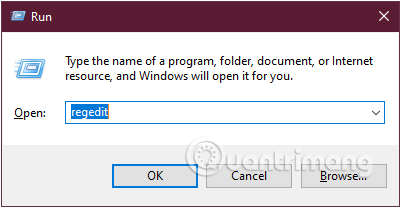
Step 1: Press the Windows + R key combination to open the Run command window .
Step 2: Enter the following command and press Enter:
regedit
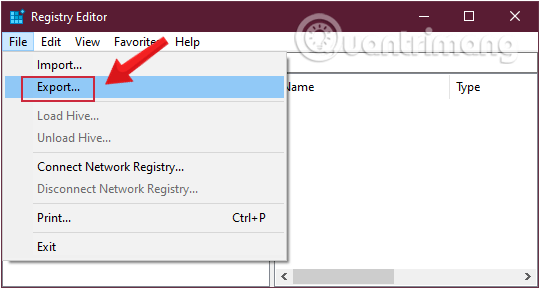
Step 3: To back up the Registry , first go to File> Export.
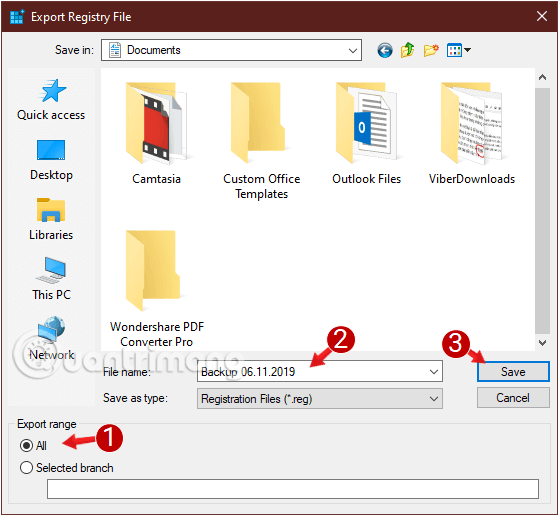
Step 4: In the window that appears, click All in Export range and enter the desired file name. Choose a save location and click Save to save the backup data of the Registry.
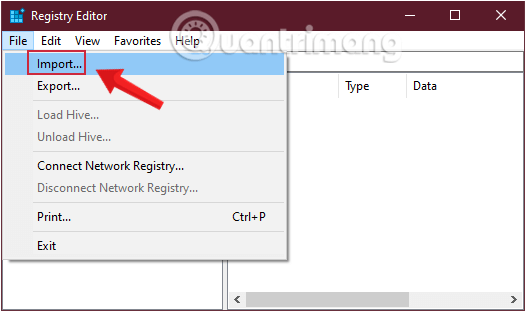
Step 5: If you want to restore the previously backed up Registry, you also open Registry Editor as steps 1 and 2, go to File> Import .
Step 6: Next, select the location where you saved the backup and click Open.
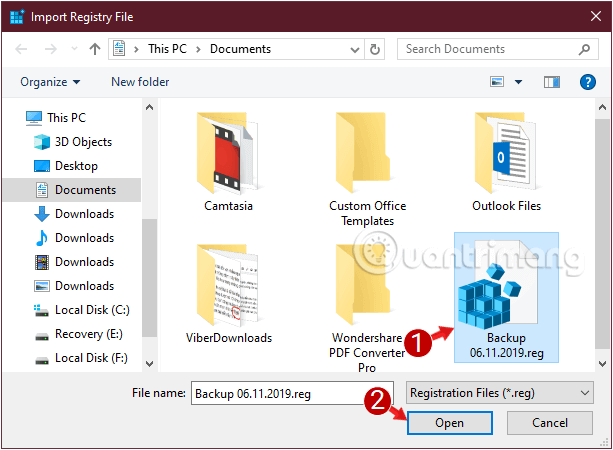
Wait a bit for the system to restore the Registry. So you have succeeded!
2. Backup and restore Registry by Restore Point
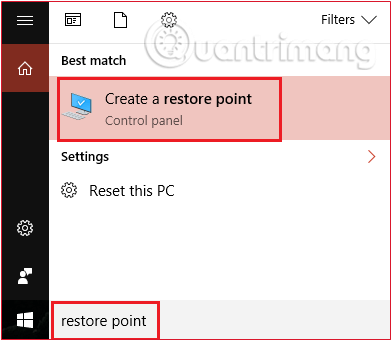
Step 1: First, enter the restore point in the Seach box in the Start Menu or on the Taskbar, then click Create a Restore Point.
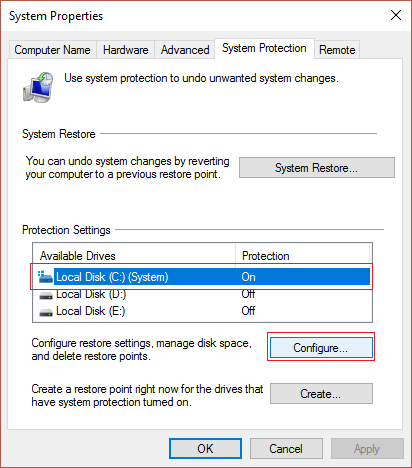
Step 2: In the new window that appears, select Local Disk (C :) (Windows installation drive) and click Configure.
Step 3: In the Restore Settings section , select Turn on system protection . Down to Max Usage and set the maximum value to 10%.
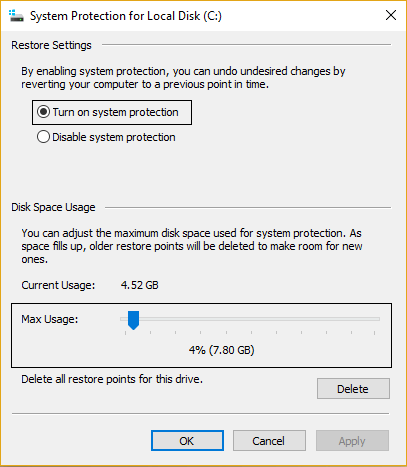
Step 4: Click Apply to apply and select OK.
Step 5: The screen returns to the previous window, you continue to select the drive containing your Windows and then click Create.
Step 6: Enter a name for Restore Point to back up the Registry and click Create.

Step 7: Wait a while for the system to create Restore Point, when completed, click Close.
Step 8: If you want to restore the Registry that you just backed up with Restore Point above, you also open Create a Restore Point as step 1, and select System Restore on the System Protection tab.
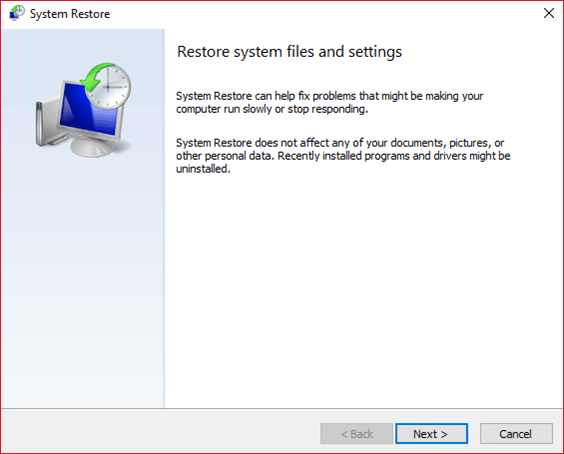
Step 9: In the next interface, select the restore point just created above and click on Next.
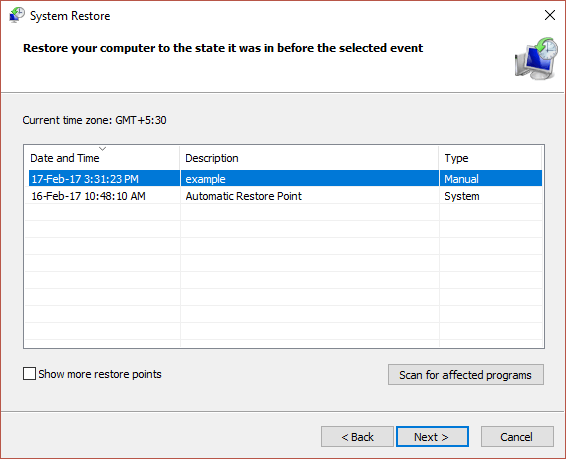
Step 10: Follow the instructions on the screen to complete, when completed click Finish to complete.
So you have successfully restored the Windows Registry .
In general, it's a good idea to back up the Windows Registry before making any changes to your system, because in case something goes wrong, just restoring it doesn't matter. Give it a try. Good luck!
See more:
- Unlock hidden features on Windows 10 with some Registry tips
- How to turn on automatic registry backup in Windows 10
- How to connect to the remote registry