Table of Contents
This updated guide examines How to Draw Using Powerpoint and organizes the essential facts, background, and practical takeaways in clear American English.
Method 1
Using the Ink Tools
 Open Microsoft PowerPoint. If you do not have it, Microsoft currently offers a free trial of the office suite.
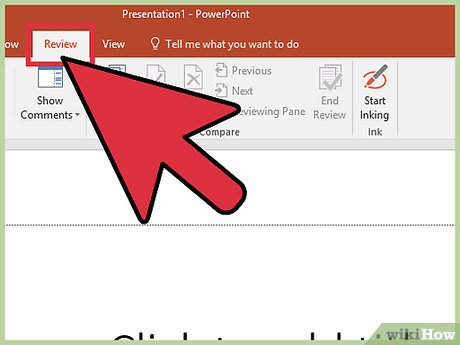 Select the 'Review' tab. This is located on the right side of the menu bar.
- For Office 365 users, there may instead be a 'Draw' tab. This will contain all of the same controls normally included in 'Inking'. If you do not see it, you may need to update your version of Office or the feature may not be supported on your system.
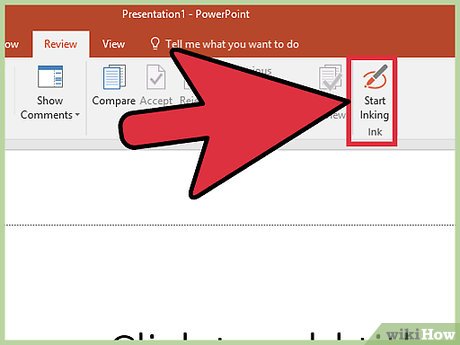 Click 'Start Inking'. This is located on the right side of the toolbar and will bring up a new set of drawing tools.
 Use the 'Pen' to draw free-hand. This button, on the left, selects the pen tool for making basic line drawings.
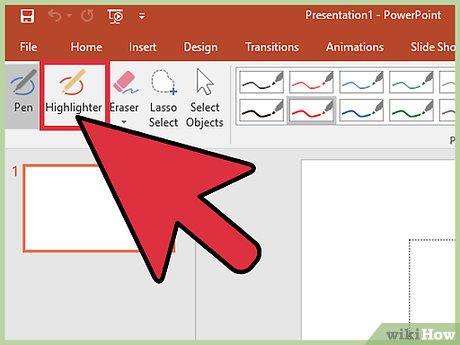 Use the 'Highlighter' to draw transparent lines. This tool acts as a thicker version of the pen tool with transparency, allowing you to ink over text or other drawings without covering them.
 Use the 'Eraser' to remove drawn elements. After selecting, click and drag the cursor over other lines to erase the drawn content.
- Click the down arrow on the 'Eraser' button to select a thickness setting for your eraser.
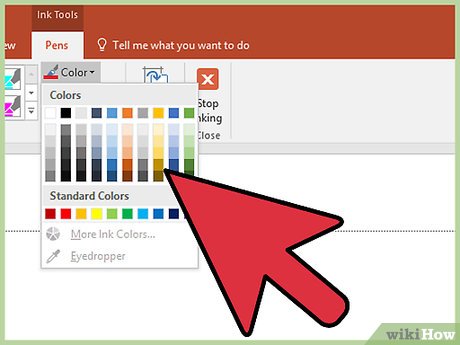 Change your tool color. Select the 'Color' dropdown in the 'Pen' section of the toolbar to select from a color palette for different pen/highlighter colors.
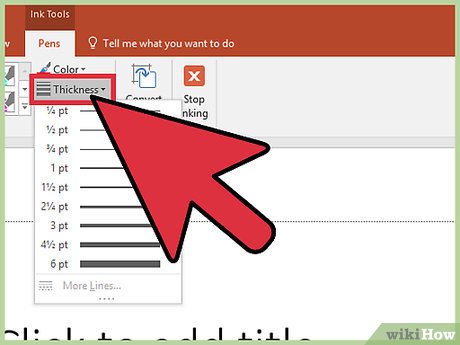 Adjust your tool thickness. Select the 'Thickness' dropdown in the 'Pen' section of the toolbar to select different widths of your pen/highlighter marking.
- You can also select color/thickness presets from the menu to the left of the 'Color' and 'Thickness' dropdowns.
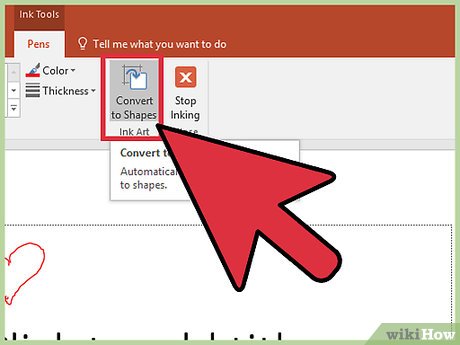 Click 'Convert to Shapes'. This will auto-adjust any shape approximations into the detected shape. For example, drawing a circle, will adjust the lines to be a perfect circle.
- The feature will also approximate a shape based on the number of lines drawn (square, hexagon, etc.).[1]
- This only works on shapes after the feature has been selected. Shapes drawn before clicking 'Convert to Shapes' will not be changed'.
 Click 'Select'. This tool allows you to click and drag drawn items to move them around on the screen.
- You can also click 'Lasso' and draw a circle around the area you are trying to select if you are having difficulty. The Lasso tool will only work on drawn items.
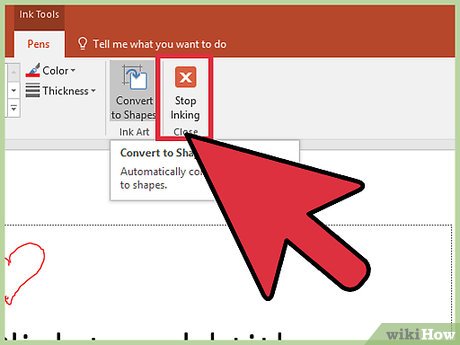 Stop Inking. This button will automatically selects the 'Select' tool after making edits with the pen or highlighter tool. If no edits were made this button will return you to the 'Review' tab.
Method 2
Using the Drawing Tools
 Open Microsoft PowerPoint. These steps will also work with free alternatives like Google Slides or Openoffice Impress, although the menu options and locations will vary slightly.
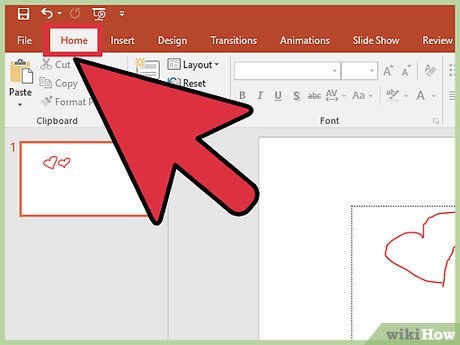 Select the 'Home' tab. This is located in the upper left and is selected by default when working with a new document.
- All drawing tools will appear on the right in a section of the toolbar labeled 'Drawing'. The location is similar on Mac, but the section is unlabeled.
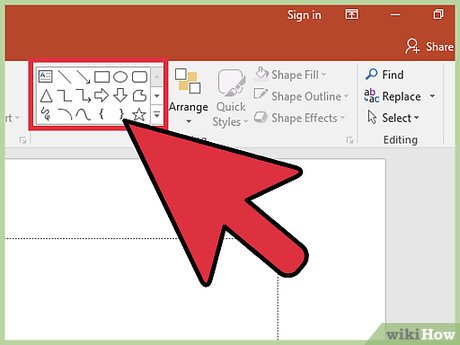 Select a shape or line tool. On Windows, a list of shape and line tools appear on the left side of 'Drawing' section of the toolbar. On Mac, both tool types can be viewed by clicking 'Shapes' on the right side of the tab (the section is unlabeled).
- Click the down arrow to expand the list and shape/line options.
- To perform free-hand drawing, select the 'Scribble' line option from the list of tools.
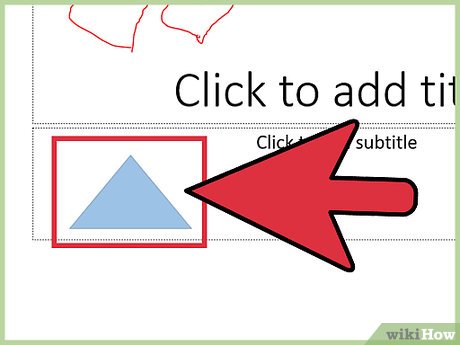 Click and drag the cursor to draw. A line or shape will be drawn depending on the selected tool starting from where you click and ending where you release.
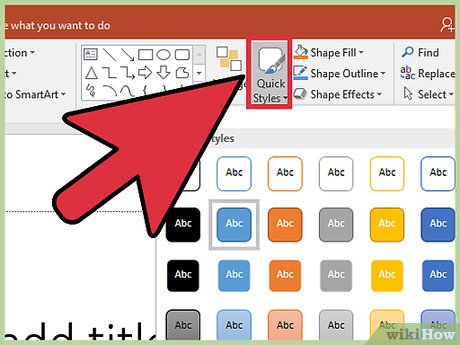 Choose design presets from 'Quick Style'. This option is located on the right section of the toolbar. Options from the menu include different color shadings and transparency settings for the selected line or shape.
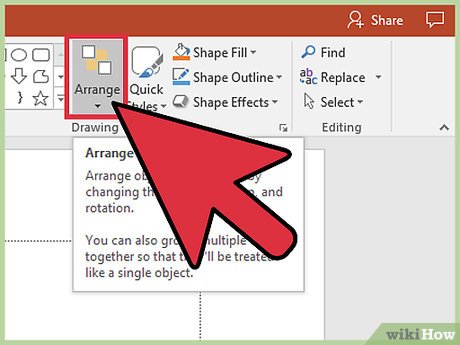 Click 'Arrange'. This is also in the right section and will open a list of placement settings. Options like 'Bring to front' or 'Move to back' allow you to manipulate how drawn objects overlap.
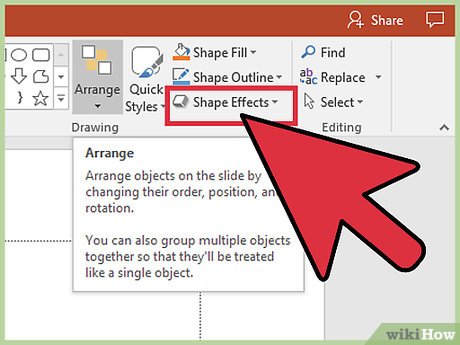 Use Shape Effects. Three buttons, Fill, Outline, and Effects are listed on the right side of the other drawing tools:
- 'Shape Fill' opens a list of color palettes to color in drawn shapes.
- 'Shape Outline' opens a list of color palettes to color only the outline of drawn shapes.
- 'Shape Effects' opens a list of graphical or lighting presets for shapes, such as 'Embossed', 'Glow', or 'Shadow'. You can apply more than one of these to a shape at a time if you wish.
- These effects do not do anything to drawn lines.
Method 3
Exporting as an Image File
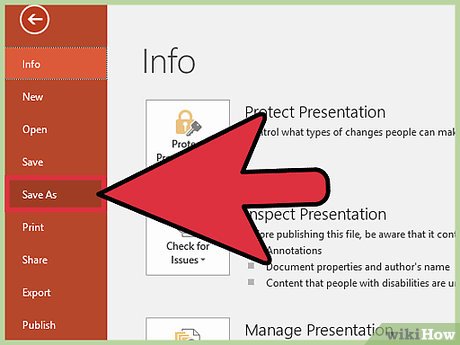 Open the 'File' Menu and select 'Save As'. You will be taken to an interface to name your file and choose a save location.
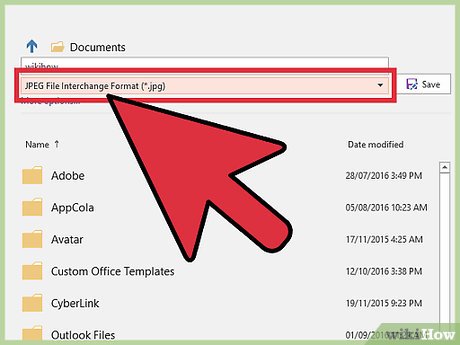 Select an image filetype. Under the filename field is a dropdown menu to select filetype. You can select various image filetypes from this menu (.jpg,.gif,.png,.bmp, and more).
- By default powerpoint will save files as.pptx.
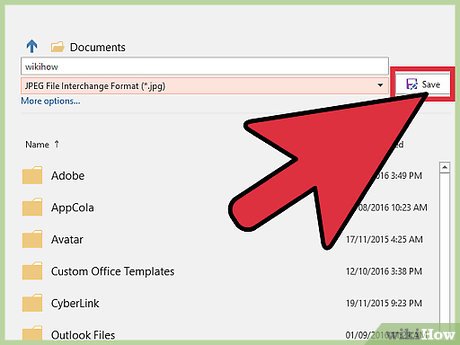 Click 'Save'. An image copy will be saved to the selected location using the chosen filetype.
- If you are saving a file with multiple slides, you will be prompted to choose to export 'All Slides' or 'Just This One'.
FAQ
What is How to Draw Using Powerpoint about?
It provides a structured overview of select, explains the main context, and highlights practical takeaways for readers.
Why does this topic matter?
Understanding the main concepts helps readers evaluate the issue, avoid common mistakes, and make better-informed decisions.
How should readers use this information?
Use the guidance as a practical starting point, confirm details that may have changed, and follow current product, safety, or security recommendations.
Related Articles
 How to Use Draw Tool on PowerPoint: Draw on PowerPoint8 minutes read
 How to Draw Flow Charts in PowerPoint: Draw PowerPoint Flowchart5 minutes read
 How to Draw Mind Maps Using PowerPoint6 minutes read
 How to Drawing a Semicircle in PowerPoint4 minutes read
 The Easiest Way to Draw with Powerpoint8 minutes read
 Draw a Beautiful, Professional Mind Map in PowerPoint: Step-by-Step Guide4 minutes read
Reader Comments 0
Sign in with email or Google to join the discussion.