How to draw an object in GIMP
Sometimes users often want to doodle something in any graphic program. Today's article will help readers get started and explain a general technique on how to draw an object in GIMP.
Table of Contents
Sometimes users often want to doodle something in any graphic program. Today's article will help readers get started and explain a general technique on how to draw an object in GIMP.
Note : The article assumes that you already have the basic knowledge of how to use most of the tools in GIMP.
Steps to draw an object in GIMP
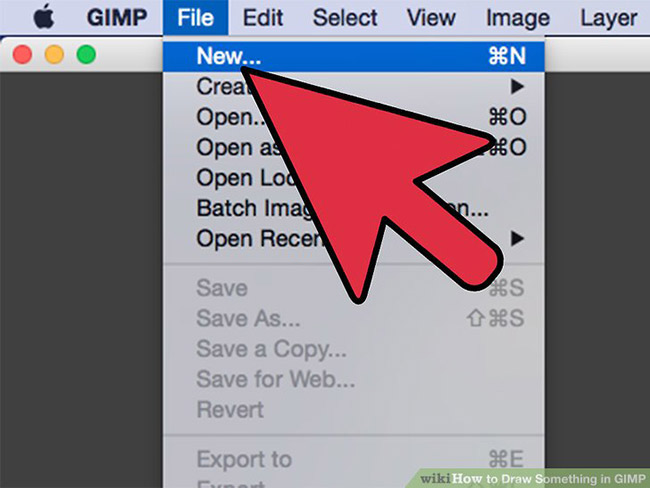
1. Choose things to draw (for example, a cup of coffee).
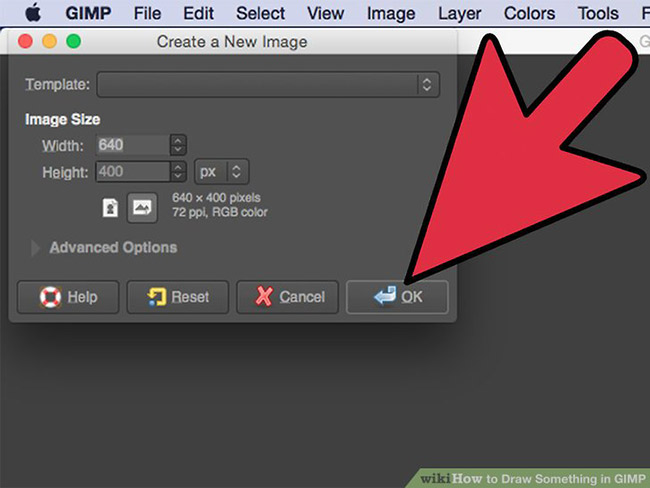
2. Select an approximate size for the object. In drawing techniques, an object with a size of 30 x 30 pixels will be different from an object of size 400 x 400 pixels.
3. Choose one of the techniques below to use. If you're drawing a small size object, you may want to use "pixels". If you're drawing a large size object, there are many other techniques you can use. This article will mention two methods. One to draw small objects and one to draw larger objects.

Method 1: Draw small objects
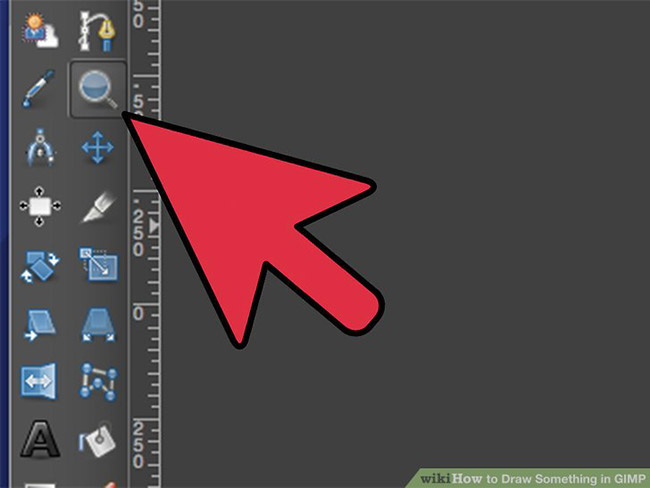
1. Zoom in.Zoom tool is an important factor in this method. Just press "+" or click the magnifying glass icon to zoom in and press "-" to minimize the size.

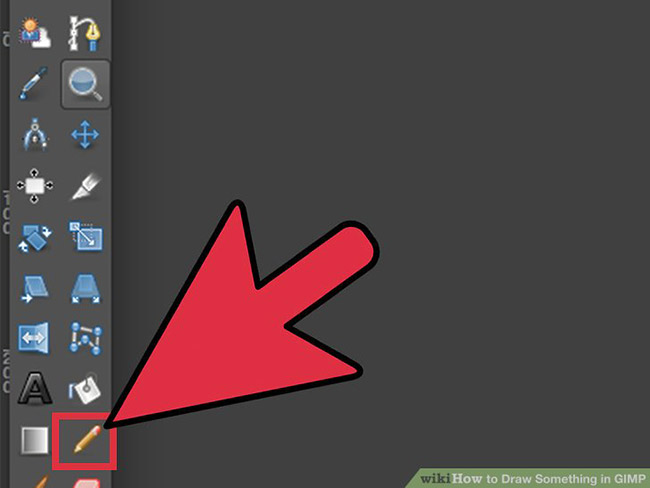
2. Use the Pencil tool and sketch the desired object. Imagine dividing the object into smaller parts. For example, if you're drawing a cup, you'll divide it into a lid, body and handle.
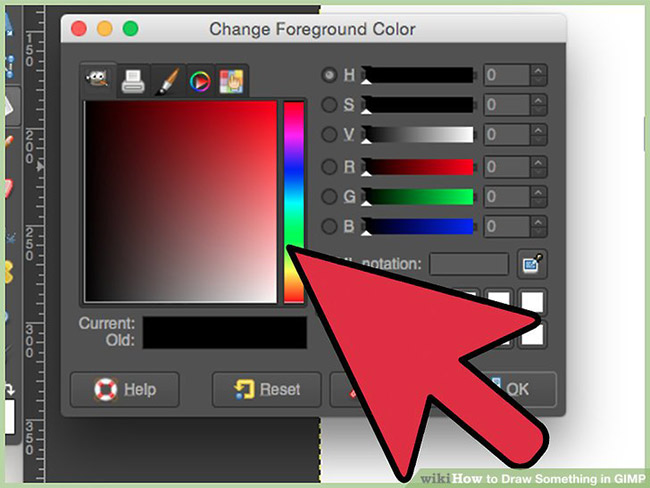
3. Choose from 3 to 5 different color shades to use for each subject.
4. Imagine the shape of small parts of the object. The right shape outline is the hardest part in the process.
5. Sketch the smaller object, then color it using the different color shades selected. Users will need to use more nuances depending on the fineness of the object. You can "create" these nuances with the Smudge tool , if needed.
6. Zoom out to see the overall work, then zoom in and tweak it.

7. Repeat these steps with all smaller objects.
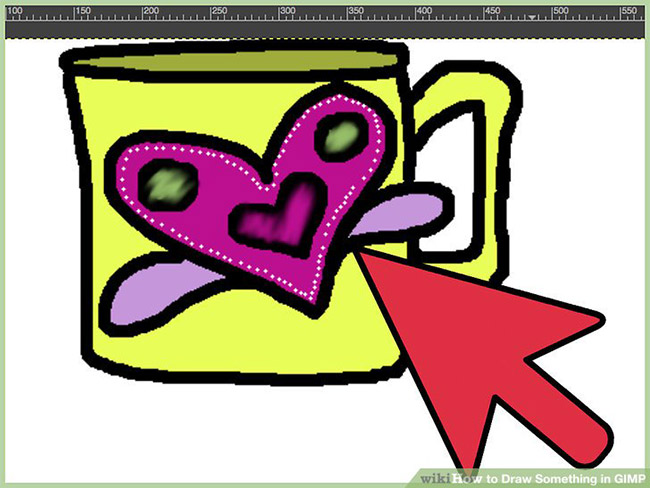
8. Add details to the object. For example, if there is a logo on the cup, draw it.
9. Again, minimize the object, view and edit. Repeat this step until everything looks perfect.
10. Everything is complete! Enjoy your work.
Method 2: Draw larger objects
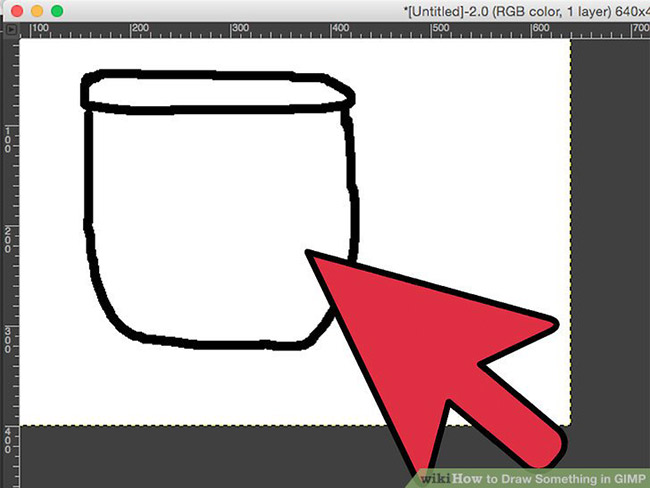
1. As with small objects, you will start by drawing the basic shape of the object.
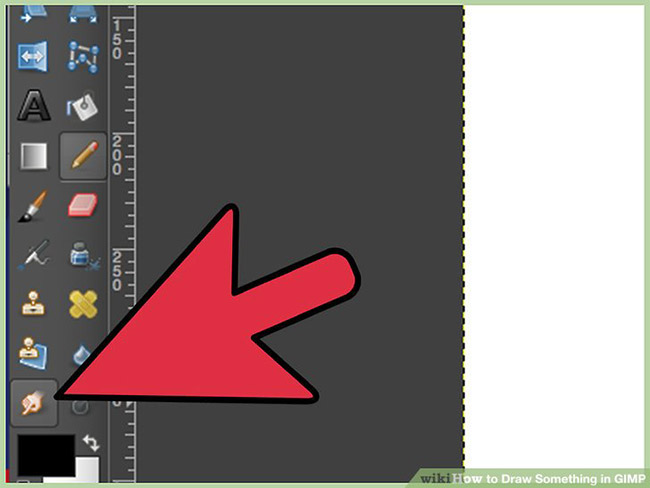
2. This time, instead of using the Pencil tool , you'll use the Paths tool . Paths are very useful in this method, so learn how to use it first.
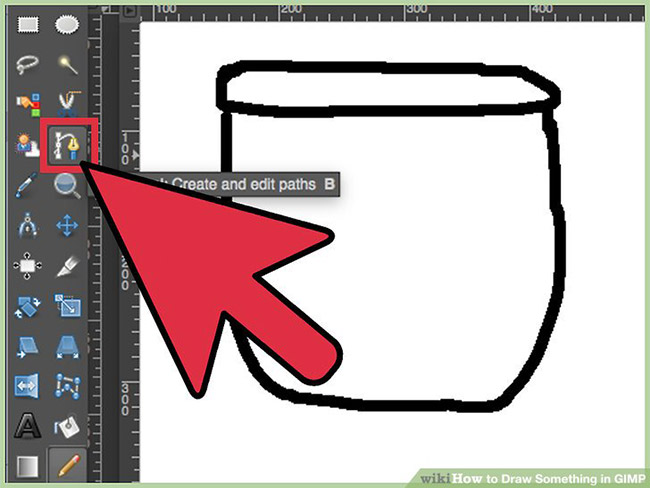
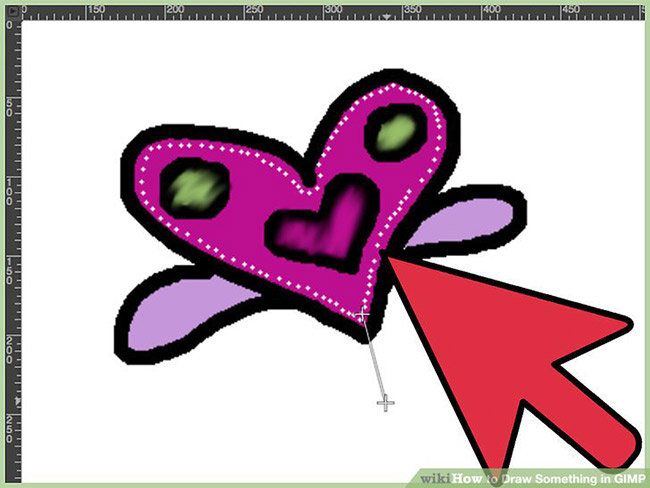
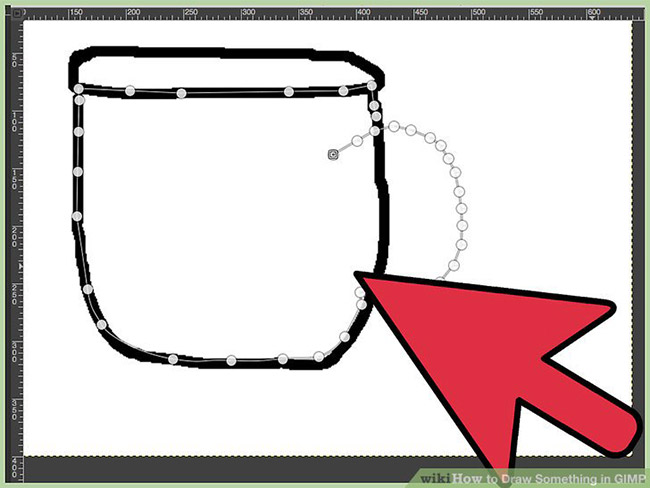
3. Click (note not dragging) to create a series of points that surround the basic shape of the object. Don't try to make things round. Make sure the Paths tool is set to "Design".
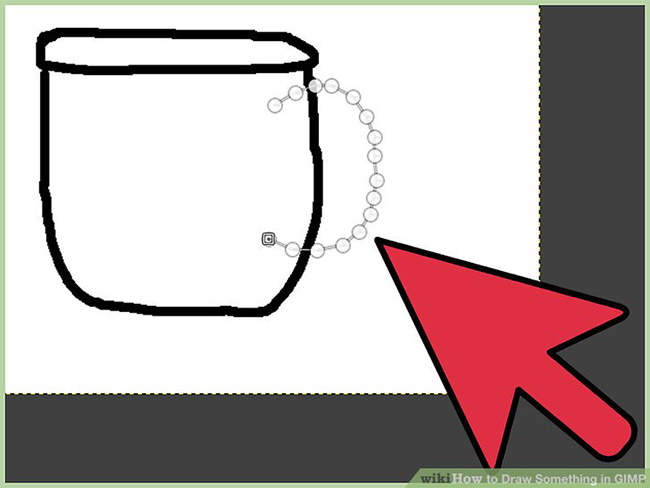
4. This is the time to decide the size for the object. Make sure everything is the right size. If you're drawing a cup, make sure it has the correct width and the handle is not too big for the body. Fine-tune everything to make them the right size.
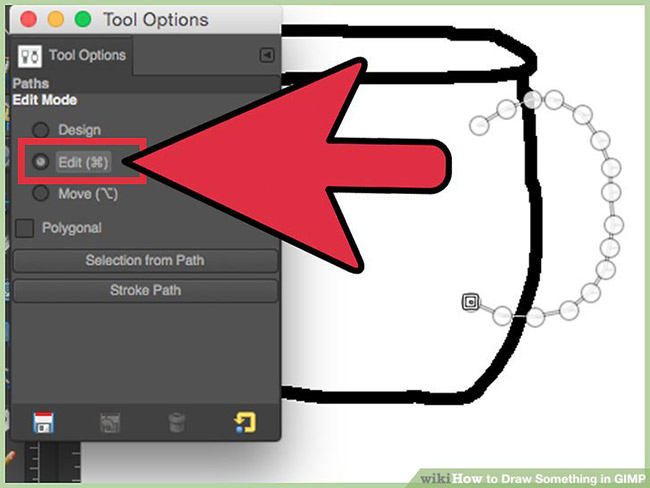
5. Double-click the Paths toolbox and set the Tool mode to "Edit" (or you can hold CTRL while doing the next step).
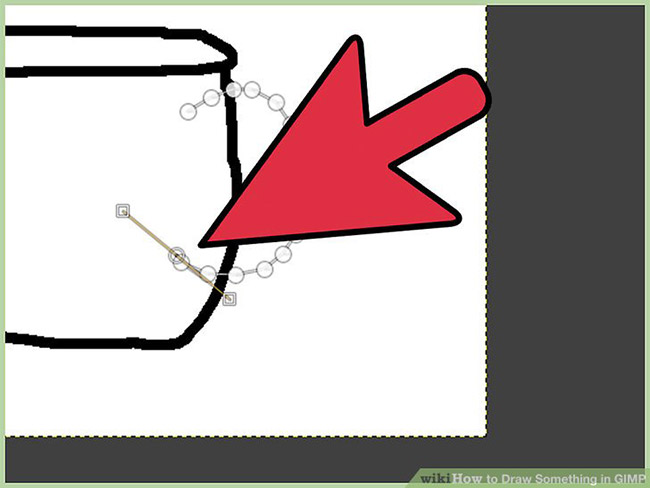
6. Create a path according to the desired shape. To do this, click anywhere on the path and drag it. This is the time to round out the pictures. While doing this step, you can use more zooming and zooming tools if needed.
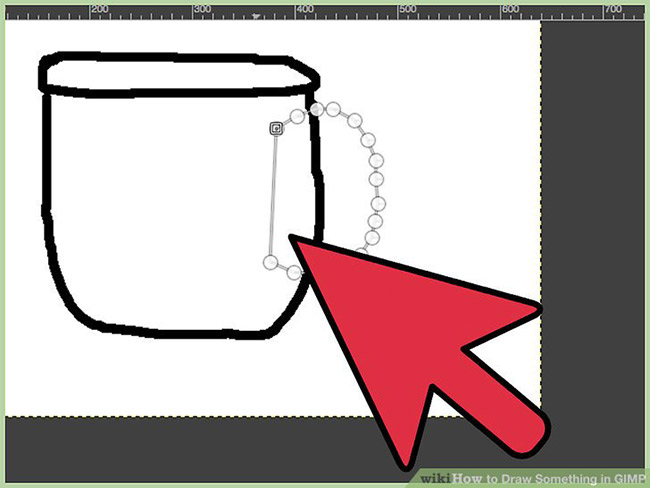
7. Refine until perfect shape.
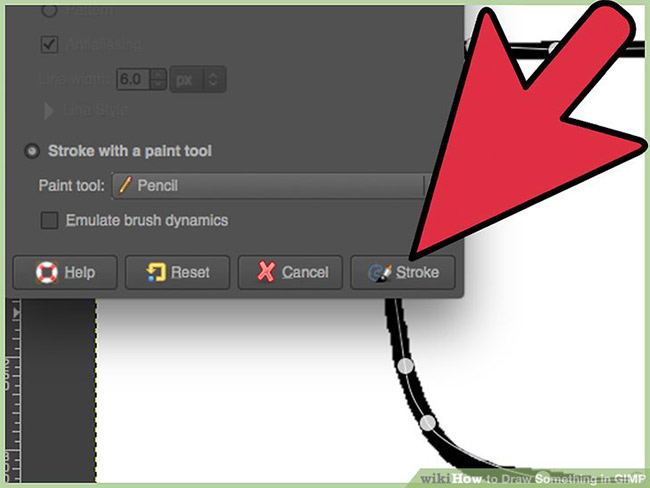
8. After that, go to Edit> Stroke Path . Select "Stroke Use Tool" and Pencil tool . Set Color to black and Brush to 1 pixel.
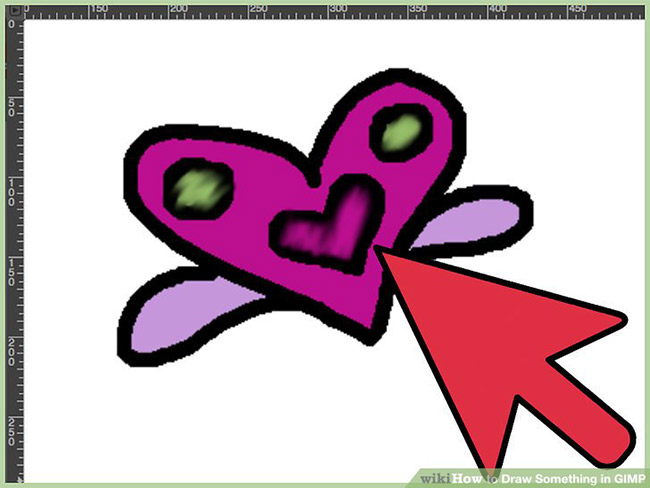
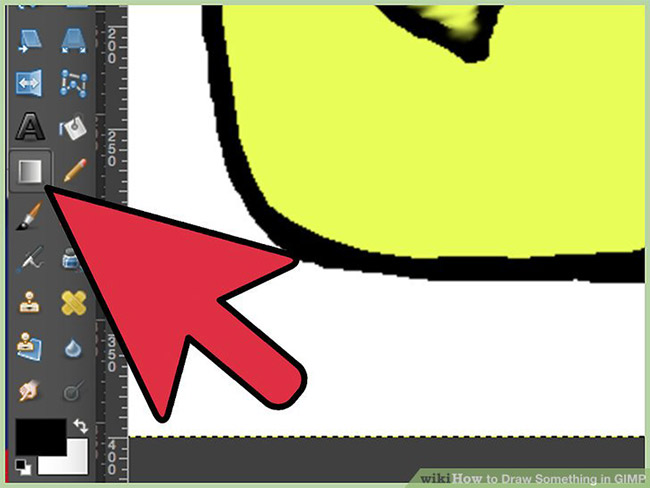
9. Now, as in method 1, divide the object into many small objects in the head. Basic coloring for each object using the Fill tool .

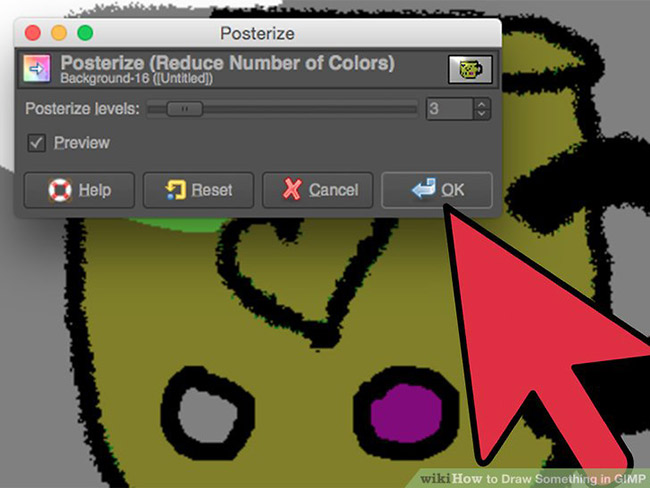
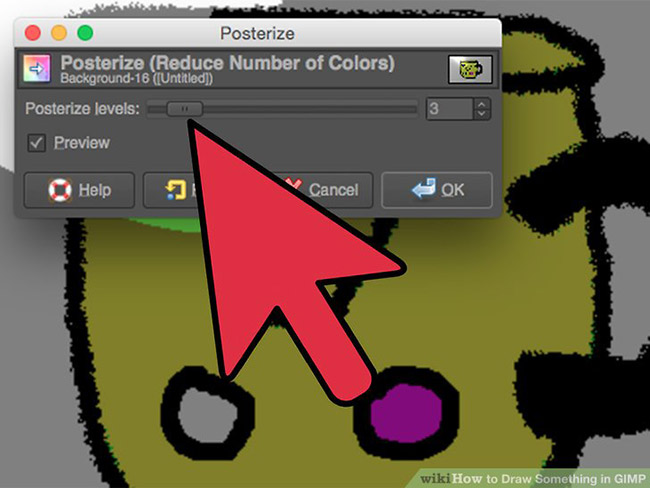
10. Now, create object textures. There are many different methods for this. Choosing which method depends on the type of object that is creating the structure.

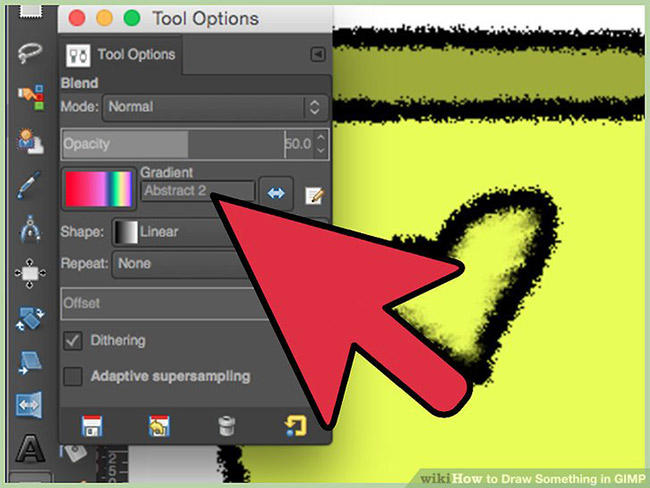
11. Normally, gradients can be used to create textures for objects. Sometimes, users can use the templates that GIMP provides.
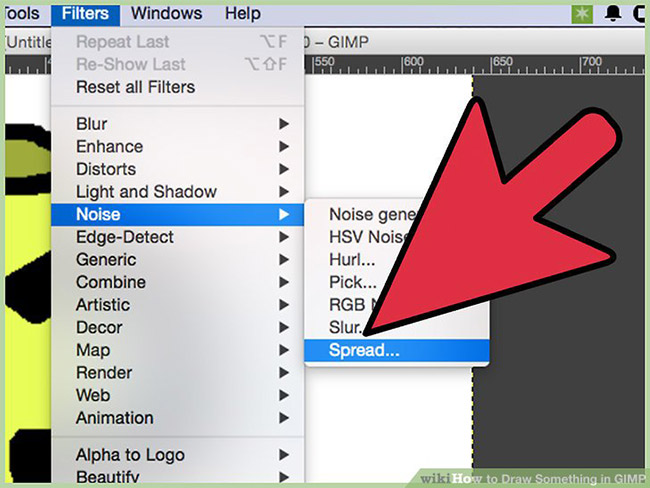
12. To make the texture more solid, try Filters> Distorts> Shift or Filters> Noise> Spread .
13. To make the lines smoother, try using multiple gradients set at lower opacity levels.
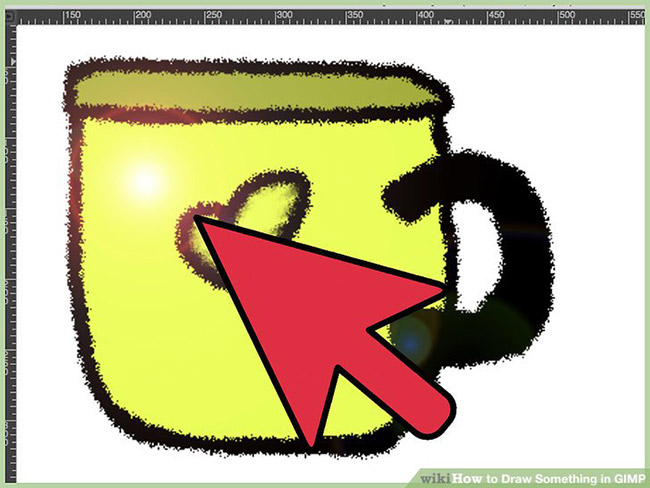
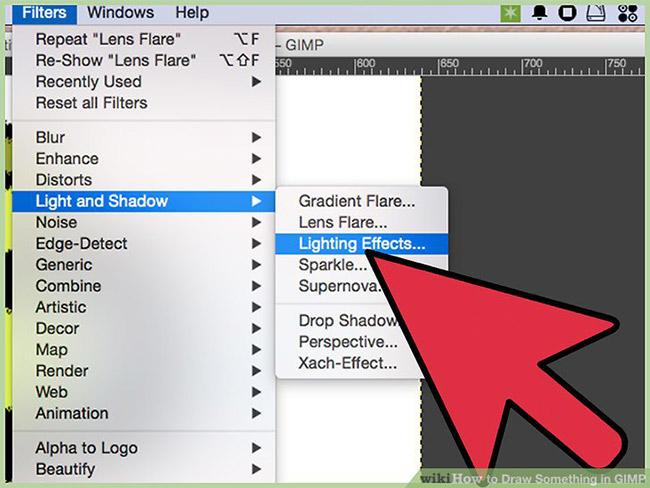
14. After obtaining the desired texture, add some lighting effects. There are several methods to do this.
15. The most common method is to select Filters> Light and Shadow> Lighting effects .
16. Another way is to use a simple black and white gradient set to 'Value' and low opacity.

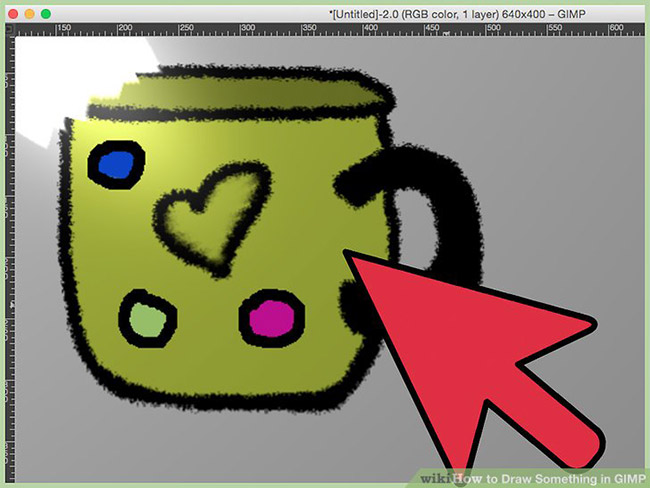
17. Now it's time to add all the necessary details to the subject, such as logos, drinks in the cup, etc.
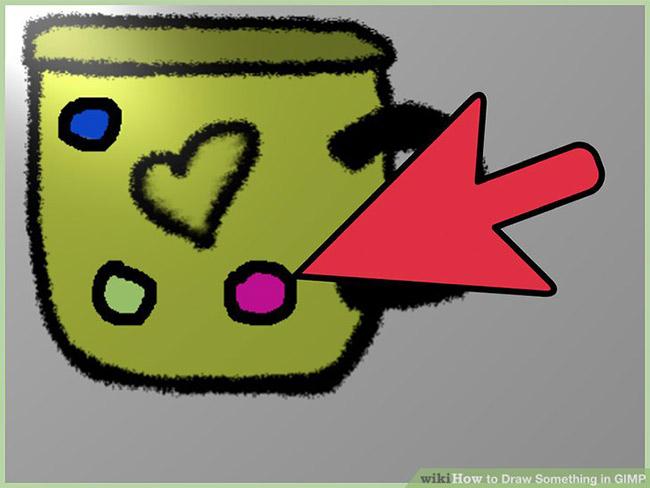
18. Try everything until you get the expected results.
19. Admire the work and continue to adjust if you want.
Good luck!
See more:
- Instructions for drawing arrows with Gimp
- How to convert images into sketches in GIMP
- How to create X-ray effects in GIMP
Was this article helpful?
Your feedback helps us improve.
Related Articles
 How to Draw Something in GIMP5 minutes read
 How to Draw a Wheelchair Shower Ramp in Siemens NX13 minutes read
 Instructions for drawing arrows with Gimp2 minutes read
 New features of GIMP version 2.1010 minutes read
 How to draw borders for text in GIMP3 minutes read
 How to arrange brushes in GIMP with tags5 minutes read
Reader Comments 0
Sign in with email or Google to join the discussion.