Instructions for drawing arrows with Gimp
In the following article, we will show you the basic steps to draw an arrow with GIMP. If done in Photoshop, there will be nothing to discuss, but in the same feature, it is missing in GIMP ...
In the following article, we will show you the basic steps to draw an arrow with GIMP . If done in Photoshop, there is nothing to discuss, but in the same feature is missing in GIMP. First, you need to visit here and download the file arrow.scm , then copy to the GIMP scripts folder (if in Ubuntu, you need to copy /home/username/.gimp-2.6/scripts ). Starting GIMP, you will see the Arrow option in the Tools menu:

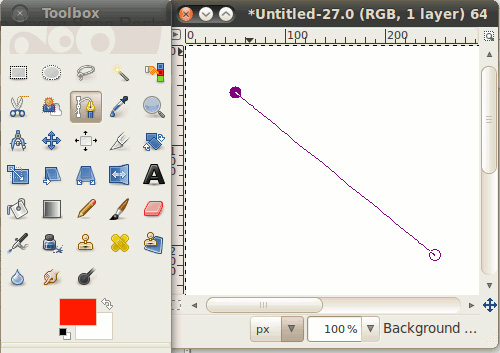
To use this function, click on the Path icon:

On the photo, mark the first and last two points as follows. The previous marker will be the tip of the arrow:
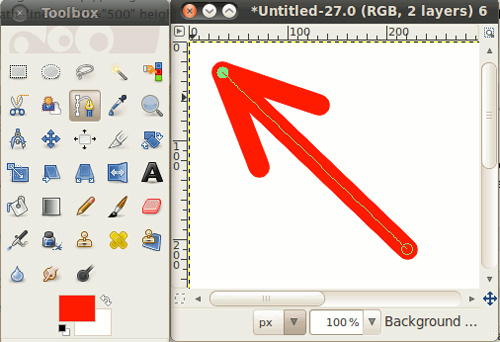
and select Tools -> Arrow:

Here, you can adjust the two sides of the arrow, draw one more end, fill it, increase the thickness . after completing this process, you click OK to save the change. And this is the result of this test:
Good luck!
Was this article helpful?
Your feedback helps us improve.
Related Articles
 Instructions for drawing arrows in Microsoft Word7 minutes read
 Don't miss out on these 11 beautiful free brushes for GIMP7 minutes read
 How to draw arrows in Photoshop2 minutes read
 How to draw an object in GIMP6 minutes read
 How to create X-ray effects in GIMP7 minutes read
 New features of GIMP version 2.1010 minutes read
Reader Comments 0
Sign in with email or Google to join the discussion.