How to downgrade from Windows 11 to Windows 10 simply from A to Z
If Windows 11 is not suitable for you, you want to go back to Windows 10, here is the simplest and fastest way to downgrade Windows 11 back to Windows 10..
The Preview of Windows 11 is available and many people, especially tech enthusiasts, are eager to try it out. So, if you have installed Windows 11 on your PC but it is not as expected and sometimes has a worse experience than Windows 10. In addition, it is an unfinished build, so it may not be stable enough for you. If Windows 11 is not suitable for you, you want to go back to Windows 10, TipsMake will guide you how to downgrade Windows 11 back to Windows 10.
How to downgrade windows 11 in the first 10 days after upgrading
If you joined the Windows Insider Program and installed Windows 11, you can still go back. To do this, you'll need to revert the upgrade within the first ten days, and you'll need to make sure you don't delete your old Windows files after upgrading. These are listed as temporary files in Windows' storage settings, so don't touch them unless you're sure you want to keep using Windows 11. Here's how to downgrade Windows 11 back to Windows 10 within 10 days of upgrading:
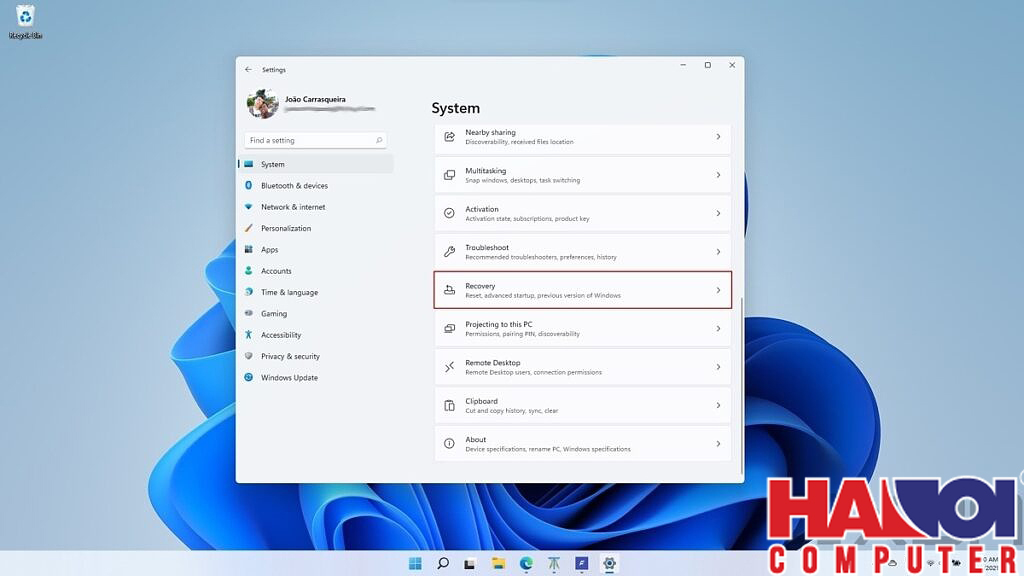
Step 1: Open Settings and go to System section (it will open by default)
Step 2: Scroll down to find the Recovery option and tap on it.
Step 3: When the small window Go back to a previous version of Windows appears , click Go back .
Step 4: Microsoft will ask you why you want to go back, you just need to choose one of the available reasons or you can type the reason you want to go back in the box below. And continue to press No thanks
Step 5: Click Next to go through all Microsoft warnings and the rollback process will begin.
Step 6: Click Go back to an earlier build to complete the return process.
Once the process is complete, you will be back to the version of windows you were using before the upgrade.
However, if you have passed the 10 days to be able to return to the previous version of Windows, how to downgrade Windows 11?
Downgrade Windows 11 by reinstalling Windows 10
To downgrade from Windows 11 via a clean install, you'll first need to back up all your data or anything else you want to keep . This process will erase everything on your computer. You'll also need a USB to serve as your installation media, as follows:
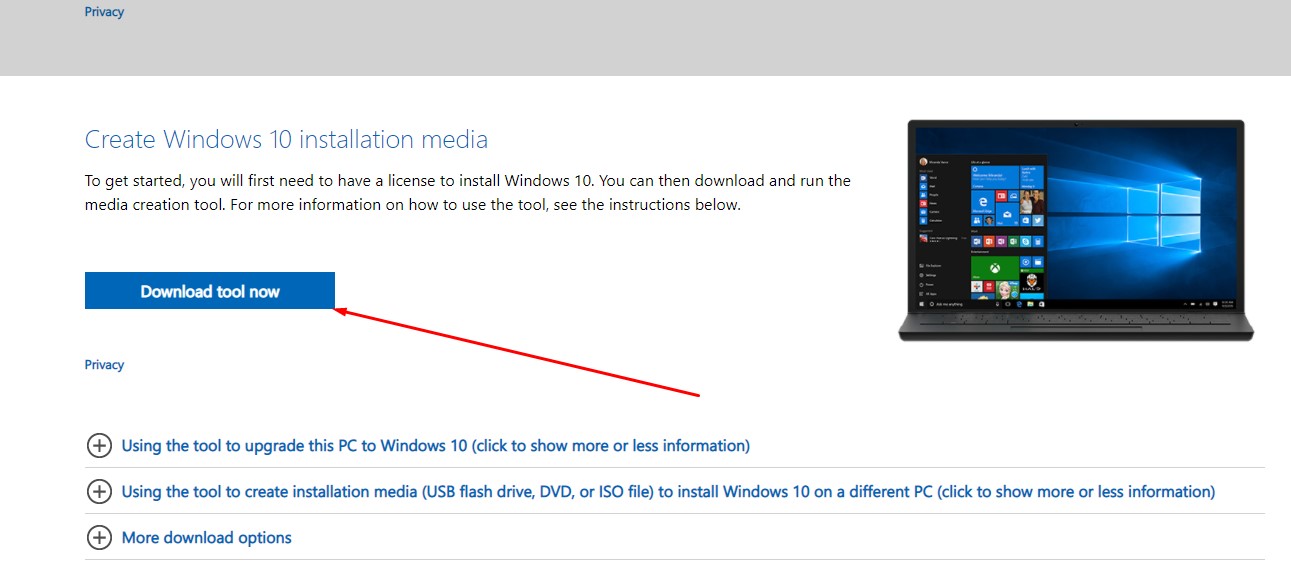
- Go here to download the Windows 10 Installation Media Creation Tool. You will need to click Download tool now .
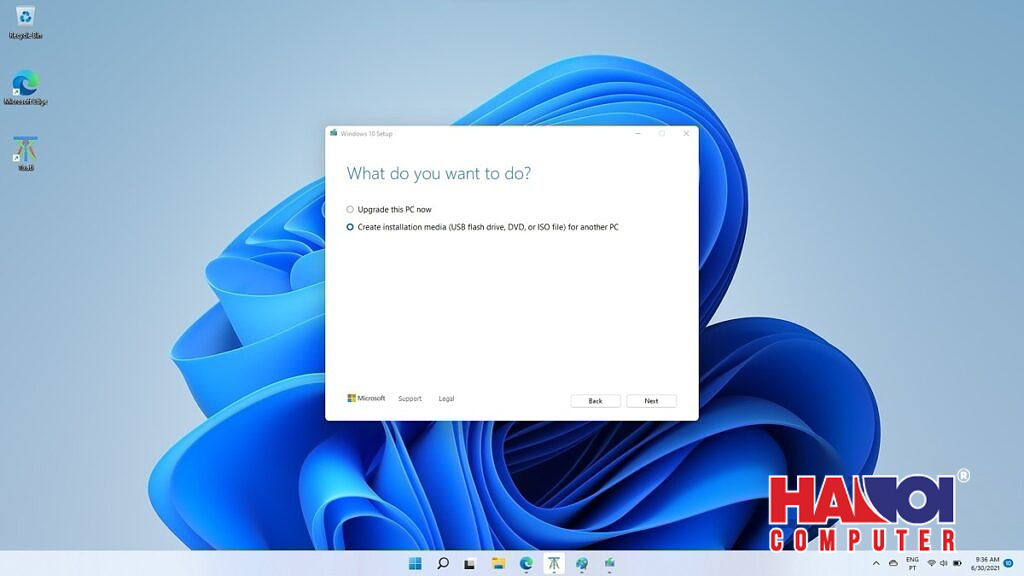
- Run the tool and plug in the USB that you will use as installation media.
- Accept the Microsoft license terms, and then select Create installation media .
- Choose the settings you want for your installation (language, windows version, type) By default it will use whatever settings apply to your current PC.

- On the next screen, select create USB, press Next , then select the drive you want to use as installation media.
- Click Next again and the tool will start downloading Windows 10 and flashing it to USB.
Now that you have a USB to install Windows 10, you are ready to downgrade from Windows 11. You will need to boot from it to start the installation. Here are the steps to reinstall Windows 10
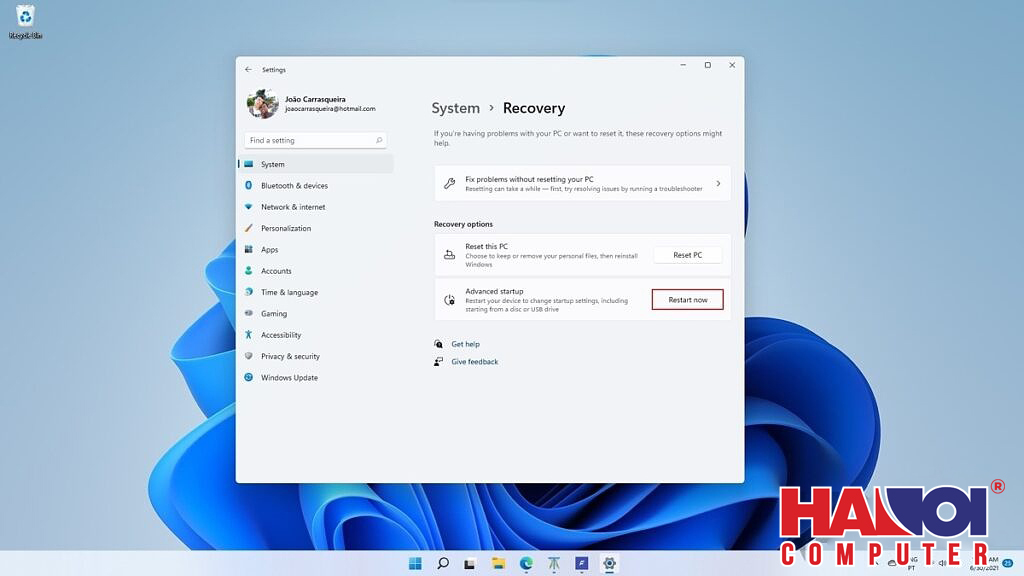
- Step 1: Select Settings -> System -> Recovery.
- Step 2: When it shows Advanced startup , click Restart now .
- Step 3: Your computer will display boot options. You will need to click Use a device, then select the USB you are using as the installation media. Note that to make the installation easier, you need to remove all unrelated USBs from your computer.
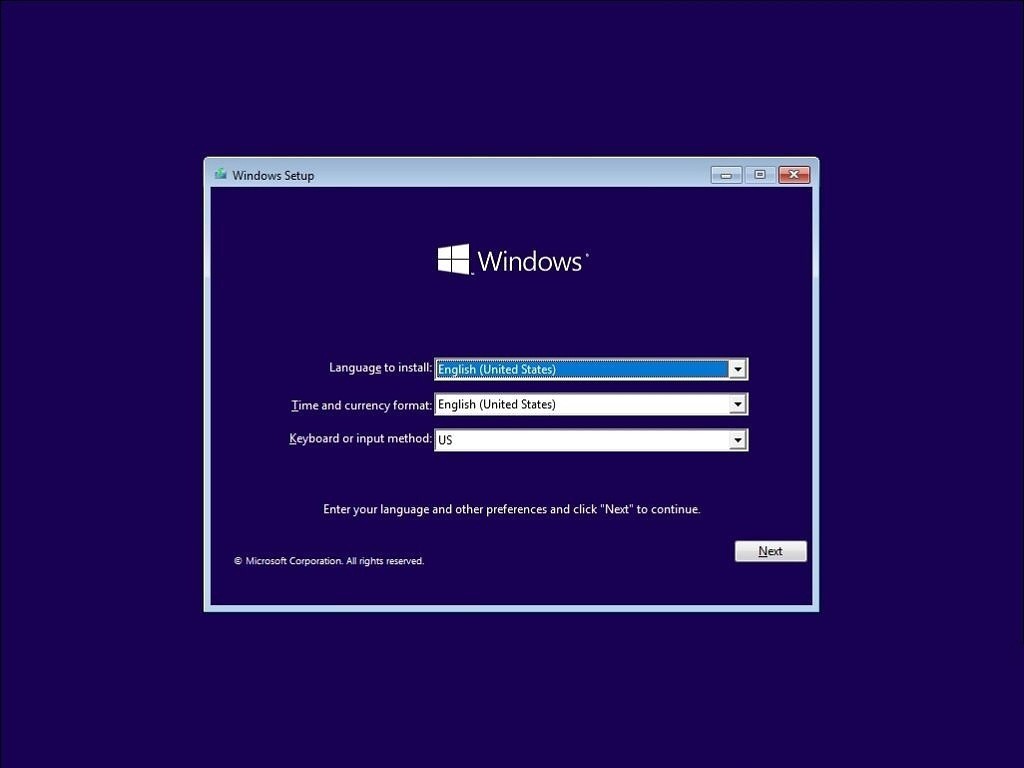
- Step 4: You will now be in the Windows 10 installation environment. Start by selecting your language and region settings, then click Next .
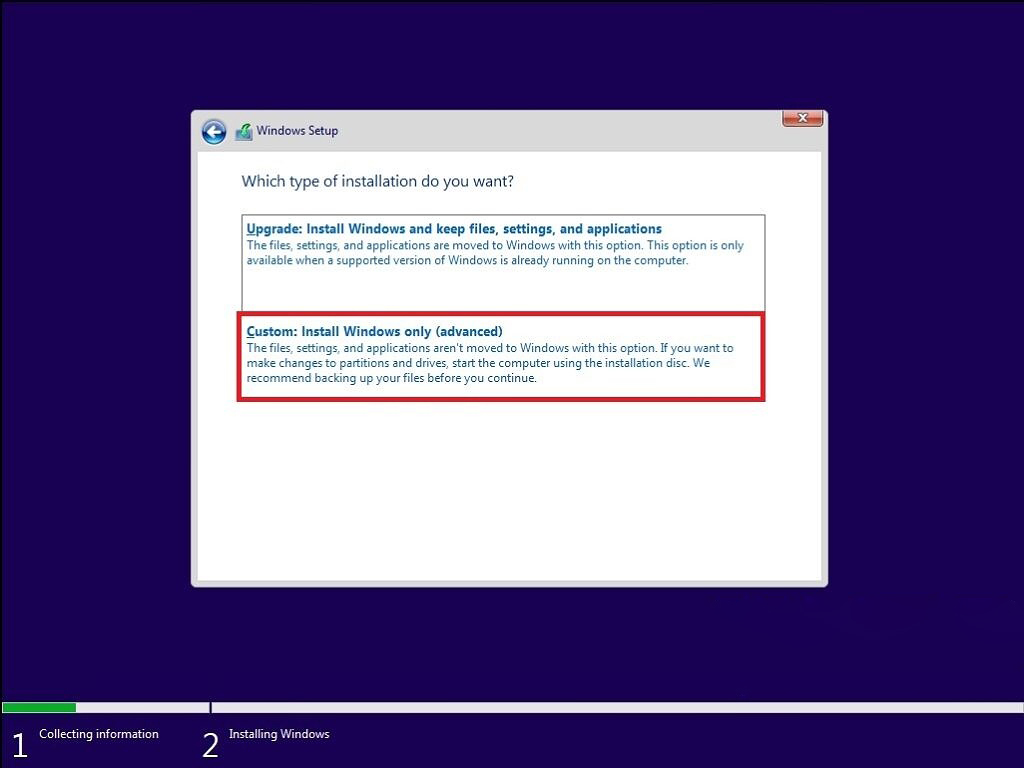
- Step 5: Accept the Windows 10 license terms. In the next screen, you will have to select the option: Install Windows only (advanced).
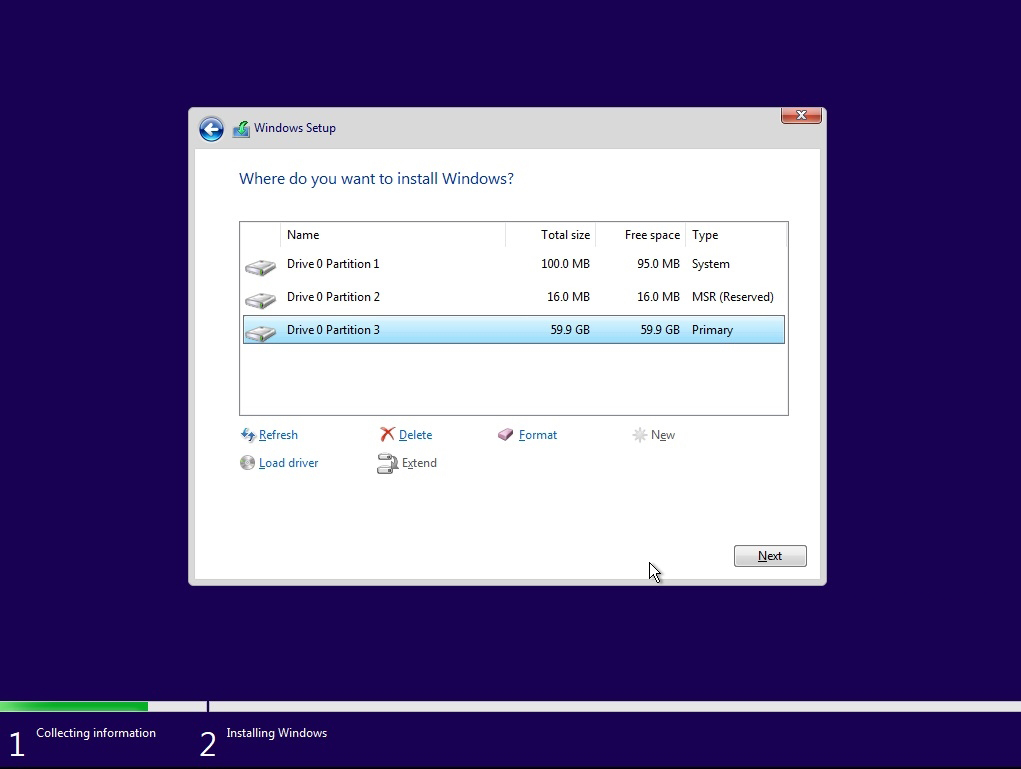
- Step 6: Next, you will see a list of partitions and drives on your PC. You can format the primary partition or delete all partitions on your primary drive, creating a new one.
- Step 7 : We chose to delete all the partitions and create a new one. Since Windows creates additional partitions to work, you will have three or four partitions after that.
- Step 8: Click Next and the installation process will begin.
Once the installation is complete, you'll be taken to set up Windows 10 for the first time, as if it were a brand new computer. Next
Note : Again, before downgrading Windows 11 by reinstalling Windows 10 to make sure you don't lose your data, you should back up your data to a USB or another computer.
Above are two ways to downgrade Windows 11 back to Windows 10 that TipsMake has guided you. If you have any questions or need to buy, please call the hotline 19001903 for free advice and answers.
>>> See more: How to enter safe mode on windows 11 to fix problems