Create your Windows XP SP2 installation disc yourself
You have a CD drive and a WinXP version (original but old). So why don't you think about creating a Windows XP installation disc with the latest updates and patches => it will become your 'standalone'. How to create? Please read the guide below..
You have a CD drive and a WinXP version (original but old).So why don't you think about creating a Windows XP installation disc with the latest updates and patches => it will become your "standalone".How to create?Please read the guide below.(here I will also show you how to install WindowsXP the fastest!)
Step 1 : First you have to prepare a few things:
- Windows XP SP2 upgrade.download
- IsoBuster software (used to create XP bootable disk).download
Step 2 : Upgrade your Windows version so SP2!
- Copy your copy of Windows XP to your hard drive (for example: folder C: XP_SP2 ).
- Open the Command line Start> Run> cmd
- Go to the folder containing the upgrade (my name is D: update ).
- Under the directory of my command line: WindowsXP-KB835935-SP2-ENU / integrate: C: XP_SP2.

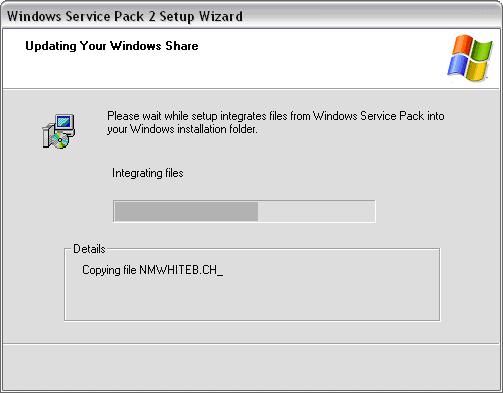
- Enter and the window to update your WinXP files will appear:
- After that, it informs the update process successfully:
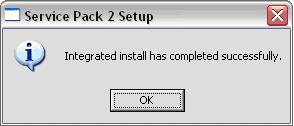
- So your version of XP has been upgraded to SP2 already!
Tip : To keep it simple, run and use the command D: updateWindowsXP-KB835935-SP2-ENU.exe -s: C: XP_SP2 (This method is also used for you to install patches that Microsoft supplies to your installation disk. ).
Step 3: Modify the winnt.sif file in i386 for a smoother installation:
- Open it with notepad (if you don't have this file, write one and save it as winnt.sif ), my file is as follows:
[Data]
AutoPartition = 0
MsDosInitiated = "0"
UnattendedInstall = "Yes"
[Unattended]
UnattendMode = FullUnattended
OemSkipEula = Yes
OemPreinstall = No
TargetPath = WINDOWS
[GuiUnattended]
AdminPassword = *
EncryptedAdminPassword = NO
OEMSkipRegional = 1
TimeZone = 145
OemSkipWelcome = 1
[UserData]
ProductID = "BH6K8-MF4YH-PD6B3-FDJ4G-RGV8B"
FullName = "Doan Duy Thanh"
OrgName = "TH & TH"
ComputerName = DUYTHANH
[Display]
BitsPerPel = 32
Xresolution = 1024
YResolution = 768
Vrefresh = 75
[RegionalSettings]
LanguageGroup = 5.14
[TapiLocation]
CountryCode = 07
AreaCode = 07
LongDistanceAccess = `` 89054586522``
[Identification]
JoinWorkgroup = WORKGROUP
[Networking]
InstallDefaultComponents = Yes
[Branding]
BrandIEUsingUnattended = Yes
Step 4 : Now the main work is done now to burn it:
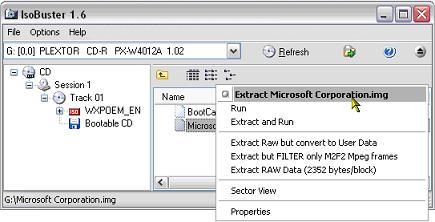
- If you give your XP disk (root), open IsoBuster to select " Bootable CD " folder, right-click Microsoft Corporation.img select Extract Microsoft Corporation.img and then save it to any folder (for example: D: bootXP ).
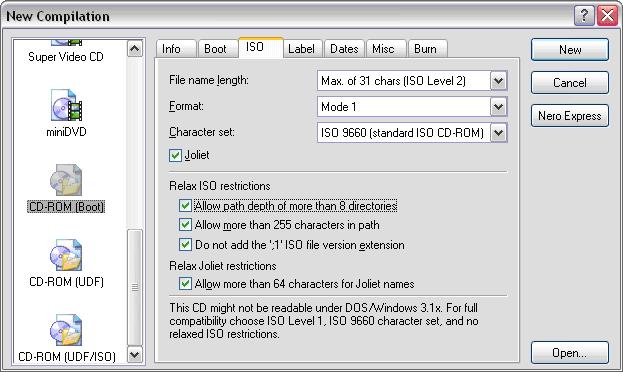
- Now open Nero and select the CD-ROM (Boot) burning type in Nero Burning ROM and then set the parameters as shown below:
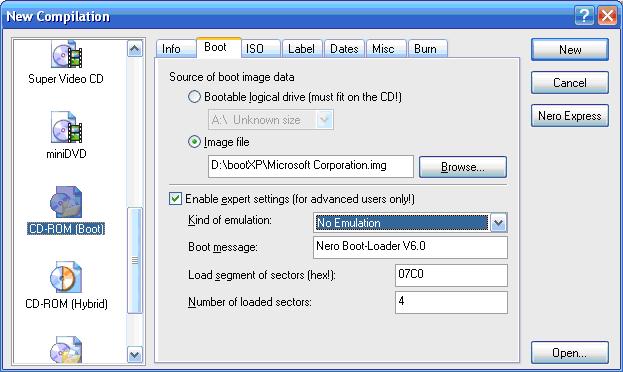
(If you do not change the Number of loaded sectors to 4 then your disk cannot be booted.)
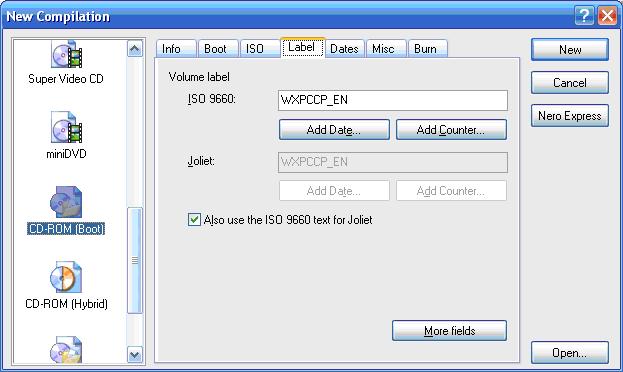
- The disk label you should set is WXPCCP_EN for Windows XP SP2.
- Click New and put all the files in the Windows XP edition folder (my files and folders in C: XP_SP2) to the drive and write it down.It's done.
Good luck !
DTHA - Doan Duy Thanh
Email:dtha20@gmail.com