Table of Contents
This updated guide explains how to Delete and Remove Internet Explorer on Windows 10 through clear steps, practical examples, and important checks that help prevent common errors.

If you notice, Internet Explorer is still present in our Windows 10 and how to remove this browser when you are no longer using it? Let's find out how to delete and uninstall Internet Explorer on Windows 10 in this guide!
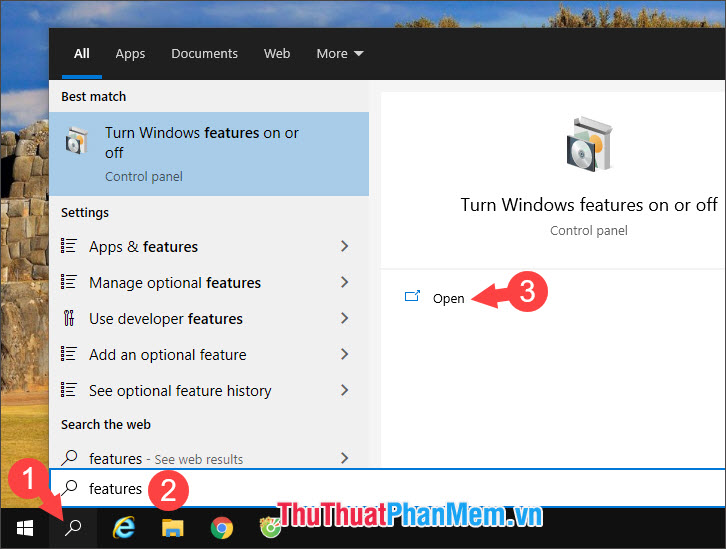
Step 1: You click Search (1) or using the key combination Windows + S . Then you search for the keywords features (2) → Open (3) in the Turn Windows features on or off section .
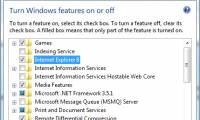
Step 2: Click Internet Explorer as shown below.

If a message appears, click Yes to agree to delete Internet Explorer .
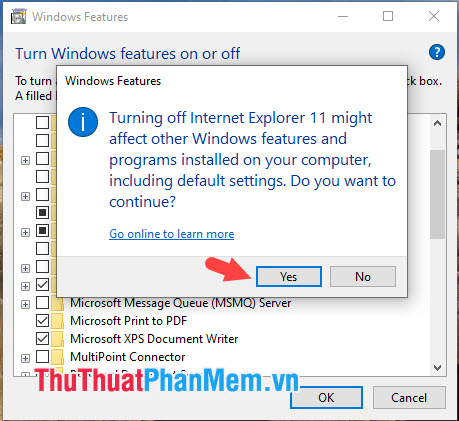
Step 3: Next, click OK to save the settings.

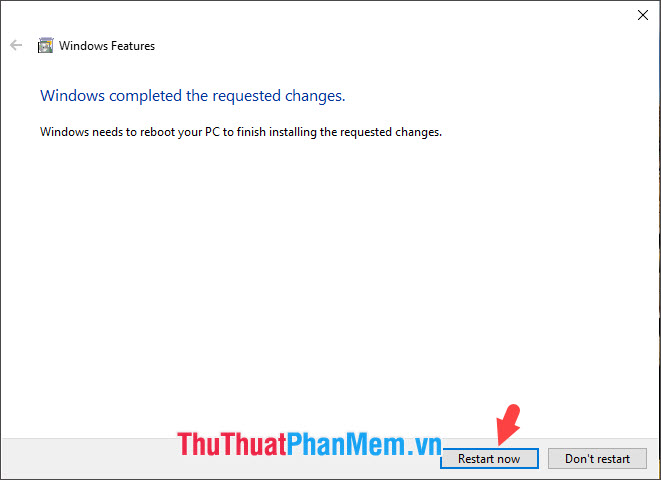
After Windows has finished uninstalling Internet Explorer , click Restart now to restart the computer.
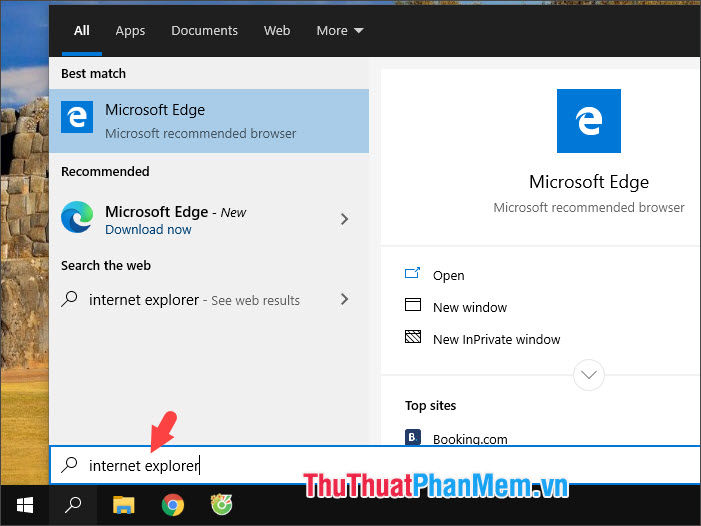
Step 4: After restarting your computer, try opening Search and searching, the Internet Explorer results are no longer successful.
Uninstalling Internet Explorer on Windows 10 will help us save a small amount of storage space and minimize the security holes related to this browser. Have a nice day!
FAQ
What is the easiest way to Delete and Remove Internet Explorer on Windows 10?
Start with the requirements in this guide, then follow each step in order. Check the result after every major change so problems are easier to identify.
Can beginners follow these instructions?
Yes. The process is organized into practical steps, and you can repeat any step before moving forward.
What should I check if the method does not work?
Confirm your software or device version, permissions, settings, file format, and internet connection when the task depends on online services.
Related Articles
 Instructions to Remove Internet Explorer 10 in Windows 82 minutes read
 Instructions on How to Remove Internet Explorer on Windows 103 minutes read
 Microsoft Will Update Windows to Permanently Remove Internet Explorer4 minutes read
 How to Remove Internet Explorer 10 in Windows 82 minutes read
 Windows 7 Allows Users to Delete IE83 minutes read
 How to Completely Uninstall Internet Explorer: Step-by-Step Guide5 minutes read
Reader Comments 0
Sign in with email or Google to join the discussion.