How to Completely Uninstall Internet Explorer
Use Windows 10 Settings

Open Start by clicking the Windows icon in the bottom left corner of the screen.
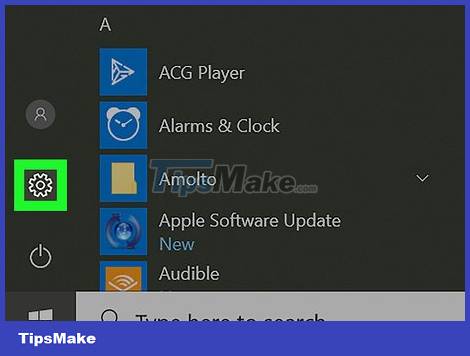
Open Settings by clicking the gear icon in the bottom left corner of the Start window.
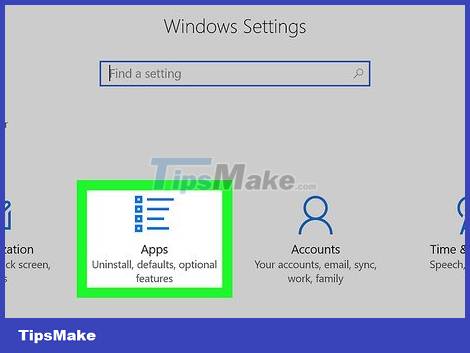
Click Apps in the Settings window.
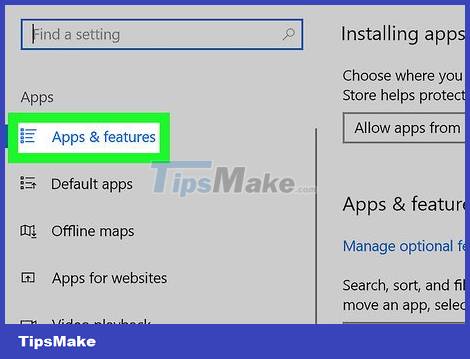
Click the Apps & features heading . It's the tab in the top left corner of the window. This opens a list of programs currently installed on the computer.
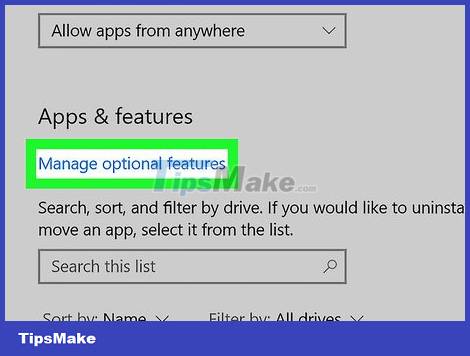
Click Manage optional features . This is the link just below the "Apps & features" heading near the top of the window. When you click this option, you will see a list of optional features installed, including Internet Explorer.
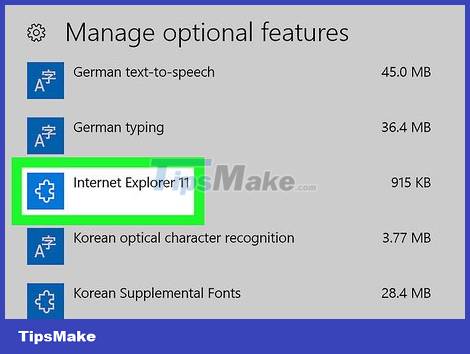
Click Internet Explorer 11 . This option is usually displayed near the top of the page, but you may have to scroll down if your computer has many optional features installed (such as languages).
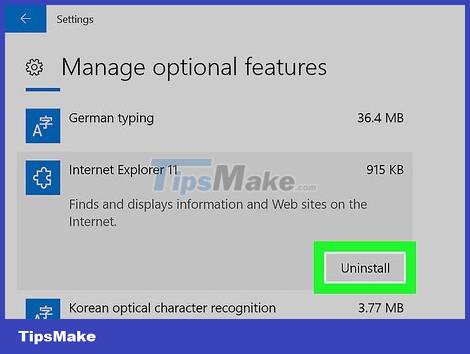
Click Uninstall below the "Internet Explorer 11" heading. Thus, Internet Explorer will begin to be removed from the computer.

Wait for Internet Explorer 11 to disappear. This process only takes a few seconds; Once you see the "Internet Explorer 11" heading disappear from this page, you can continue with other operations.

Restart the computer. Click Start , select Power , and click Restart in the menu that appears. When the computer finishes restarting, Internet Explorer is gone.
Use Control Panel

Open Start by clicking the Windows icon in the bottom left corner of the screen.
On Windows 7, you'll click .
On Windows 8, place the mouse cursor in the upper right corner of the screen, then click the magnifying glass icon that is displayed.
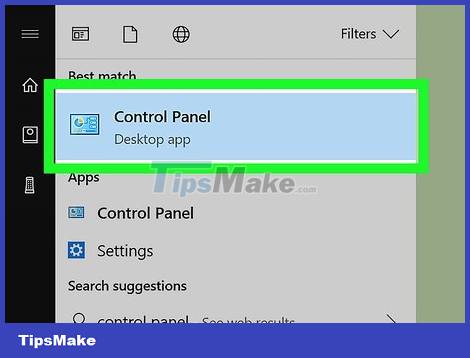
Open Control Panel. Type control panel, then click the Control Panel icon at the top of the Start window.
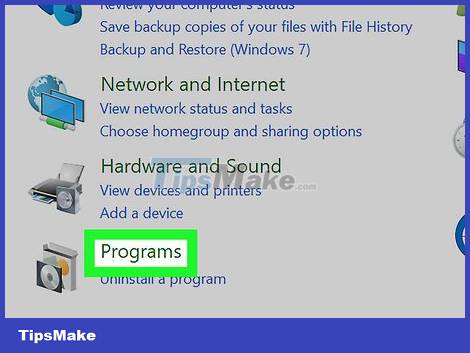
Click the Programs heading . It's near the bottom of the Control Panel window.
If the "View by" heading in the upper right corner of the window has "Large icons" or "Small icons" on the right side, you'll click Programs and Features ( Programs and features).
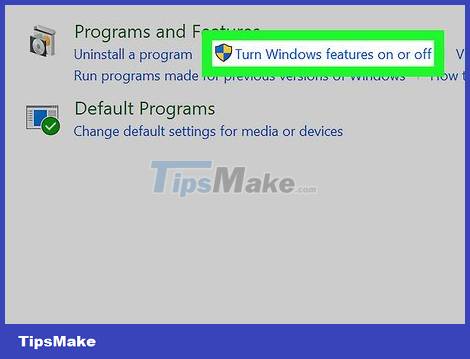
Click Turn Windows features on or off . This option appears below the "Programs and Features" heading at the top of the page or in the upper left corner of the page. After you click on the selection, the screen will display a new window.
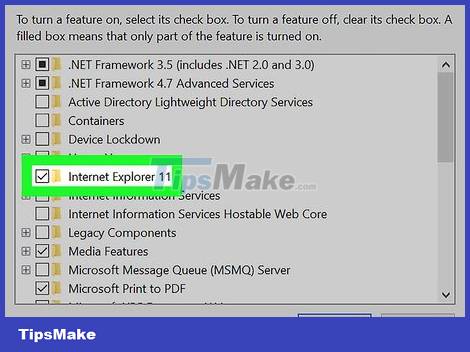
Find and uncheck the "Internet Explorer 11" box. You'll see this option near the top of the window. Clicking the checked box to the left of the "Internet Explorer 11" heading will deselect that selection.
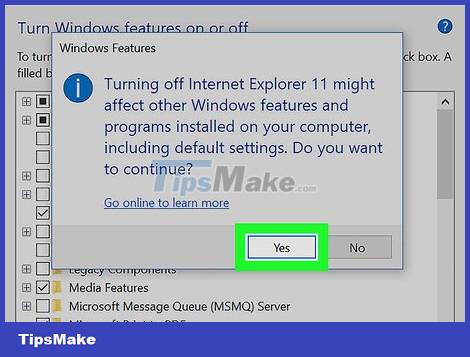
Click Yes when asked. This confirms that you want to remove Internet Explorer from your computer.
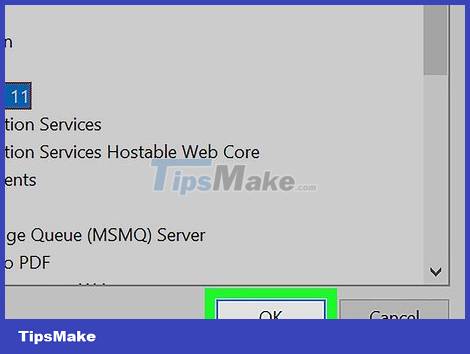
Click OK at the bottom of the window to tell your computer to disable Internet Explorer.
This process may take a few minutes to complete.

Click Restart now when asked. This is the option in the bottom left corner of the window. Once the restart is complete, Internet Explorer 11 will no longer be on the computer.