How to Crop Pages in a PDF Document
This article shows you how to cut and merge several parts of one or more PDF documents into a single document. You can perform the operation on a Windows computer using a combination of Snipping Tool and Microsoft Word, or use Preview on Mac. If you can't use Microsoft Word and/or Preview, you can use a free online PDF splitting and cropping tool called PDF Resizer.
Table of Contents
Use PDF Resizer
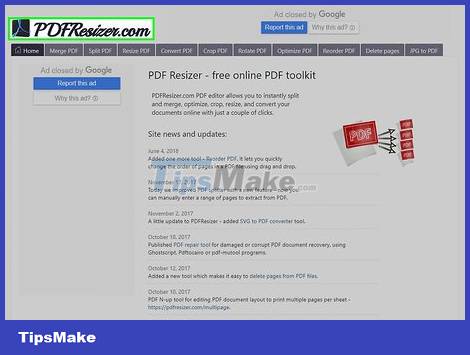
Open the PDF Resizer site by visiting https://pdfresizer.com/ from your browser.
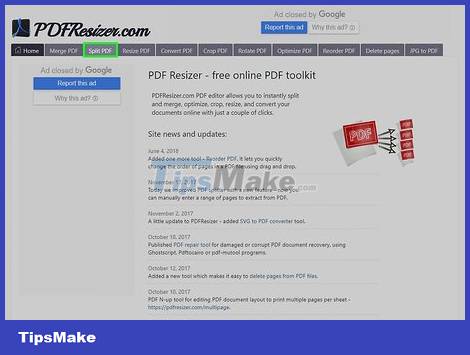
Click the Split PDF tab . It's in the upper left corner of the page.
If your PDF file has only one page, skip to the "Click the Crop PDF " tab.

Click the gray Choose Files button in the middle of the page to open a new window.

Select your PDF. Click the PDF file you want to use. First, you'll probably need to click the folder where the file was saved (such as Desktop ) on the left side of the window.
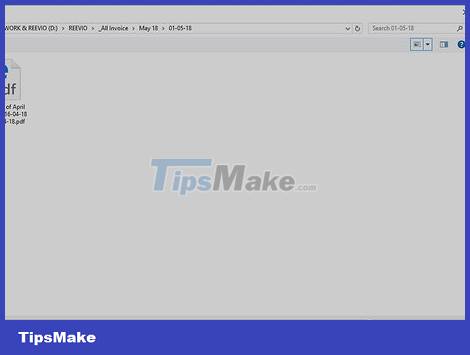
Click Open . It's in the bottom right corner of the window. This will add your PDF file to the PDF Resizer page.
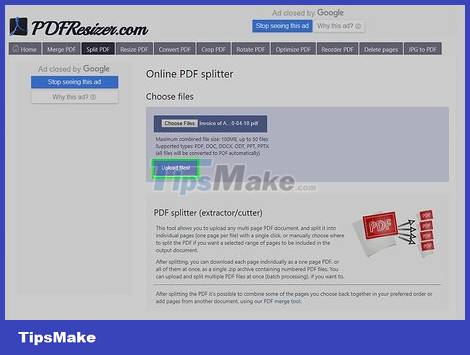
Click the Upload files button! (Upload file! ) in purple near the bottom of the page.
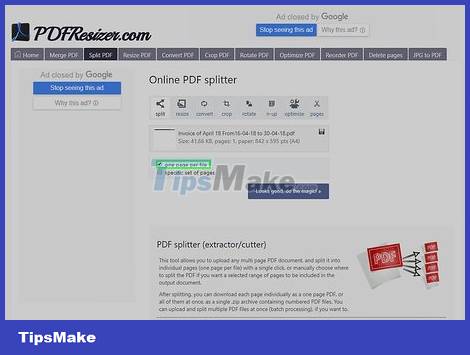
Check the "one page per file" box below the PDF window.

Split PDF. Click the Looks good, do the magic! (Looks good, let's create magic!), then wait for the PDF file to be split into individual pages.
This process may take a few minutes if your Internet connection is weak or the PDF file is large.
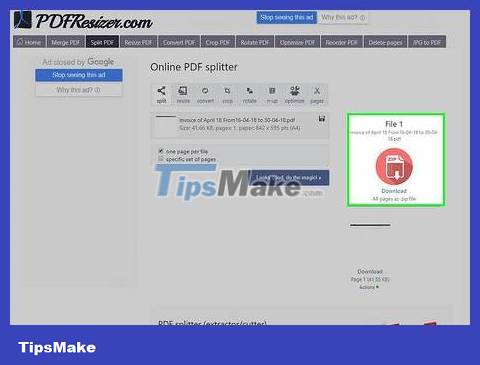
Download PDF. Click the Download circle button on the right side of the page to download each PDF page to your computer.
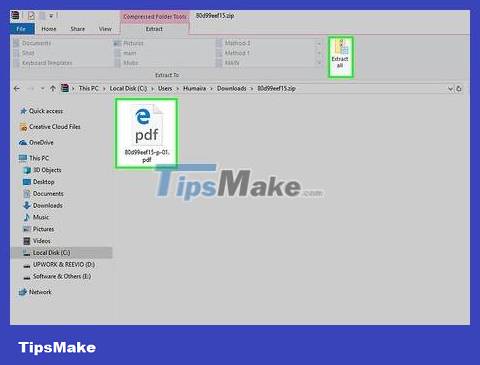
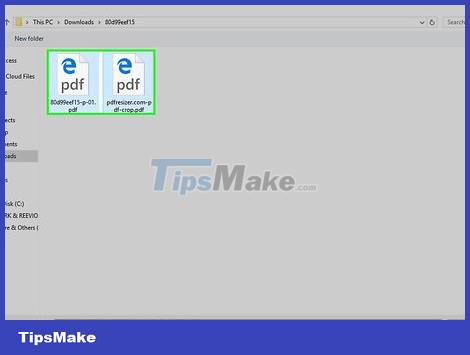
Unzip PDF files to ensure you can cut and merge documents. The operation is performed as follows:
On Windows - Double-click the ZIP folder, select Extract , click Extract all , and select Extract when prompted to extract the folder.
On Mac - Double click the ZIP folder to extract it.
Open the PDF Resizer page again. If you closed the PDF Resizer page, you need to reopen it at this step.
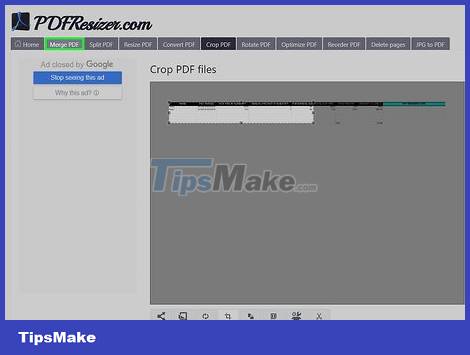
Click the Crop PDF tab at the top of the PDF Resizer page.
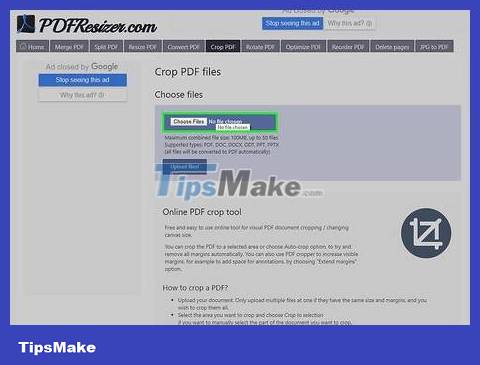
Click Choose Files .
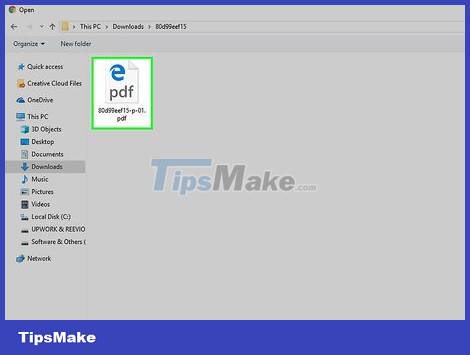
Select PDF page. Click one of the PDF pages you just split.
You can only crop one page at a time. If you upload multiple pages, all pages will have the same cropping style.

Click Open . It's in the bottom right corner of the window.
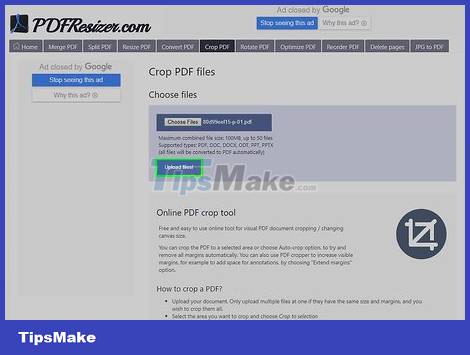
Click Upload files! (Upload file) .

Select the crop area. Click and drag on the part of the PDF document you want to save.
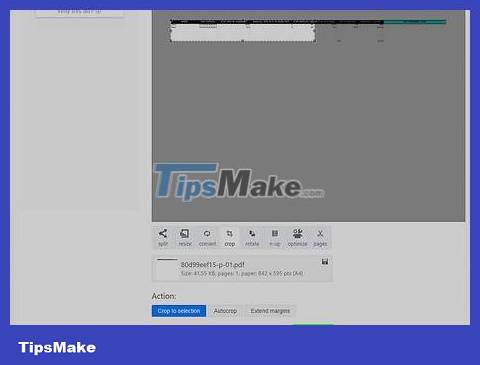
Click the Crop it button! (Cut) near the bottom of the page.

Load the page. Click Download below the cropped PDF section on the right side of the page to download the file to your computer.
Now you can upload another PDF page and continue cutting if multiple pages need to be cut.
Click the Merge PDF tab on the far left of the toolbar at the top of the page.
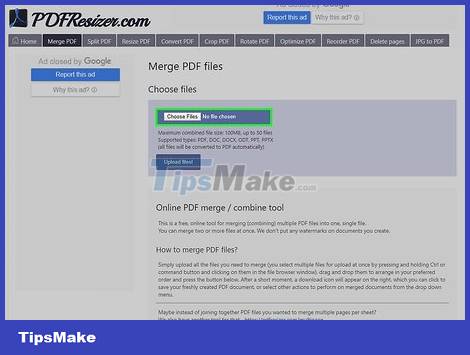
Click Choose Files .
Select all PDF pages. Click and drag across all the pages you want to merge, or hold the button Ctrlwhile clicking each file you want to upload.
You can select multiple files up to 100MB or 50 pages, whichever is met first.
Click Open . It's in the bottom right corner of the window.
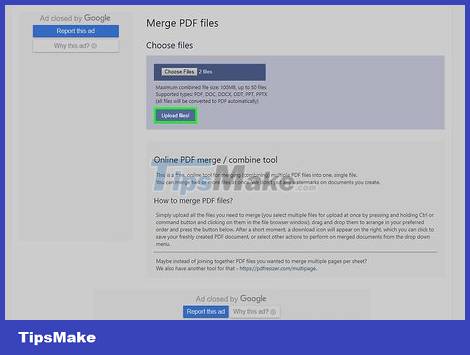
Click Upload files! (Upload file) .
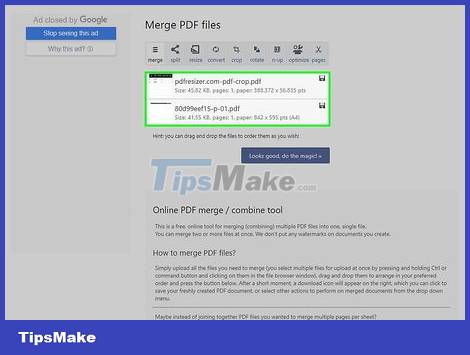
Review the order of PDF documents. If the PDF pages are in the correct order, you can proceed; otherwise, you click and drag the pages up or down to rearrange the position.
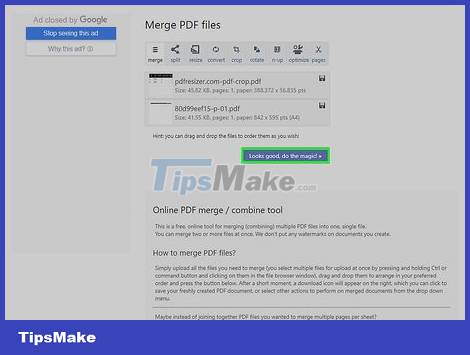
Click Looks good, do the magic! near the bottom of the page. This will merge individual PDF pages into a single file.
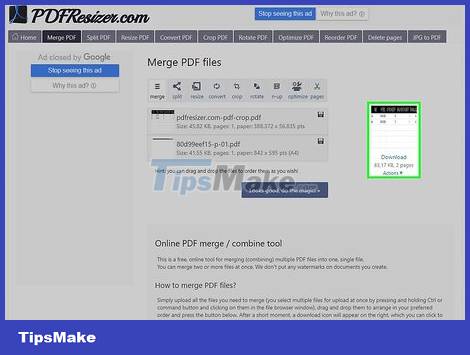
Drag the slider down and download the PDF. Click Download below the merged PDF file on the right side of the page to download the PDF to your computer.
Use Word on Windows
Open the PDF document with a PDF reader program such as Adobe Reader.
If you don't have a reading program available, you can download Adobe Reader for free at the Adobe Reader site.
Scroll down to the page you want to crop. If the PDF file has multiple pages and you want to crop a specific page, be sure to open that page before continuing.
Open Start . Click the Windows icon in the bottom left corner of the screen.
Type snipping toolto find the Snipping Tool program on your computer.
Click the Snipping Tool at the top of the Start window to open a small window above the PDF file.
Turn on the "Rectangular Snip" option. Click Mode above the Snipping Tool window, then click Rectangular Snip in the selection list. The mouse pointer will become a cross icon.
Select the crop area. Click and drag the crosshair icon on the part of the PDF document you want to cut. When you release the mouse pointer, the selected part will be cut out.
Release the mouse button to crop the PDF according to the selected area.
Click the "Save" button with the purple floppy disk icon at the top of the Snipping Tool window to open the File Explorer window.
Click the "Desktop" folder on the left side of the File Explorer window. This will select the Desktop as the place to save the cropped PDF, making it easier for you to find it again.
Click Save in the bottom right corner of the window to save your file to the selected folder under the name "Capture".
Now, you can go back and crop other pages or PDF documents that you want to crop.
Open Microsoft Word with the white "W" icon on a blue background.
Click Blank document in the upper left corner of the window to open a blank page.
Click the Insert tab , then click Picture . You'll see Insert at the top of the Word window, and Picture in the "Illustrations" section of the toolbar.
Select the photo you cropped from the PDF. Click the Desktop tab on the left side of the window, then click the "Capture" image and select Insert .
If you've cropped multiple photos, hold down the key Ctrlwhile clicking each photo you want to add. Remember to click the images in the order you want them to appear.
Click File , then select Export . The File tab is in the upper left corner of the window, and Export is near the bottom of the list that appears.
Create PDF documents. Click the Create PDF/XPS Document tab on the left side of the screen, then click Create PDF/XPS in the middle of the page.
Save the file. Click the save folder on the left side of the window, then give it a name and click Publish in the bottom right corner of the window. Your Word document with cropped images will be saved as a new PDF file.
Use Preview on Mac
Open the PDF document using the Preview application. Double-click the blue Preview application with the icon of two overlapping photo frames, select File in the menu bar, click Open. in the displayed list, select the file. in the dialog box, and click Open in the lower right corner of the window.
Preview is Apple's default photo viewing application that is usually available on most Mac OS versions.
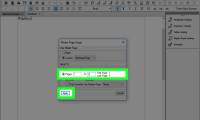
Click View in the menu near the top of the screen to open a list of options.
Click Single Page in the drop-down list to display the entire page in the Preview window.
Click Tools in the menu.
Click Rectangular Selection in the selection list.
Select the area to cut. Click and drag the crosshair icon on the part of the PDF document you want to keep. For example, if you want to keep the header but remove the footer, drag the cross icon from one corner of the header down to the section you want to keep.
Release the mouse button. The selected part will be inside the rectangular frame.
Click Tools in the menu one more time.
Click Crop . The remaining document outside the selected area will be cut off.
Repeat this process on each page you want to crop.
Click File in the menu, then select Export as PDF… from the list that appears.
Click Save in the bottom right corner of the window to save the cropped PDF portion of the original file.
Was this article helpful?
Your feedback helps us improve.
Related Articles
 How to Crop a Picture in Word5 minutes read
 How to delete PDF pages extremely quickly7 minutes read
 How to Create and Apply Master Page in an Adobe FrameMaker Document5 minutes read
 How to crop pictures in OneNote app?3 minutes read
 What is the difference between Crop and Resize? When should you crop and when should you resize an image?5 minutes read
 How to add pages in Word2 minutes read
Reader Comments 0
Sign in with email or Google to join the discussion.