How to create Drop Cap in Word
Drop Cap is a functional term in text editing. You will often see Drop Cap in those articles is when the first letter of an article is enlarged more than the rest.
To be able to create Drop Cap for text, you follow the steps below.
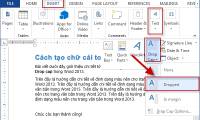
You highlighted the first letter of the paragraph you want to create Drop Cap . Next, you open the Insert ribbon on the toolbar.

Then you look to the right end of that ribbon, click Drop Cap .
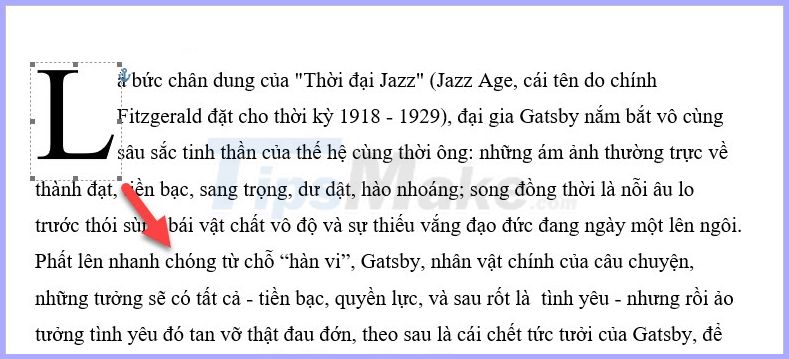
There are two types of Drop Cap you can choose. One is Dropped , the first enlarged letter will fit within the text as shown below:

Or type In margin , the letters Drop Cap will be on the margin of the text like the image below:

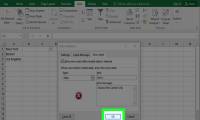
And you can optionally change the two types of Drop Cap by clicking on the Drop Cap Options line .
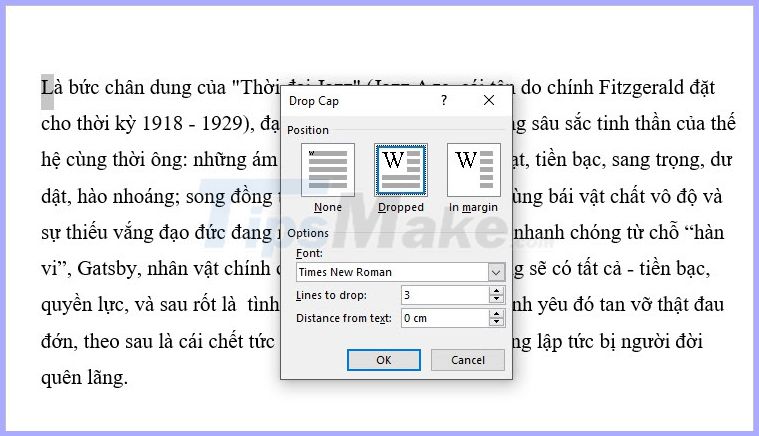
Here, you can change the Options options such as font, Drop Cap line number drop down or first letter size.
In the Position you can customize the position and style of placing Dropcap (corresponding with the image shown next).
- None : Do not create Drop Cap.
- Dropped : Create Drop Cap takes place in the paragraph.
- In margin : Create a Drop Cap on the margin.
In Options , you can customize other options such as:
- Font : Adjust the font for Drop Cap.
- Lines to drop : Adjust the number of lines corresponding to the height that the Drop Cap occupies.
- Distance from text : Adjust the distance from the text.
If you do not want to adjust in it, you can adjust it manually by clicking on the letters Drop Cap and stretching it or shrinking it with the mouse.
Was this article helpful?
Your feedback helps us improve.
Related Articles
 Create Drop cap big letters in Word2 minutes read
 How to create a drop list in Excel 201613 minutes read
 How to create large text at the beginning of the text on Word3 minutes read
 How to create drop down lists in Excel5 minutes read
 How to Create a Drop Down List in Excel6 minutes read
 How to create drop down lists on Google Sheets2 minutes read
Reader Comments 0
Sign in with email or Google to join the discussion.