How to create a website contact form with Google Forms
Google Forms is a powerful tool used to create surveys and online questions. However, that is not all. With this tutorial, you can create a contact form that can be embedded directly into the website.
Creating a contact form on Google Form is very simple. Google even has a number of templates you can use, saving you time. You just need to download the template and customize it as you like, then embed the form directly into the website.
- How to create a Google Form form on Google Drive
- Instructions on how to embed Google Forms into WordPress
- Instructions for using Microsoft Forms
Create contact form
To get started, visit the Google Forms homepage and click on the Template Gallery in the upper right corner or you can select Contact Information next to Blank if available.
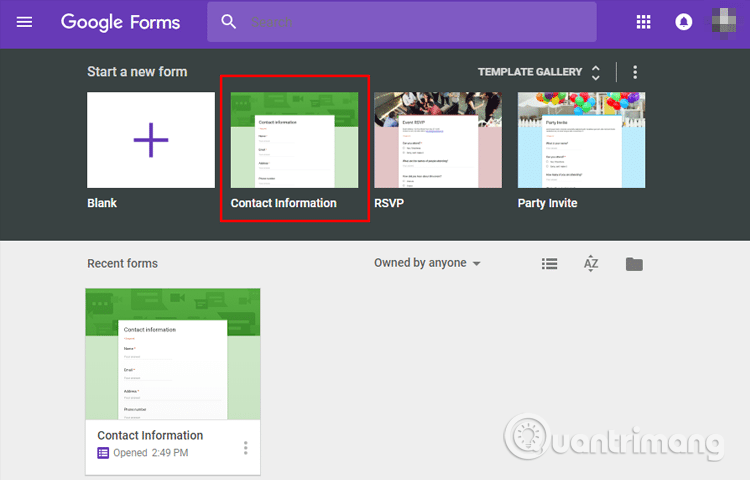
If you don't see it, on the Template Gallery page, you will see templates divided into different categories. In the Personal section, click on the template titled Contact Information .

Customize contact form
The default template has entries for names, emails, addresses, phone numbers and comments. If you want to add other items to the form, click the plus sign (+) to add a field or question.
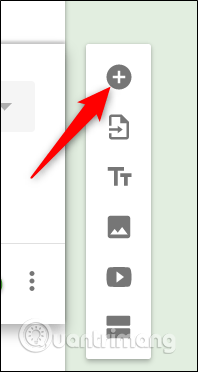
By default, the name, email and address are required fields entered in the form. To enable / disable a required part, click on the desired field, then turn on or turn off Required .

To change the form theme, click on the color palette at the top of the page to select the title color, primary color and font. Choose colors that match your website theme here and they will show up when you embed the form on the website.

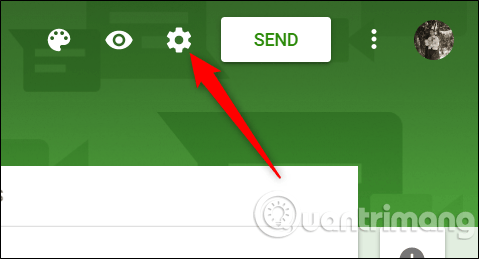
Finally, click on the Settings serrated icon to change the form behavior when the respondent fills out the form.
The first tab has a few settings you can activate. From here, you can collect email addresses, send copies of their feedback via email and limit each person to only one submission. You can also allow respondents to edit their answers after they have been submitted or see the summary chart at the end of the survey.
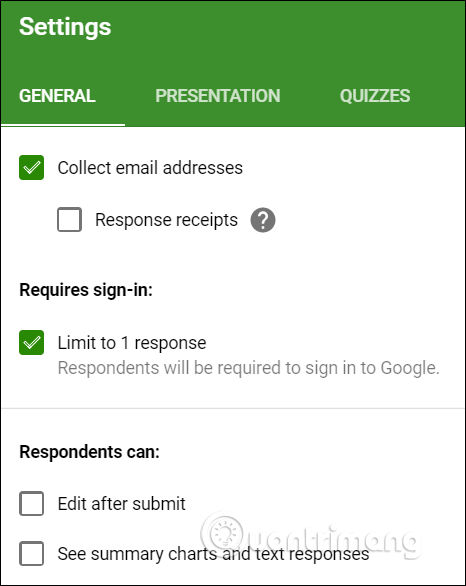
Note: If you enable Limit to 1 response , the respondent must log in with their Google account to access your form. Without a Google account, they will not be able to send feedback. If you think everyone has a Google account, you can enable this option.
The Presentation tab also has some settings, but you only need to consider the Confirmation message section so that the respondent can see the message after submitting the form.
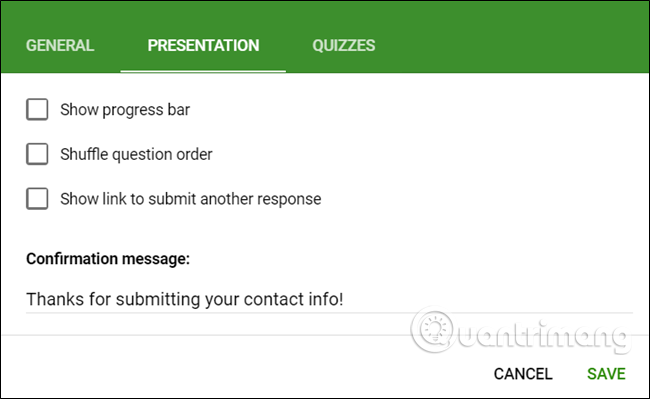
Once completed, click Save to confirm any changes made and return to the form.
Embed contact form in website
After creating the contact form, click the Send button at the top of the page.
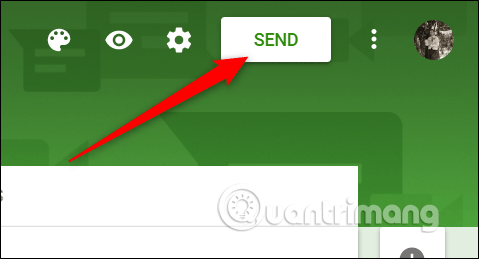
Click on the curly braces tab ( <> ), then click on Copy to copy the embedded HTML.
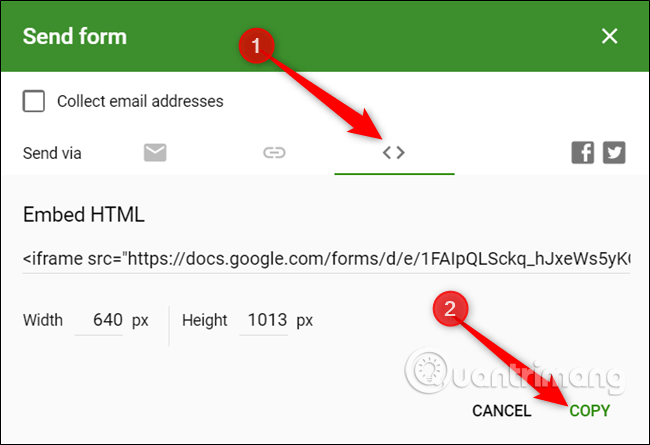
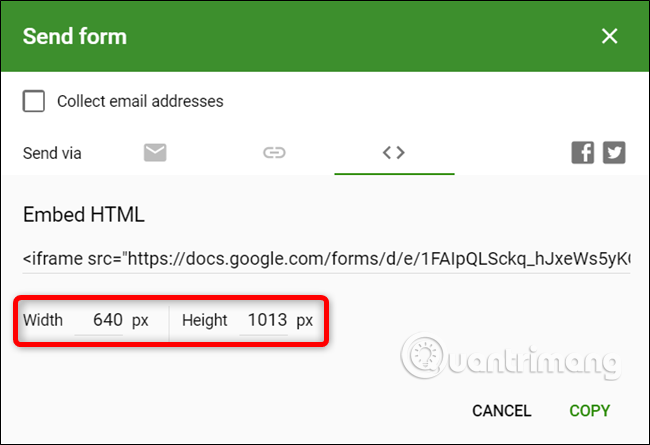
If you want to change the size of the form and how it appears on your website, change the width and height below the HTML code before clicking Copy .
Now, paste the code into the HTML editor of the WordPress site or directly into the .html file of the website, where you want the form to appear.
If the size is incorrect, just go back and edit the width, height and copy the code again until you are satisfied.
Collect feedback in Google Sheets
One of the best features of Google Forms is that all responses can be submitted directly to the Google Sheets sheet. From here, you can use Sheets formulas and tables, see real-time answers and install add-ons to analyze and filter data.
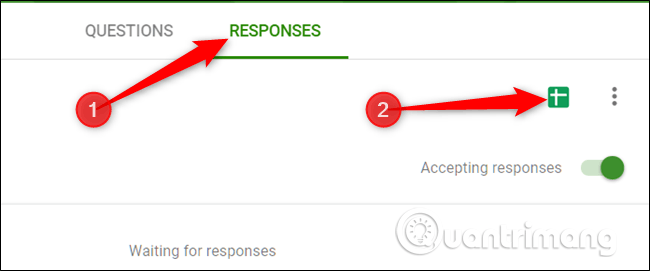
To set up the response spreadsheet, select the Responses tab and then click on the green Sheets icon.
Next, click Create to create a new spreadsheet to store your answer.
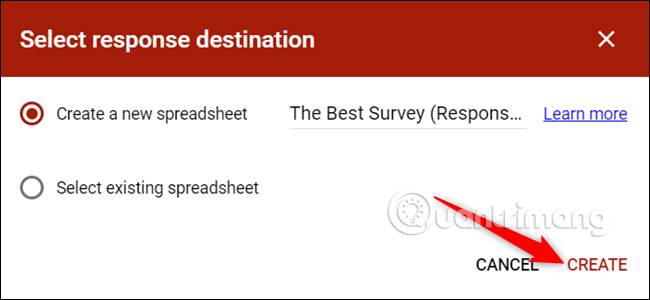
In addition, if you already have a spreadsheet you want to import, click on Select existing spreadsheet and follow the instructions. This spreadsheet will be saved in Drive and available on the Sheets homepage.
Each spreadsheet contains all the responses, along with a timestamp when completing the survey, making it easy for you to contact your customers.
I wish you all success!