How to create a simple contact form using HTML, CSS, and JavaScript

Contact forms are an important element in the web, allowing users to reach queries, feedback or requests from viewers.
Here's how to create a basic contact form for your website. From setting up your project to adding form validation and styling, make sure you have a beautiful contact form.
Project setup
Before starting to code, make sure to set up your programming environment. Open your favorite editor or one of the recommended IDEs like Visual Studio Code or Sublime Text.
Create project folders to keep your HTML and CSS files organized. In this folder, create separate files for HTML ( index.html ) and CSS ( style.css ). Finally, link the CSS file within the HTML document's body using the tag.
Create HTML structure
The foundation of a contact form is its HTML structure. Here's how you can create the necessary HTML elements for a contact form.
Welcome to my Form
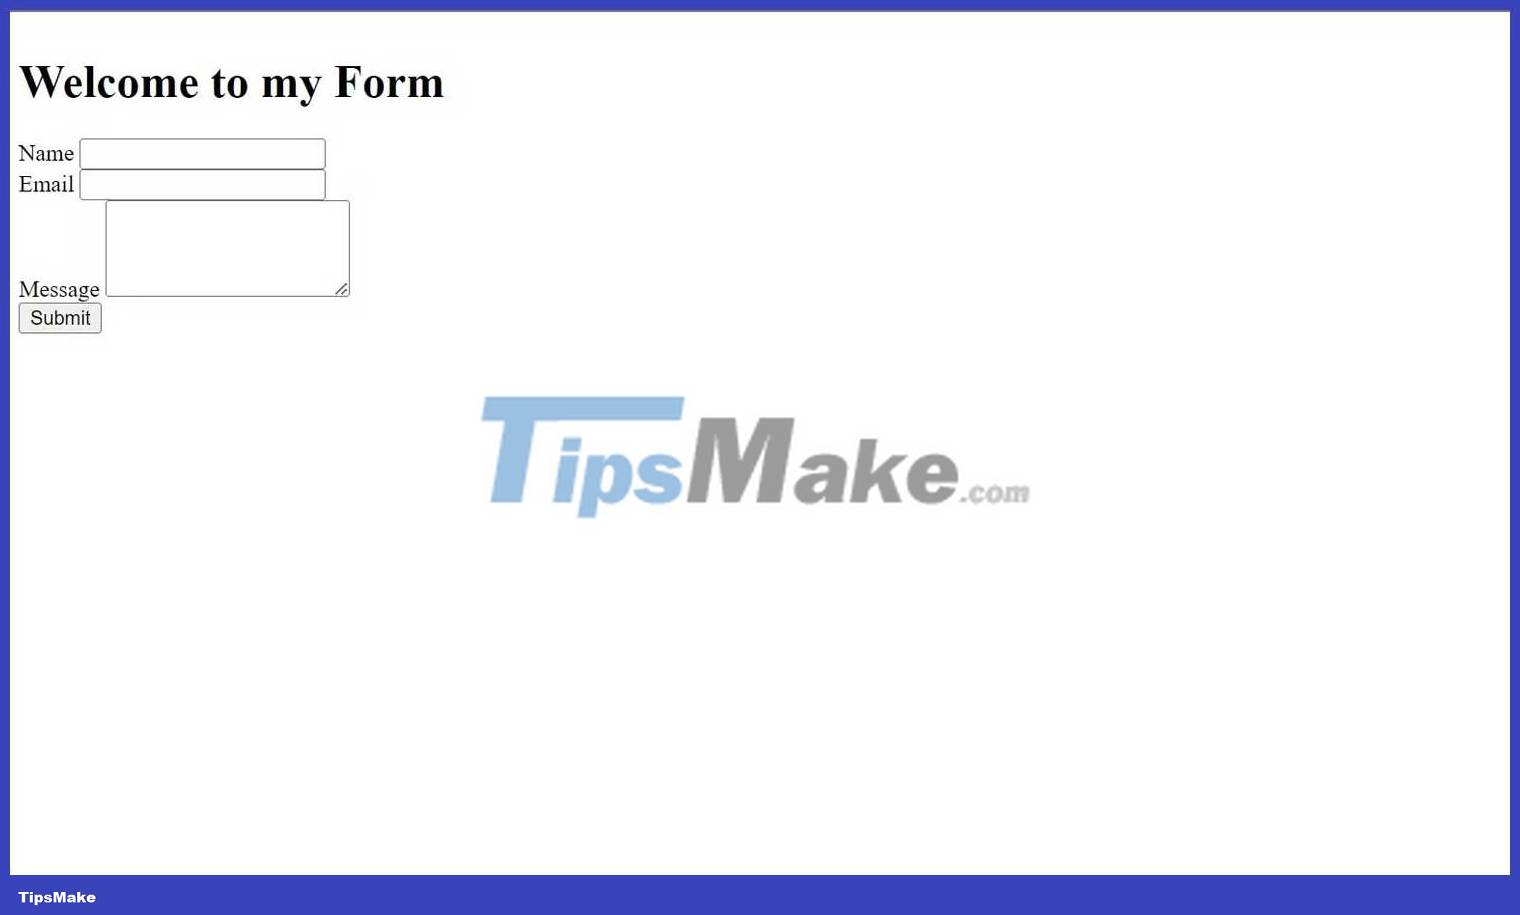
The above HTML code creates a form component and contains input fields to receive user input for the contact form. Currently, your contact form will look like this:

Style the contact form
An attractive and user-friendly contact form will enhance the overall experience. The CSS code below uses flexbox properties and CSS box templates like padding and margin to style the contact form for a better user experience.
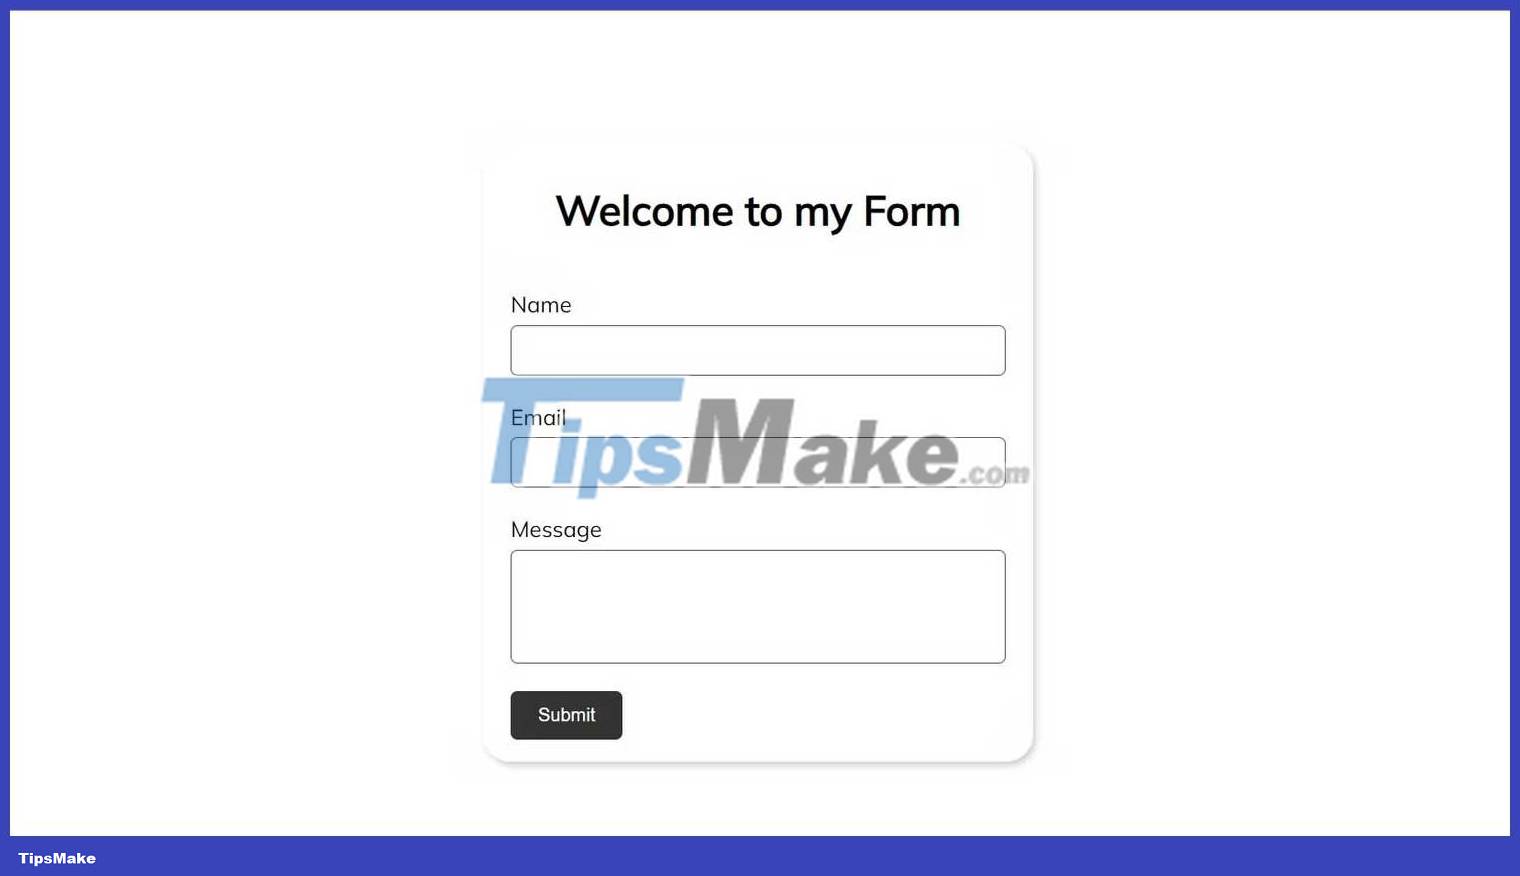
* { margin: 0; padding: 0; box-sizing: border-box; } html { font-size: 62.5%; } body { font-family: "Mulish", sans-serif; height: 100vh; display: flex; justify-content: center; align-items: center; } main { width: 40rem; box-shadow: 2px 3px 5px rgba(0, 0, 0, 0.2); margin: 0 auto; height: 45rem; border-radius: 2rem; padding: 2rem; } h1 { text-align: center; font-size: 3rem; padding: 1rem 2rem; } form { margin: 3rem 0; display: flex; flex-direction: column; row-gap: 2rem; } .input__container { display: flex; flex-direction: column; row-gap: 0.5rem; } .input__container label { font-size: 1.6rem; } .input__container input, textarea { padding: 1rem 2rem; border-radius: 5px; border: 1px solid #555; resize: none; } button { align-self: flex-start; padding: 1rem 2rem; border-radius: 5px; border: none; background: #333; color: #fff; cursor: pointer; }The contact form will look like this:

Contact form validation
Ensuring the accuracy and completeness of information provided by users is important. One effective method involves using JavaScript for client-side form validation. To start, create a script tag at the end of the HTML file and target the form element.
Then, attach an event listener to the form for users to submit information.
form.addEventListener("submit", function (event) { });Next, prevent the default page reload action by forms and select the value in the email field.
form.addEventListener("submit", function (event) { // Prevent page reload on submit event.preventDefault(); // Selecting the email value filled by the user const email = document.getElementById("email").value; });Finally, use a regular expression to check the authenticity of the user's email and display a notification according to the email value.
form.addEventListener("submit", function (event) { // Preventing page reload on submit event.preventDefault(); // Selecting the email value filled by the user const email = document.getElementById("email").value; // Checking for valid email using a simple regex pattern const emailPattern = /^[^s@]+@[^s@]+.[^s@]+$/; if (!emailPattern.test(email)) { alert("Wrong email format"); return; } // If everything passes, show success message alert("Form submitted successfully"); });Check and correct form errors
No project is complete without testing. To ensure your form works correctly, enter the necessary values, submit the form, and validate it for desired results.
Hope the article is useful to you.