How to Create a Form Using a Word Processor
This wikiHow teaches you how to create a form with fillable text boxes in Microsoft Word. Open Microsoft Word. It's a blue app with a white 'W' on it..
Part 1 of 3:
Displaying the Developer Tab
-
 Open Microsoft Word. It's a blue app with a white "W" on it.
 -
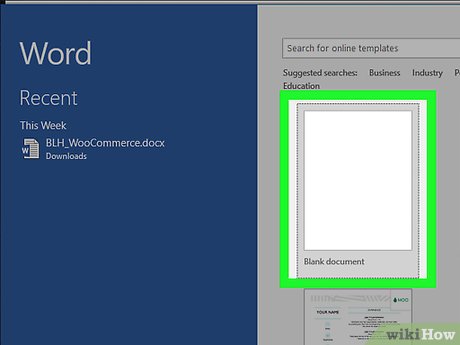 Open a new document. To do so, first click the File tab, then click New Document.
- In Word 2016, you may instead click Blank Document on the right side of the page. On Mac, you'll first need to click New.
-
 Click File. It's in the top-left corner of the Word window.[1]
- On Mac, click Word in the top-left corner of the menu bar.
-
 Click Options. You'll find it near the bottom of the left-hand pane.
- On Mac, click Preferences near the bottom of the drop-down menu.
-
 Click Customize Ribbon. This option is on the left side of the pop-up window.
- On Mac, you'll instead click View beneath the "Authoring and Proofing Tools" heading.
-
 Click the Developer check box. It's in the "Main Tabs" pane on the right side of the window.
- On Mac, instead click the Show developer tab box that's beneath the "View" heading.
- If this box has a check mark in it, the Developer tab is already enabled.
-
 Click OK. Doing so will save your changes and return you to your Word document.
Part 2 of 3:
Creating a Form
-
 Type in your prompts. These might be questions, categories of information, or essay instructions.
- For example, you might write "Name:", "Date of Birth:", and so on.
- You might consider making your prompts bold by highlighting them and pressing Ctrl+B (or ⌘ Command+B) to make them stand out.
-
 Click the Developer tab. It's in the row of tabs in the blue ribbon that's at the top of the Microsoft Word window.
 -
 Click a space to the right of a prompt. This will place your mouse cursor here, thereby indicating the place in which your text box will be inserted.
- If you're creating essay questions, perhaps click below the prompt instead.
-
 Click the "Text Box" button. It resembles a non-bold Ab on PC and ab| on Mac. Doing so will insert a text box next to your selected prompt.
- You can also click other options in the "Controls" section to insert a check box, a drop-down list, etc.
-
 Insert a text box for each prompt. On PC, you can add a Date Picker box if your form has a date section.
Part 3 of 3:
Restricting Your Form
-
 Click the Review tab. It's a couple of tabs left of the Developer tab.
 -
 Click Restrict Editing. Doing so will prompt a pop-out window on the right side of the page.
- On Mac, click Protect, then click Protect Document in the drop-down menu.
-
 Click the check box below the "Editing restrictions" heading. This check box has "Allow only this type of editing in the document:" written next to it.
- On Mac, instead click the "Protect document for:" check box below the "Protection" heading.
-
 Click the No changes (Read only) box. It's below the check box here. Doing so will invoke a drop-down menu.
- Skip this step on a Mac.
-
 Click Filling in forms. This option is near the bottom of the drop-down menu.
- On Mac, click Forms.
-
 Click Yes, Start Enforcing Protection. It's at the bottom of the right-hand pane.
- Skip this step on Mac.
-
 Enter a password (optional). If you decide to apply a password to this document, you'll need to enter it in order to edit the document later.
 -
 Click OK. This will confirm your password (or your lack thereof) and apply restrictions to your Word document. People to whom you send the document will only be able to fill out the text box areas.