How to add transitions in Google Slides
Trip effects or transitions between presentation slides are always essential and important to get a standard presentation, and create a dynamic transition to a new slide. PowerPoint or Google Slides also provide many different transition effects such as fade, slide, flip, . so that users can choose to apply to the presentation accordingly. Then the transition effect combined with the visual effects, or effects for other subjects will increase the art of the work. The following article will guide you how to add transition effects on Google Slides slides.
- 10 Google Slides tips and tricks to save you time
- How to open PowerPoint slides on Google Slides
- How to embed Google Slide into Google Doc
- How to create a graph in Google Slides
Instructions for inserting transition effects into Google Slides
Step 1:
We upload the slide to Google Slides to edit the content. At the interface, click the first slide and then on the toolbar click Slide and select Change transition effect in the displayed list.

Step 2:
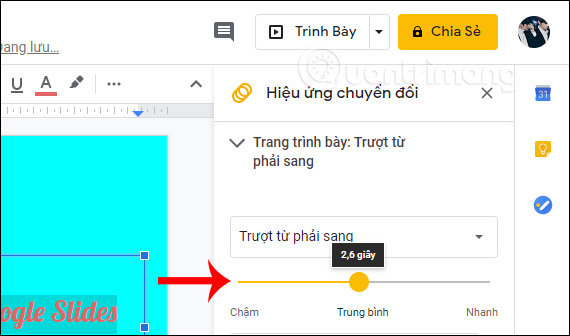
Display the conversion frame on the right side of the screen. First of all we will choose the type of transition effect you want to apply to the slide.

When finished selecting will display the speed bar to adjust the speed of displaying the transition effect on the presentation slide.
Step 3:
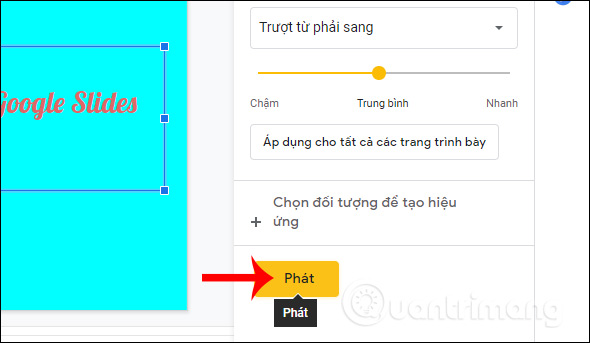
Once you've selected the transition effects for the slide, click the Play button below to test the effect for the selected slide.
Step 4:
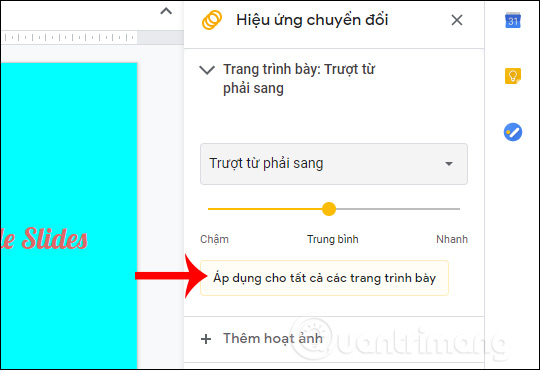
Transitions can choose from different slides, or we can apply one effect to all slides in a presentation. Click Apply to all slides to use a single effect for the entire slide.
Step 5:
Also in this effect, users will see the option to Add an animation to apply the effect to each specific object in the slide. Click on the object you want to create a moving effect to continue.

Now we also need to choose the effect for the selected object and the time to use the effect is when you click the mouse, either after the previous effect or with the previous effect.

Uncheck Now follow paragraph and also adjust the speed of showing the effect to the object. Finally, click Play to see how the effect will display.

Step 6:
The rest of the slides we do the same to add transition effects and effects for each content object in the slide. If you no longer want to use the effect , open the Transition effect frame, then click No transition .
With the effect for each object, just click on the x to delete it.

Adding transitions or effects for each content in the slide is very simple but effective for the slide. The slides that use the effect are indicated by the three nested circle icons.
I wish you successful implementation!