How to Add Animations in Microsoft PowerPoint
Dynamic text or object
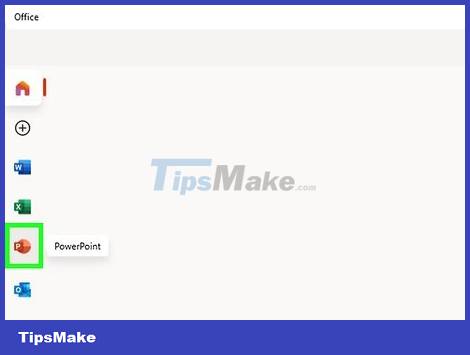
Open PowerPoint. The following methods also work with similar free software, such as Google Slides or OpenOffice Impress, but button locations and options may vary.
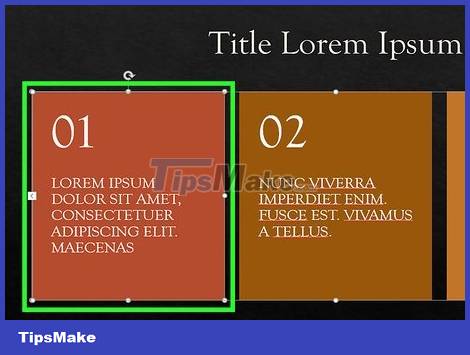
Click the object you want to animate. Click the text or image you want to animate.
To select the entire text box, click the text box's frame. Powerpoint will automatically separate text by paragraphs or breaks.
If Powerpoint doesn't already have an object to animate, you'll need to add an object first.
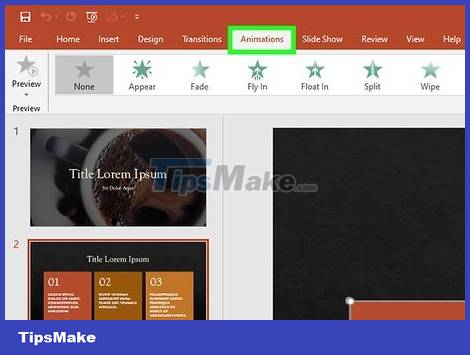
Open the "Animations" tab. This tab in the top menu bar contains various animation controls and options.

Select the animation you want to use. Animation effects are divided into 4 categories: Entrance, Exit, Emphasis and Path. The most recently selected effect will be set to this object and displayed in the Animations pane.
You can click through the animations to preview how they look, and check out more animations by scrolling with the arrows to the right of the Animations pane.
The Entrance group changes the way the object appears on the page.
The Exit group changes the way the object leaves the page.
The Emphasis group adds movement or emphasis to make the subject more noticeable.
The Path group determines the object's movement path on the page.

Click 'Add Animation' to add animation to the object. Proceed to select the verb effect in the drop-down menu. If you add an animation without clicking 'Add Animation' first, it will replace the previous animation instead of being added.
You can repeat this step multiple times to add as many animations to the object as you want.

Click on 'Animation pane' (optional). This button is located in the 'Advanced Animation' section of the 'Animation' toolbar, a pane of your selected animations will appear on the right.
This is a useful tool for management when working with multiple animations.
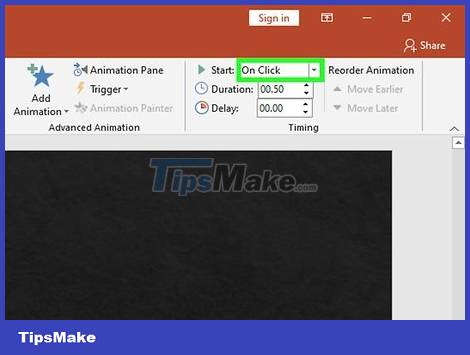
Select the activation option for the animation. Select one of the options from the 'Start' drop-down menu in the 'Timing' section to the right of the Animations toolbar: "On mouse click", "After previous" or "With previous".
The 'On Mouse Click' option will play an animation when you click the mouse.
The 'After Previous' option will automatically start the animation at the time the previous animation ends (or when the slide appears if there are no other animations)
The 'With Previous' option will play the animation at the same time as the previous effect on the slide.
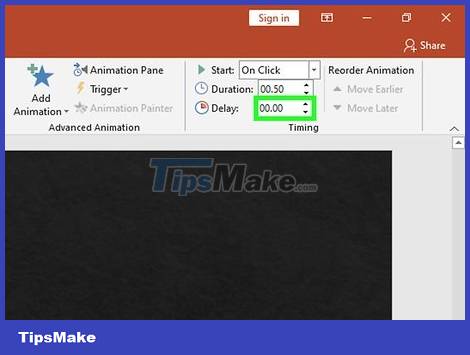
Adjust the delay of the animation effect. Click the up or down arrow next to 'Delay' in the 'Timing' section to change the delay before the animation starts.
The delay will start as soon as the animation you choose is triggered. This means that with the 'On Click' option, the delay will start immediately after you click the mouse.

Adjust the duration of the animation effect. Click the up or down arrow next to 'Duration' in the 'Timing' section to change the speed of the effect. The longer the duration, the slower the animation will move.
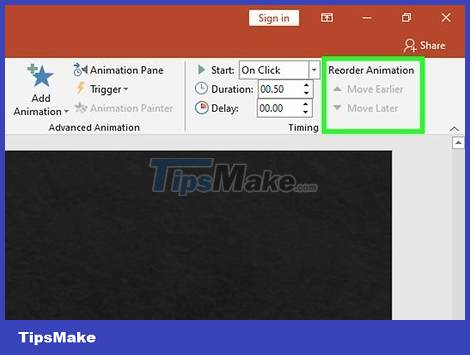
Arrange the order of animation effects. Use the arrows in the 'Timing' section under the 'Reorder Animation' heading to schedule certain animations to occur earlier or later in the queue.
You can also click and drag the animation lists in the frame.
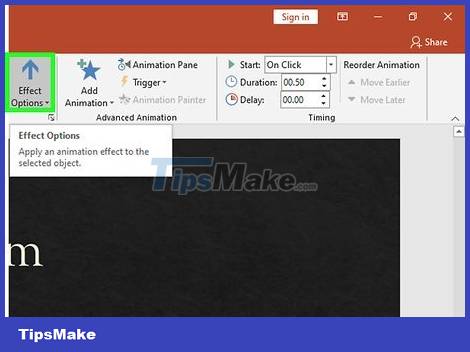
Add sound effects for animations. In the Animation pane, click the down arrow next to the animation and select 'Effect Options' from the context menu. Go to the 'Effect' tab in the window that appears, look in the menu under 'Enhancements' and select the sound effect from the list or add it manually.
If you choose to add audio yourself, a window to browse audio files will appear, so the audio needs to be saved on your computer.

Click 'Preview'. This button is located to the left of the Animations tab, and all animations in the selected slide will start.
Page transition effect
Open PowerPoint. The following methods also work with similar free software, such as Google Slides or OpenOffice Impress, but button locations and options may vary.
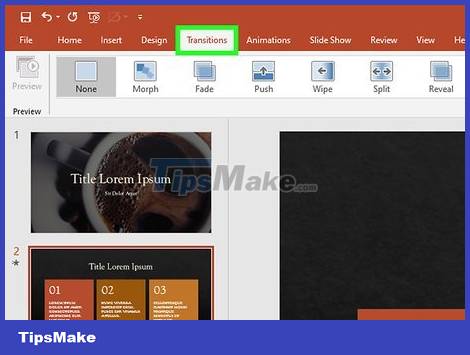
Open the 'Transitions' tab. This tab is located in the top menu bar, and many transition options and controls will appear.
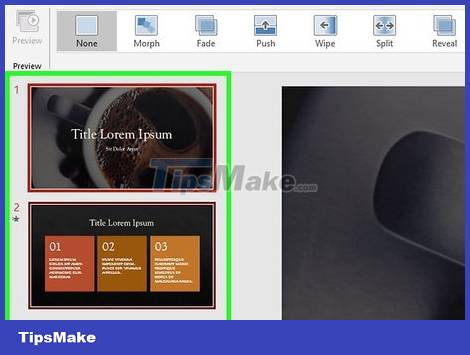
Select the slide to which you want to add a transition. The slides will appear in the pane on the left side of the screen. The page you are selecting will be highlighted with a border.
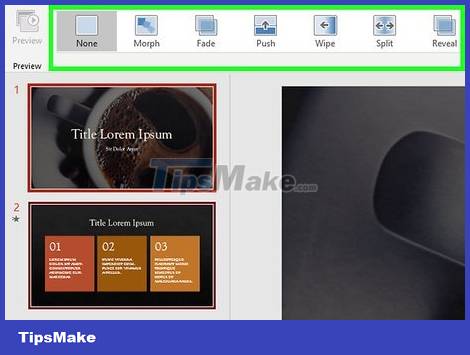
Choose a transition effect. Illustration of the transition that will occur when you select it.
Click 'None' on the left to remove the selected effect.
Each slide can only have one transition set up at a time.

Click 'Effect Options'. This button is to the right of the transition and will list all the changes that occur that you can apply (such as to the angle or direction of the effect).
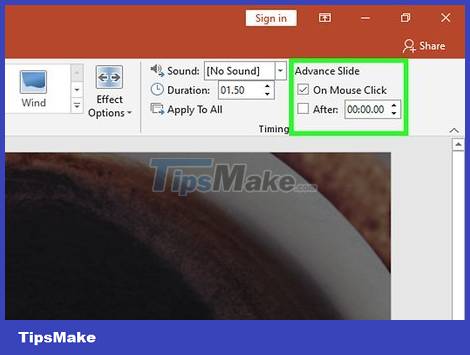
Check or uncheck 'On Mouse Click'. This checkbox is located to the right of the transition effect in the 'Timing' section of the toolbar. When checked, the transition will not occur until you click to change slides.
'On Mouse Click' is selected by default.
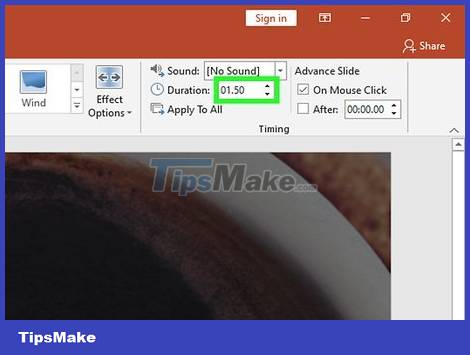
Adjust the transition time. Click the up or down arrow next to 'Duration' in the 'Timing' section to change the speed of the effect duration.
The longer the duration, the slower the transition will take place.
This setting can only adjust the duration of the transition, not the slide itself.
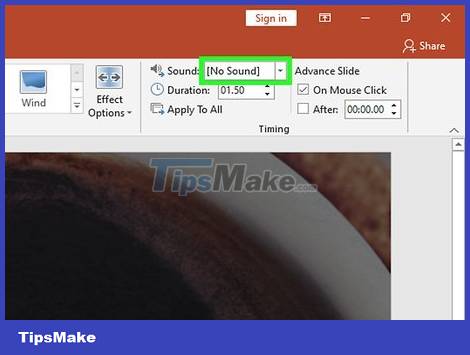
Select sound effects. Click the 'Sound' drop-down menu to the right of the 'Effect Options' section to add a sound that will play during the transition.
Select 'No Sound' from the same menu to remove the added sound effect.
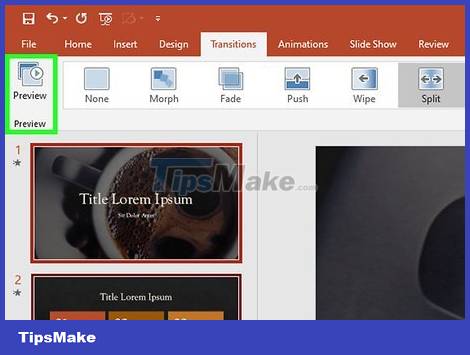
Click 'Preview'. This button is located to the left of the Transitions tab, and transitions and effects added to the selected slide will start.
Add animated photos and videos to your presentation

Open PowerPoint. The following methods also work with similar free software, such as Google Slides or OpenOffice Impress, but button locations and options may vary.

Go to the 'Insert' tab. This tab in the top menu bar contains different options for adding content to the slide.

Click 'Pictures'. This button is located in the 'Images' section of the 'Insert' toolbar. Once you click it, an image browsing window on your computer will appear. Look for .gif files or other animated image formats.
Once added, you can click and drag the photo to move it around on the slide.
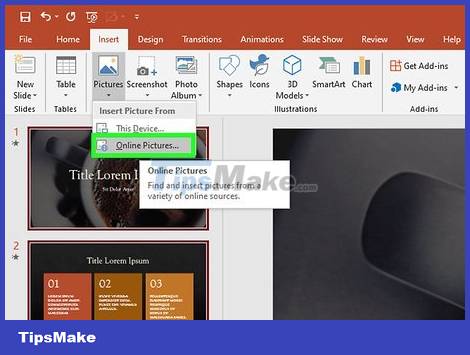
Click 'Online Pictures'. This button is located in the 'Images' section of the 'Insert' toolbar, a window with a search bar and Internet image browsing will appear.
You must be connected to the Internet during your presentation for online objects to display.
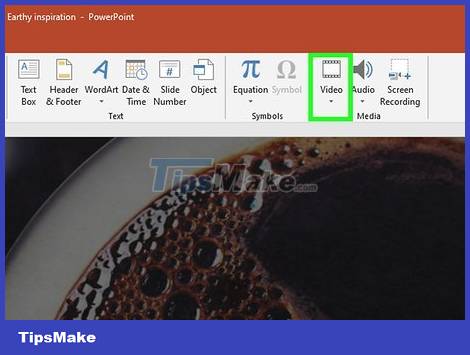
Click 'Video'. This button is located in the 'Media' section of the 'Insert' toolbar, and a menu with options for searching video files on your computer or the Internet will appear.

Select 'Online Videos'. A window to search for a video on YouTube or add a video link to embed in a slide will appear.
Embedded videos can only play if you are connected to the Internet during the presentation.

Select 'Video on my computer'. A window to browse for video files on your computer will appear. Once selected, you can drag and move the video anywhere on the slide.