10 Google Slides tips and tricks to save you time
With Google Slides, you can do things like dictate, import / export files and zoom in and out. Not only that, but Google Slides has many more possibilities, please read this article to explore those features..
Thanks to Google Slides, you don't need to rely on PowerPoint to create presentations. This tool is web-based and requires no software installation, which means you can access this utility on all computers. With Google Slides, you can do things like dictate, import / export files and zoom in and out. Not only that, but Google Slides has many more possibilities, please read this article to explore those features.
1. Create a master slide
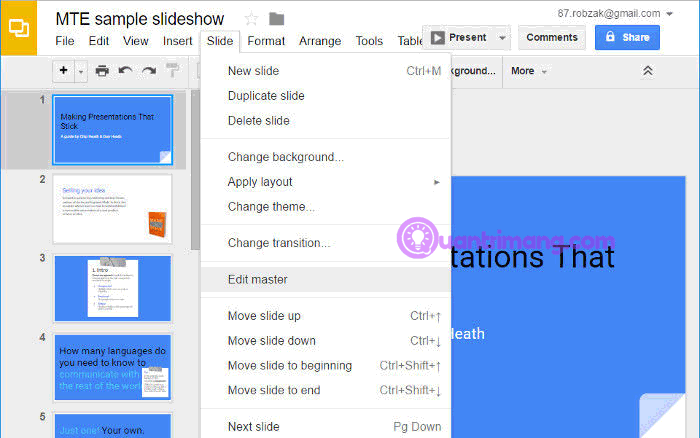
One of the most important (and easy to forget) things about when creating a presentation is to create a master slide (the first one in a branch of basic slides). This slide allows you to quickly make changes that appear on all slides, creating presentations with consistent style.
To create a master slide, click Slide in the menu bar, then Edit master and go to the Master page. Click on the thumbnail in the Master, then edit the colors, backgrounds, shapes, images, etc. of the slide.
2. Streaming via Chromecast
Thanks to Chromecast, you don't even need to plug your laptop into a monitor or projector via cable anymore.
From the computer:
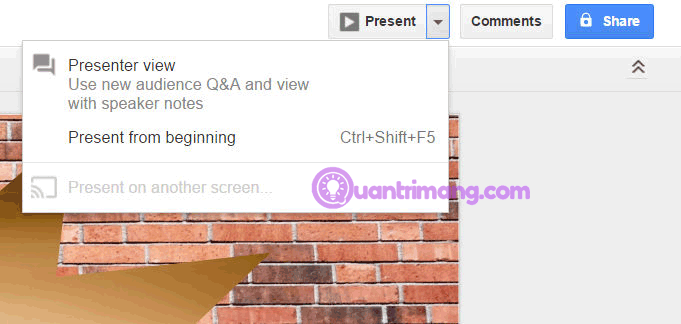
To stream the presentation via Chromecast, click the dropdown arrow next to Present at the top right, then select Present on another screen if connected to the same Wifi network when Chromecast is enabled.
Phone:
You can also stream presentations from your phone to Chromecast and control them using the touch screen. Open the presentation in the Slides application on your Android or iOS device, then touch the live stream icon like the TV at the top of the screen.
3. Read the spelling in Google Slides
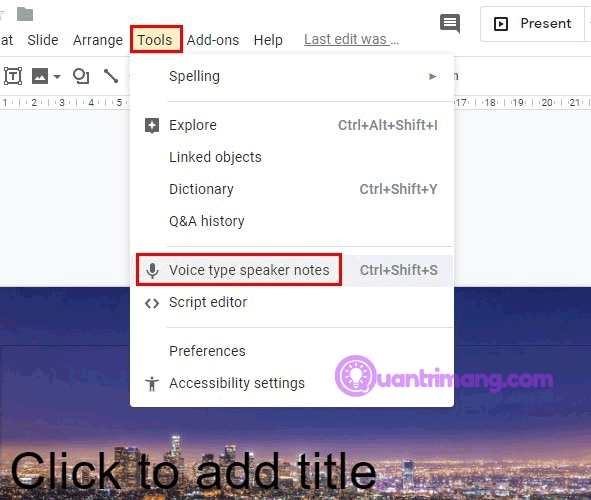
To read the spelling, click on Tools and click on Voice type speaker notes .
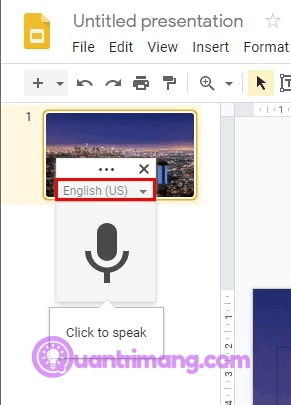
After selecting this option, you will see the microphone appear on the screen, click on it and start speaking, remember to close the icon when done. On the mic, you also see a drop-down menu to change the language.
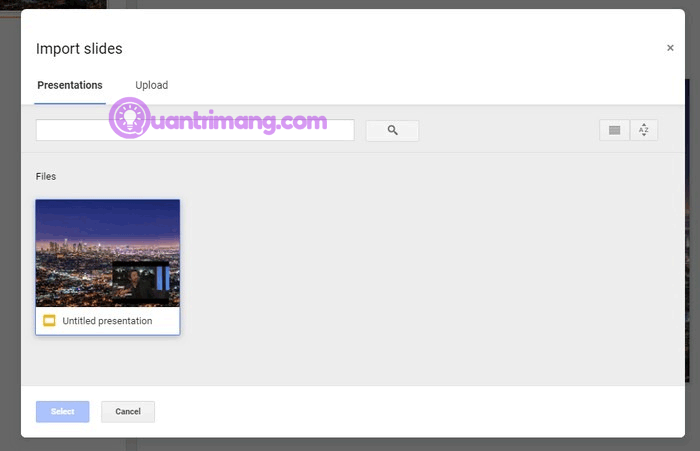
4. Import and export files on Google Slides.
You can import PowerPoint files to Google Slides. Click File> Import , there are two import options for you to choose, one is from the computer and the other is the presentation you downloaded earlier.
If you want to export the file, go to File> Download As . You can choose the output file format like PowerPoint, ODP, PDF, plain text, JPEG, PNG and scalable vector graphics.
5. Zoom in and out of slides in Google Slides
To see the presentation more clearly, you don't need to squint. With a simple keyboard shortcut, you can make text bigger or smaller. In Windows, press Ctrl + Shift and the plus or minus sign.
6. Add color to your Slides presentation
Google Slides has many colors for you to choose but can't find specific shades. If you want to add a specific color to the text box, click on the box, select the paint bucket icon.
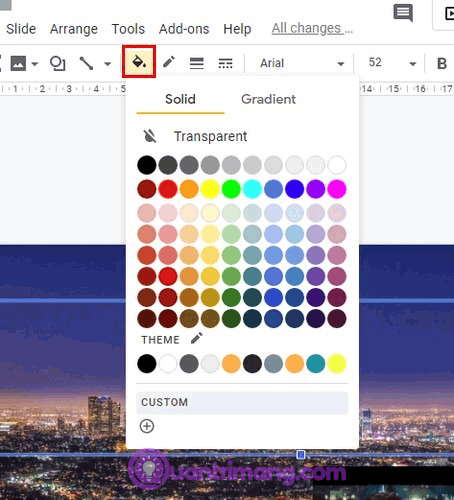
If no color you need, click on the custom option at the bottom. Add hex values to get the desired color and the object will have a new color.
7. Add a background image for the presentation
The white background looks boring, so that for a more colorful presentation, you can add photos to it. Click on the Insert option > Image . The next menu will appear with options for uploading photos.
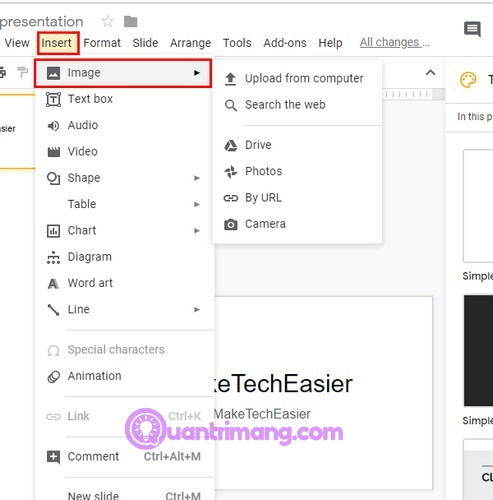
For example, if you want to add photos from your computer, click Upload from computer and select photos. When clicking on the image, it will occupy the entire background. Click on the green square of the box to change the image shape.
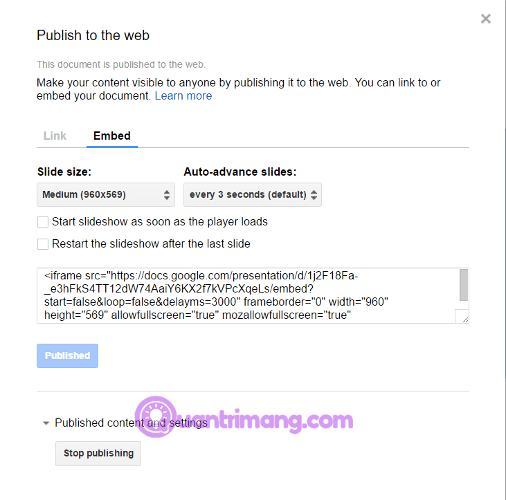
8. Embed Google Slide into the webpage
Slides provides an easy way to embed presentations into web pages. To do so, click File> Publish to the Web and then click the Embed option. If you click on Link , it will create Slides logo, need to click on it to view the presentation.
When finished, click on Publish , then copy the embed code into CMS or web editing software used for the website, the slideshow will appear. The great thing is that you can still edit the presentation through Slides and it will automatically update on the web.
9. Change the image shape in the slideshow
If you want a picture of a circle, triangle or Pac-Man, you can do it in Google Slides.
To change the image shape in Slides, add an image to the slideshow ( Insert> Image or click Background , then insert the image). Next, with the image selected, click the dropdown arrow next to the crop icon in the toolbar and select the shape you want.

10. Check out some sample slide websites
If you don't feel confident about your presentation skills or simply want to save time, you can use the built-in slide template.
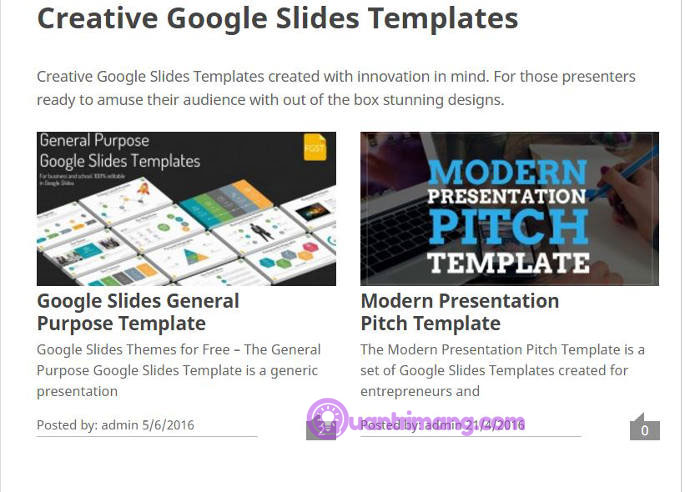
Recently, Google Slides has added a library of templates related to weddings, photo albums, and so on. Not only that, there are many third-party websites with hundreds of Slides templates. Slidescarnival.com is a great site, allowing you to search pretty much many presentation templates. Many people also like Freegoogleslidestemplates.com, allowing you to view templates as a slideshow.
Google Slides has many features that will help you create a great presentation. These are just a few of these options, and many more are waiting for you to explore.