Ways to remove the Read only message in Word
Read only mode in Word will not allow us to change the content of Word. So how to remove the Read only property?
Table of Contents
When downloading documents online or copying from others, we are often told that they can only read Read only when opening documents. At that time, we were only allowed to read the document without editing the content, the entire taskbar on the same interface was hidden. This will somewhat affect the user, when you want to change some content or edit the document file. So how do I turn off Read only mode when opening documents in Word? The following article will guide you how to remove the Read only property in Word.
- How to lock a data area in Word
- How to prevent others from copying and editing Word files
- How to lock Text box in Word
- How to lock Header, Footer in Word
Instructions to remove Read only Word mode
Method 1: Turn off in the Word interface
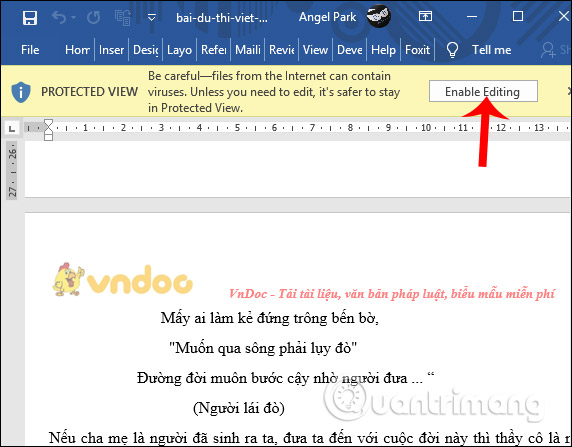
When we open the Word document will display the message as shown. We just need to click the Enable Editing button to enable editing Word documents.
Method 2: Turn off Protected View
Step 1:
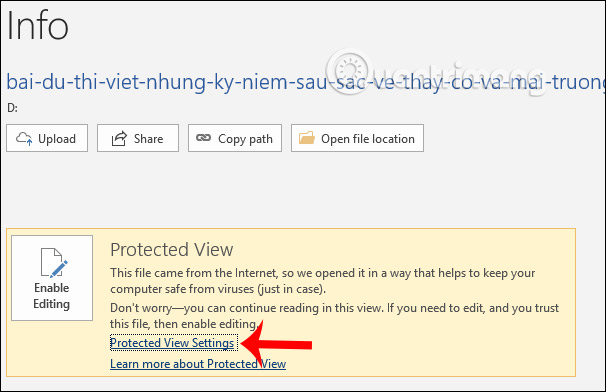
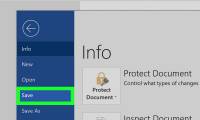
In the interface of Word we click on the word File in the top corner. You will then see the Protected View mode display as shown below. We click on Protected View Settings .
Step 2:
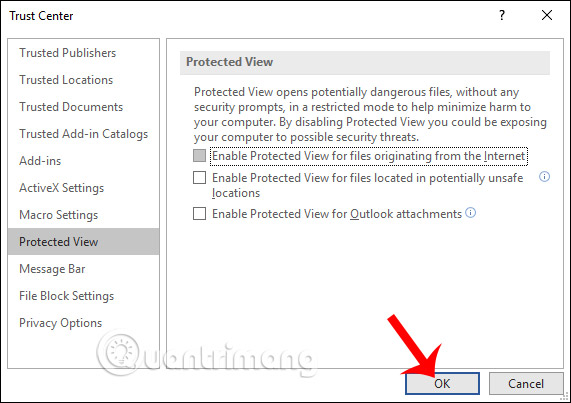
Now showing the new interface, we need to uncheck the 3 content items as shown in the image to remove the Protected View mode for Word documents. Click OK to save the changes.
Thus the document can then be edited as desired. By removing this Protected View mode, any documents that you later work on will no longer display a Read only message.
Method 3: Change the properties of the file
In some cases, even though you have tried to turn off Protected View in Word, but the Read only message still appears, you can try to change the file's properties.
Step 1:
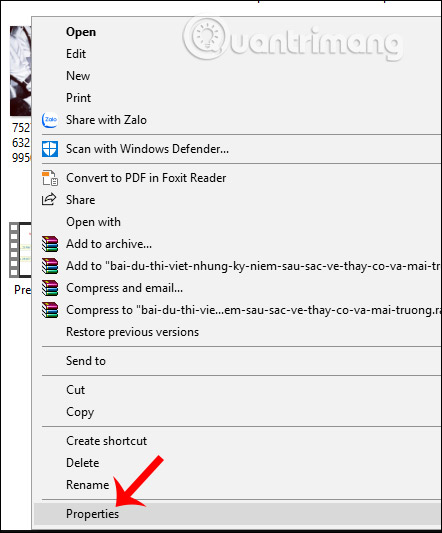
Right-click the name of the document and select Properties .
Step 2:
Display the new interface in the General tab , users look down the Attributes section and uncheck the Read-only box and click Apply> OK to save.

Method 4: Create another backup
The last way to do it manually is to copy the entire contents of the document in Read only mode, then paste it into a completely new Word file and save.

So you have a few ways to turn off the Read only message when opening Word files downloaded from the Internet. If you try the three methods above, you should use the fourth method to manually copy all the data to make a new copy.
I wish you successful implementation!
Was this article helpful?
Your feedback helps us improve.
Related Articles
 How to Remove 'Read Only' Attribute on MS Word Files7 minutes read
 How to Remove the 'Read Only' Status on MS Word Documents7 minutes read
 How to remove the Read only property in Word, Excel3 minutes read
 How to know if someone has read your message on Facebook Message?2 minutes read
 Read Aloud - feature to read text in Microsoft Word2 minutes read
 How many ways to turn off notifications Watched Facebook Messenger messages?5 minutes read
Reader Comments 0
Sign in with email or Google to join the discussion.