Table of Contents
This updated guide examines How to Edit Photos in Google Slides and organizes the essential facts, background, and practical takeaways in clear American English.
Instructions for editing photos in Google Slides
Step 1:
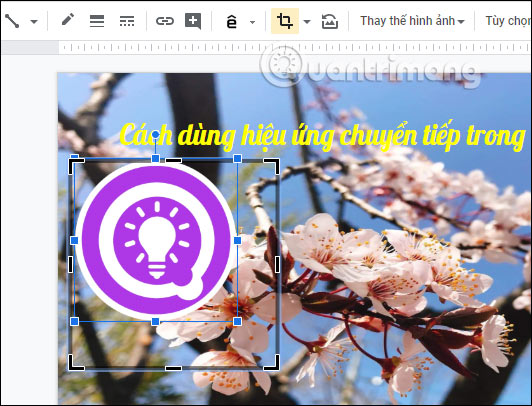
Click Insert and select Photos to download images from your computer or store in Drive into the presentation slides. To crop the image, right click on the image and select Crop image in the displayed menu.

Now that the image is surrounded by a black border, we adjust this frame to crop the image.
Step 2:
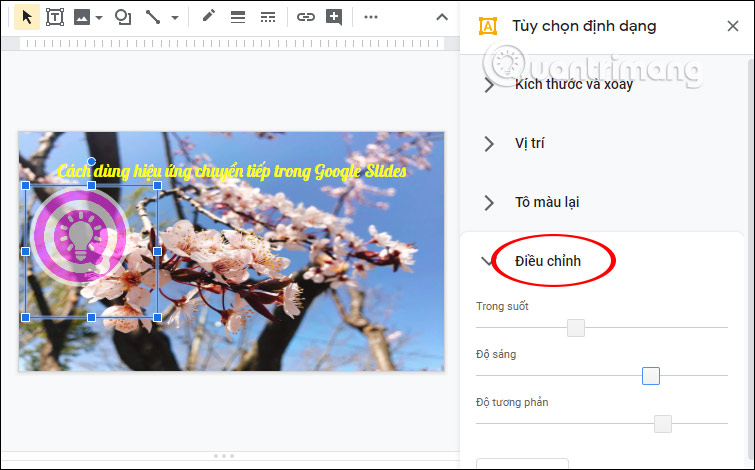
Next, right-click on the image frame and select Format options .

Now show the interface on the right with options to adjust the image format.

For example, you can choose a new color for images with multiple colors as shown below. If you want to return to the old color, click No overlay color layer.

Next to the Adjustment will have bars to adjust the contrast, light, transparency for the image. To return to the original format, press Reset.
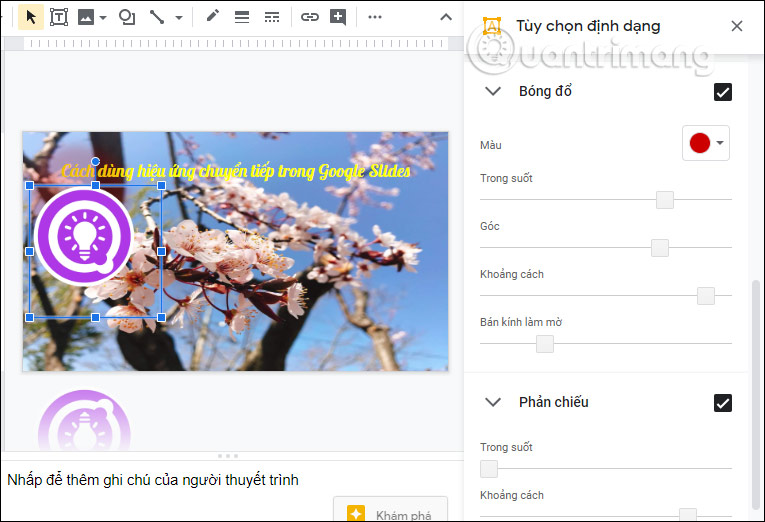
Also below are 2 options Shadow and Reflection for you to add interesting effects to the image. We adjust the effects for the image to suit the presentation slide and the layout of the image in the content slide.
FAQ
What is How to Edit Photos in Google Slides about?
It provides a structured overview of insert photos into Google Slides, explains the main context, and highlights practical takeaways for readers.
Why does this topic matter?
Understanding the main concepts helps readers evaluate the issue, avoid common mistakes, and make better-informed decisions.
How should readers use this information?
Use the guidance as a practical starting point, confirm details that may have changed, and follow current product, safety, or security recommendations.
Related Articles
 Powerful Support Utilities for Google Slides5 minutes read
 How to Insert Photos and Gifs in Google Slides4 minutes read
 How to Add Comments to Google Slides3 minutes read
 How to Lock Objects in Google Slides3 minutes read
 How to Download Photos from Google Slides4 minutes read
 10 Things You Can Do with Google Slides8 minutes read
Reader Comments 0
Sign in with email or Google to join the discussion.