How to add notes and track document editing in Word
How to add notes and track document editing in Word. In the course of working on the same document, document change control can sometimes become difficult. In this article help you create more notes and track editing of documents in.
In the course of working on the same document, document change control can sometimes become difficult. In this article, you can add notes and track document edits in Word, allowing you to control document changes.

Add comments in Word documents
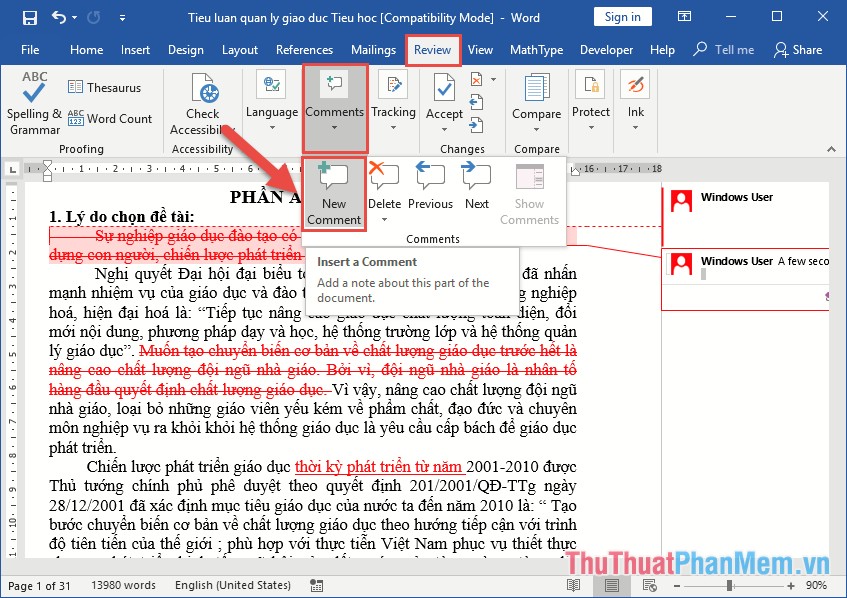
To add comments in the document, you just need to select the data area you want to create notes -> on the Review tab -> New Comment:
 ;
;
Comments are created on the right of the document -> you only need to enter the content for the comment:

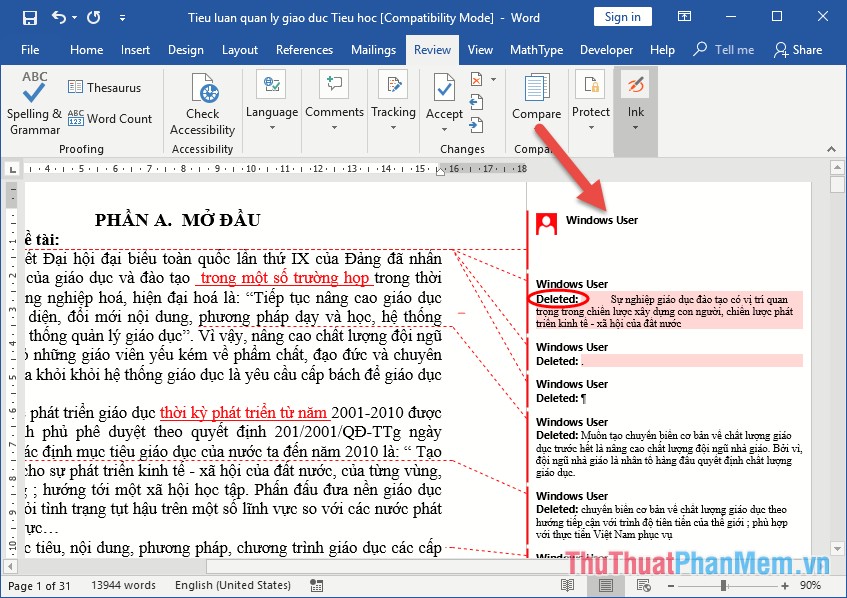
The result you have created notes for the document, the comment clearly shows the creator, the time created comment:

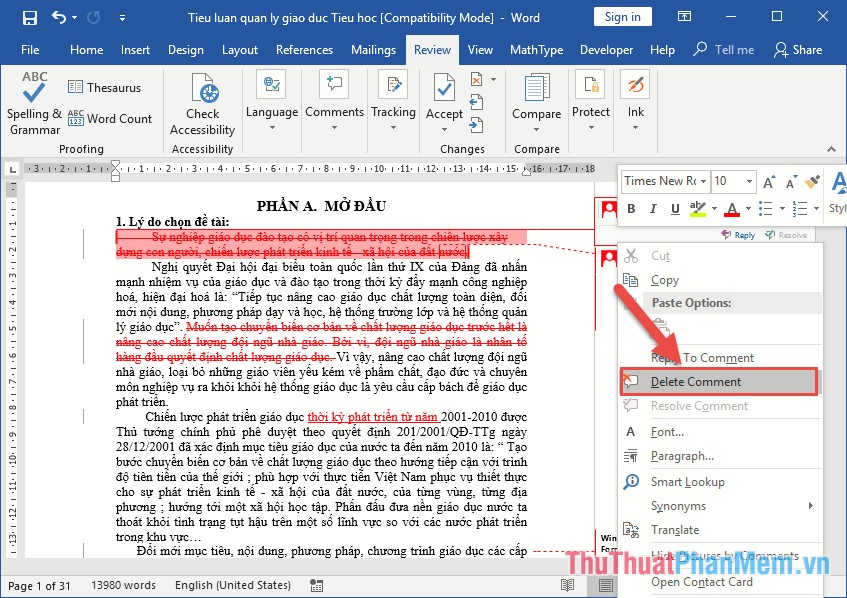
If you want to edit the comment content, just click the comment you want to edit. In case you want to delete the created commment -> right click on the comment -> select Delete Comment:
Track document edits with Track Changes
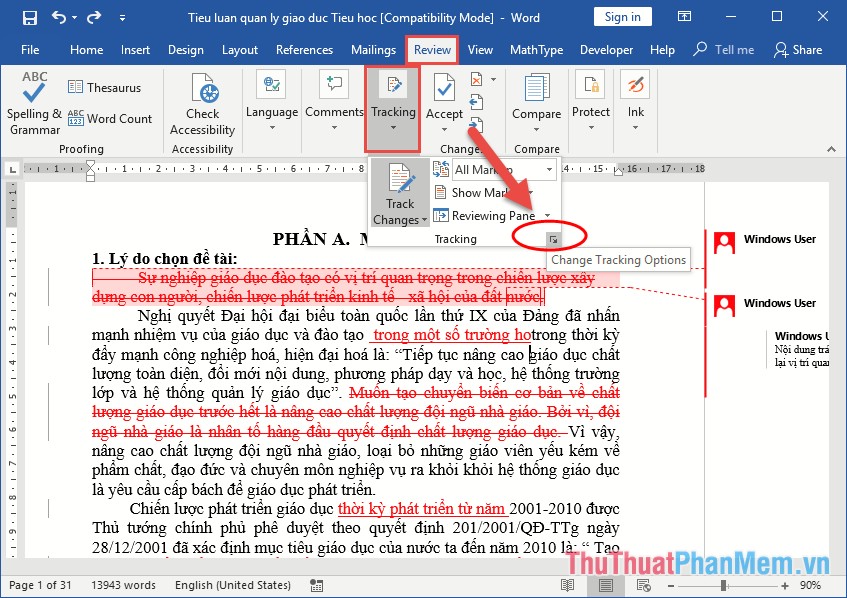
To track document edits you need to enable Track Changes. Go to Review tab -> Tracking -> Track Changes -> Track Changes:

After enabling Track Changes, when you edit a document the content will be highlighted as shown:

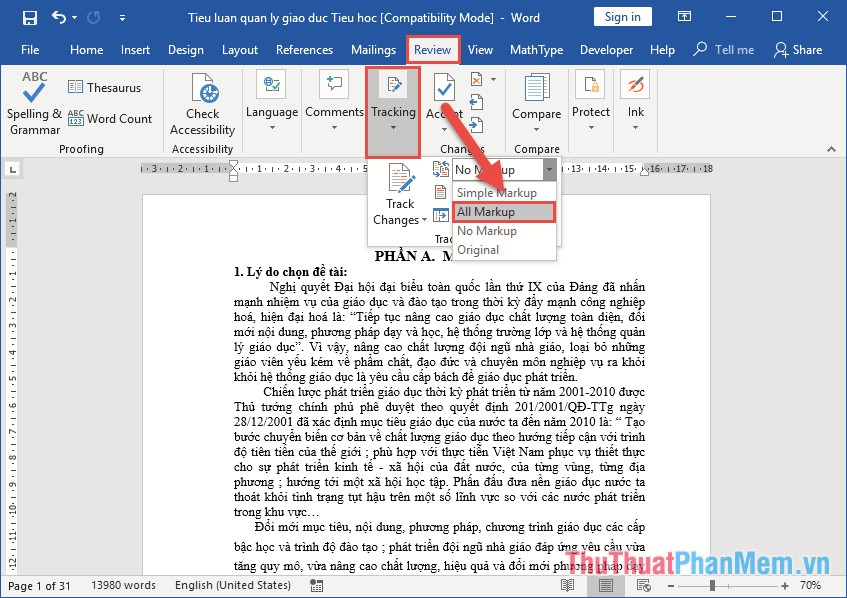
In case, after editing, activate Track Change without showing the marked Track, click All Marks in the Review tab :
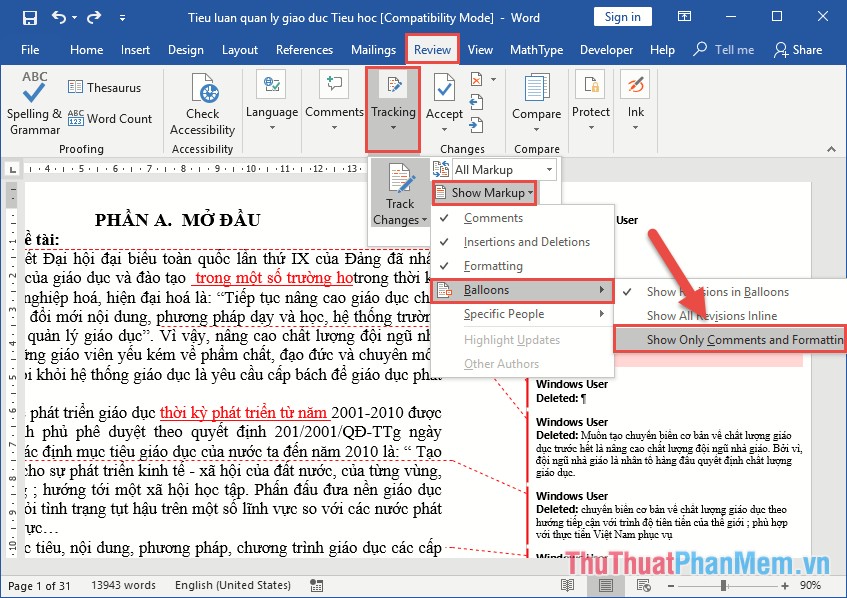
Thus all edits on the document will be marked again, when there is confirmation of agreement or disagreement with that revision. If you just want to check the notes on the document that your colleague has created as a message to you, click Review -> Tracking -> Show Markup -> Balloons -> Show Only Comment and Formating in Balloons:
Results only comment and format edits are displayed:

Or when you click Show Revisions in Balloons all edits as deleted, add the content is displayed:

So by selecting this, you can control the editing of team members.
Track document edits by distinguishing each member's edit
When you edit content, so that everyone in the group knows it was edited by you, you should rename the display in the document editing.
Go to Review -> Traking -> click the arrow in Tracking:
A dialog box appears and click Change User Name .

The Word Option dialog box appears, enter the name to change in User Name -> click OK to confirm:

Thus your name is clearly displayed when you edit the document, each edited account on the document is distinguished by Word by different colors for the user name. For example, in this document, there are 3 accounts edited documents corresponding to 3 different colors:

Edit Tracks for document tracking
The modified content is marked by Track Changes by default, if you want to set the color and format as you like, convenient for tracking the editing of documents you make as follows:
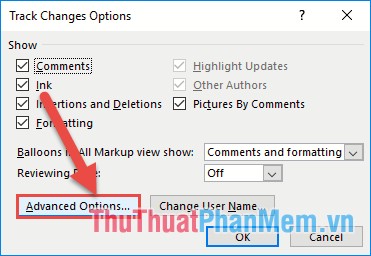
Go to Review -> Traking -> click the arrow in Tracking:

A dialog box appears and click Advanced Options:
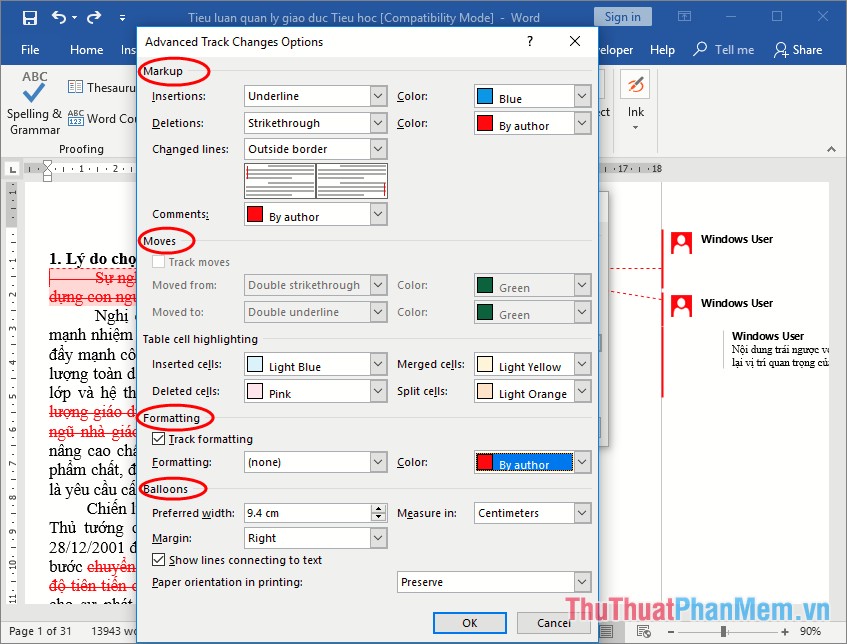
Advanced Track Changes Options appear, here you can edit the color and format you want to edit:
- Markup section : Edited content is deleted, added .
- Section Moves: Content moved.
- Section Formating: Edit text format.
After finishing editing, click OK:
So with creating your own notes, using Track Changes, distinguishing each member's editing of documents, creating your own Track format in the document will help you to track the editing of documents easily. Good luck!