Table of Contents
This guide provides a practical overview of Edit, Create Effects for Images in PowerPoint, including its main features, benefits, limitations, and important considerations.
1. Change the position and size of the image.
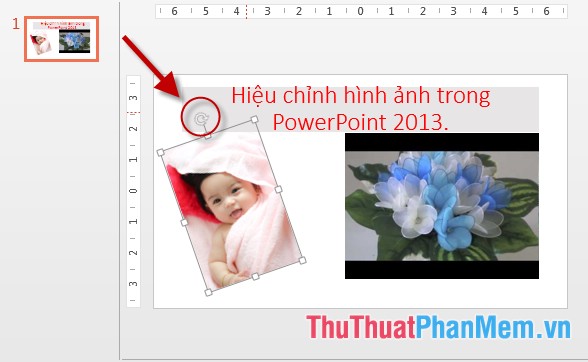
- Rotate the image in different positions -> click on the image that appears with a circle containing an arrow -> hold and hold the mouse button and adjust it to the angle you want to rotate:
- To resize the image by clicking the white rectangle icon on the image, hold down and drag the image in the desired direction:
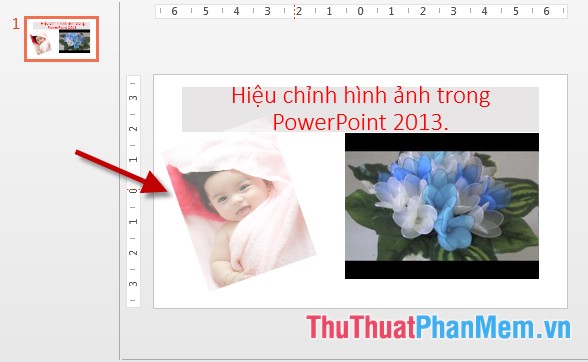
2. Change the brightness of the image.
- Click on the image you want to change the brightness -> Format -> Corections -> select the type of light and dark image you want to change:

- Image results have been changed:

- You can click Artistic Effects to add some color contrast effects to the image:

3. Change the colors for images.
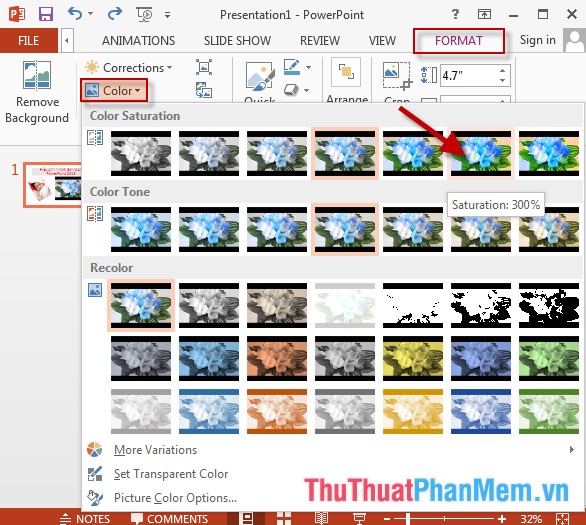
- To change the color of the image, click the object -> Format -> Color -> choose a color style that suits your image:
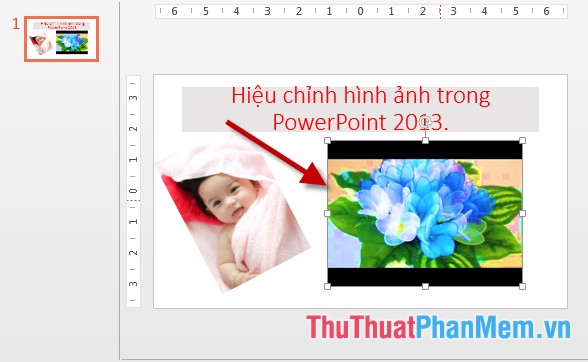
- Results after changing the color for photos:
4. Create effects for images.
- Click on the object -> Format -> Quick Styles -> choose the Style to create the image:
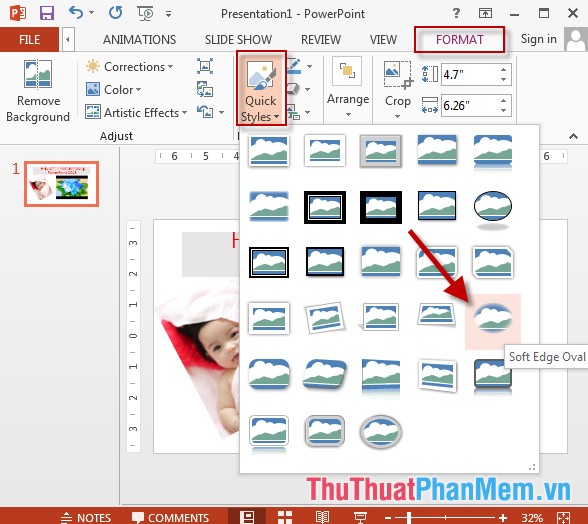
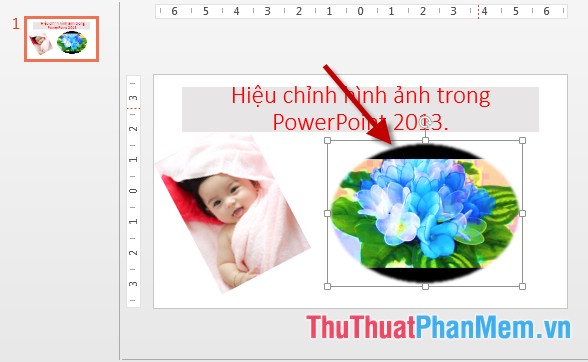
- Results after styling the image:
5. Change color, contour effects for images.
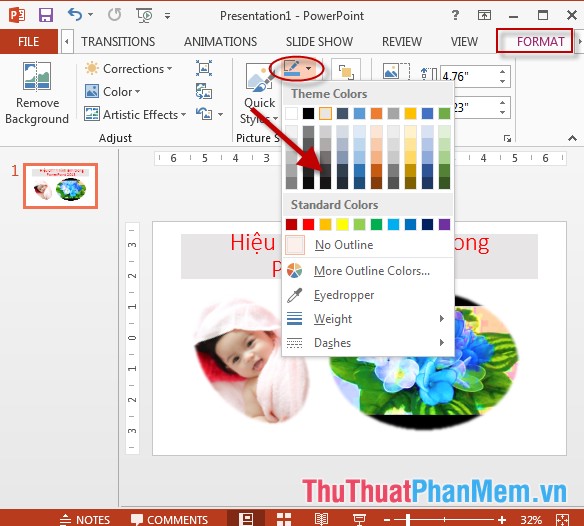
- Click on the object -> Format -> click the Picture Color icon -> choose a color for the image:
- To select effects for images -> go to Format tab -> click on Pictures Effects icon -> select effect type, for example here choose shadow effect for images:
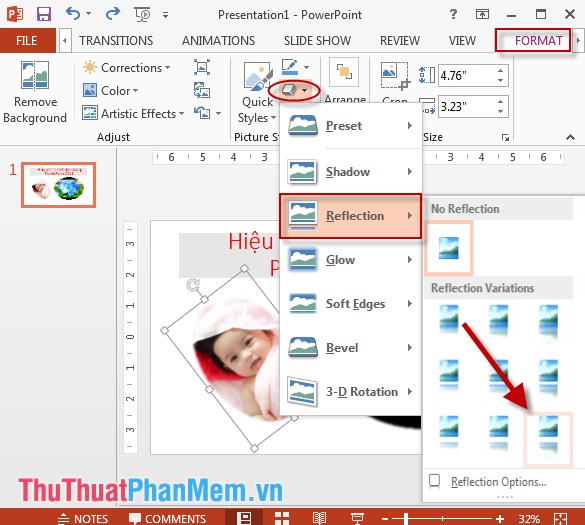
- Image results after calibration:
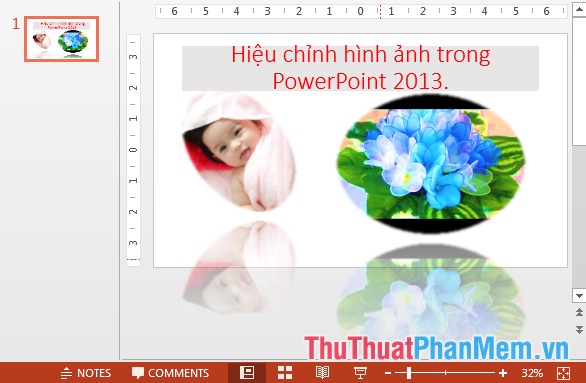
Above is a detailed guide on how to edit images in PowerPoint.
Good luck!
FAQ
What should I know about Edit, Create Effects for Images in PowerPoint?
Focus on the key features, requirements, limitations, and practical use cases explained in this guide.
How do I get the best results with Edit, Create Effects for Images in PowerPoint?
Follow the recommended steps, use current software or information, confirm compatibility, and review settings before major changes.
Are there any risks or limitations?
Potential limitations depend on compatibility, data quality, cost, privacy, support, and how the product or method is used.
Related Articles
 How to Create a Shadow Effect on PowerPoint4 minutes read
 Create Effects for Text and Objects in PowerPoint 201610 minutes read
 How to Creating Effects in PowerPoint: Step-by-Step Guide5 minutes read
 How to Cut Photos Using Microsoft PowerPoint4 minutes read
 How to Create Typewriting Effects in PowerPoint4 minutes read
 How to Use Effects in PowerPoint6 minutes read
Reader Comments 0
Sign in with email or Google to join the discussion.