Create beautiful photo effects in PowerPoint
PowerPoint gives you lots of cool features to make your presentation more alive. One of them is the feature to create beautiful photo effects to help your images move diverse, avoid boring.
The following article shows you how to create beautiful photo effects in PowerPoint 2007, 2010, 2013.
Create beautiful photo effects in PowerPoint 2013 and 2010
Step 1: You add the image to create effects in PowerPoint slides by selecting Insert -> Pictures and navigate to the image.
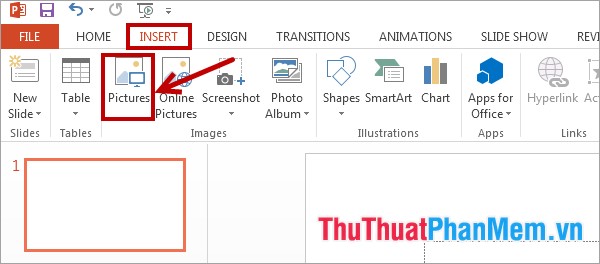
Or you can insert bricks in Insert -> Shapes as you like if you want to create an effect of bricks.
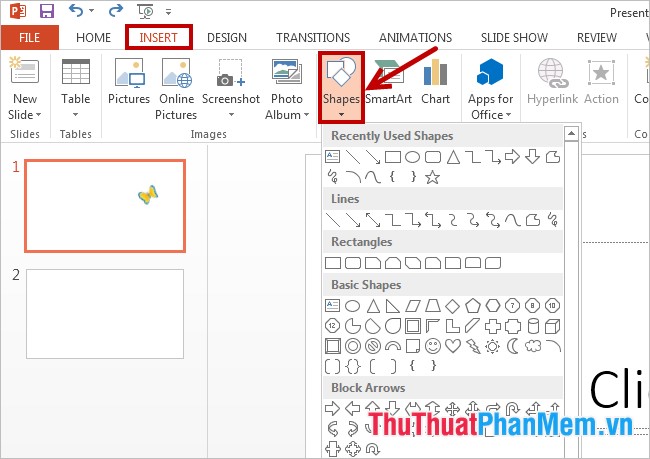
Step 2: After inserting the image, you edit the size and position of the image. Next you choose Animation -> Add Animation , here you can choose effects for images in the Entrance , Emphasis , Exit , Lines .

Step 3: If you want to create more beautiful photo effects, then you select Animation -> Add Animation -> More Motion Paths .

Step 4: In the dialog box Add Motion Path you select the type of motion effects you want to create and click OK .

Step 5: Now on the interface that appears the effect line you choose, you can edit the long, short effect path . by placing the mouse cursor on the small white squares, then press and hold Mouse to the desired location.
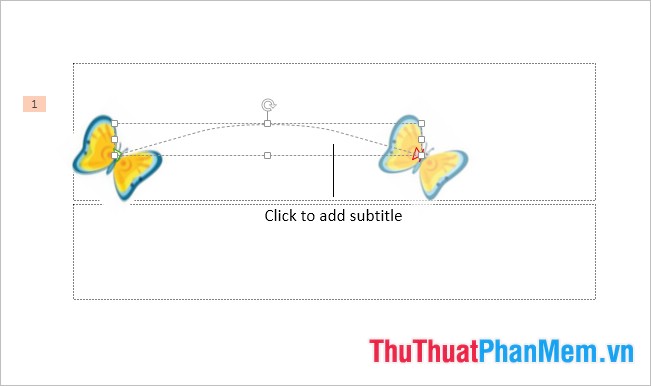
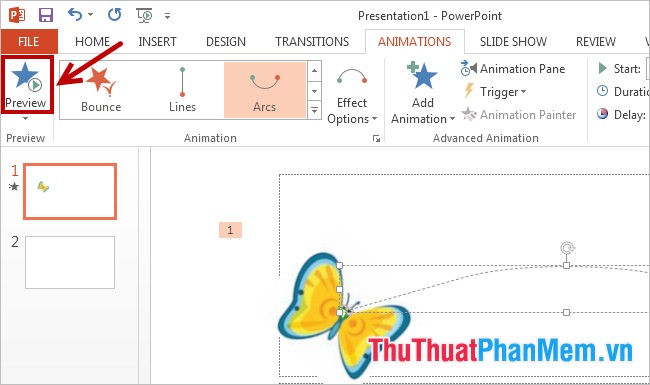
Step 6: Click Preview on the left of the Animations tab to preview, if not satisfied, then you can edit again.
Create beautiful photo effects in PowerPoint 2007
Step 1: Add images to create effects into PowerPoint ( Insert -> Picture -> select images to add).
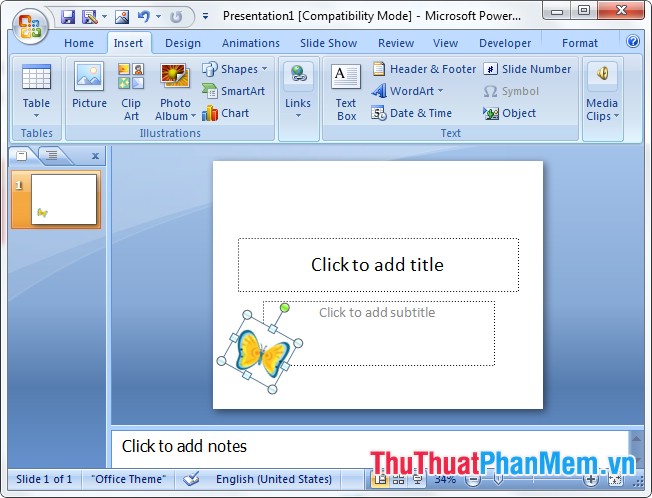
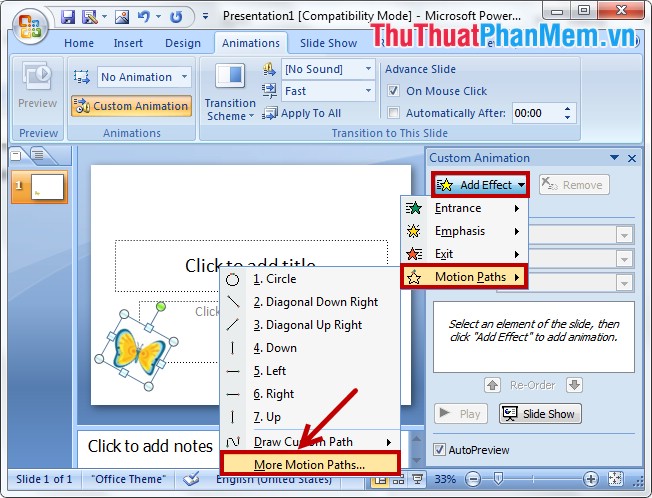
Step 2: To create photo effects you choose Animations -> Custom Animation .

Step 3: The Custom Animation dialog box appears on the right side of the PowerPoint page, click Add Effect -> Motion Paths -> More Motion Paths to open the Add Motion Path dialog box .
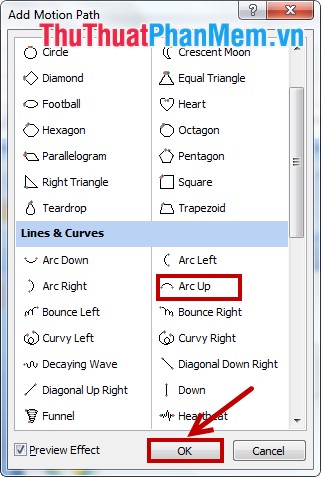
Step 4: In the dialog box Add Motion Path you select the photo effects you want to create for your image and click OK .
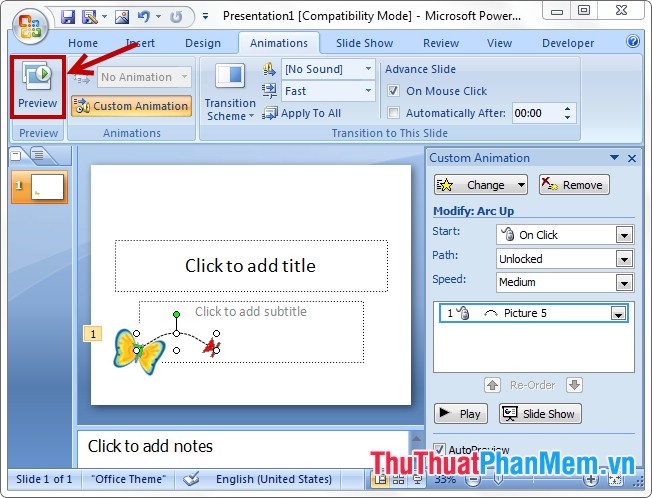
Step 5: Appear the path you move by clicking on the small white squares and moving, or you right click on the effect line and select Edit Points . Then drag the black points according to the position you want.
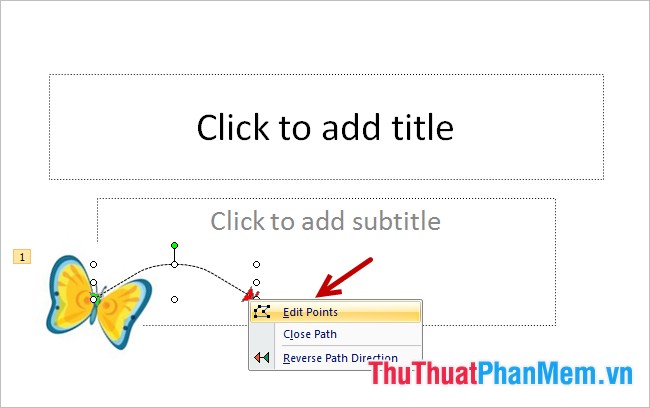
After editing, click Preview in the Animations tab to preview.
So you know how to create beautiful photo effects in PowerPoint, with your creativity and support from PowerPoint, you will create many beautiful effects to suit your requirements. Good luck!