How to create typewriting effects in PowerPoint
When using PowerPoint, the effect is indispensable in the presentation. It helps your lecture more lively, less boring, helps the audience focus on more content. However, you should not abuse too many effects, making the presentation confused. Therefore choosing the right effect is very important. This article will show you how to create typewriter effects to help the audience focus more on the content of the presentation.
- How to create handwritting PowerPoint effects
- How to create effects for photos on PowerPoint
- How to create text effects in PowerPoint
How to create typewriter or command line effects
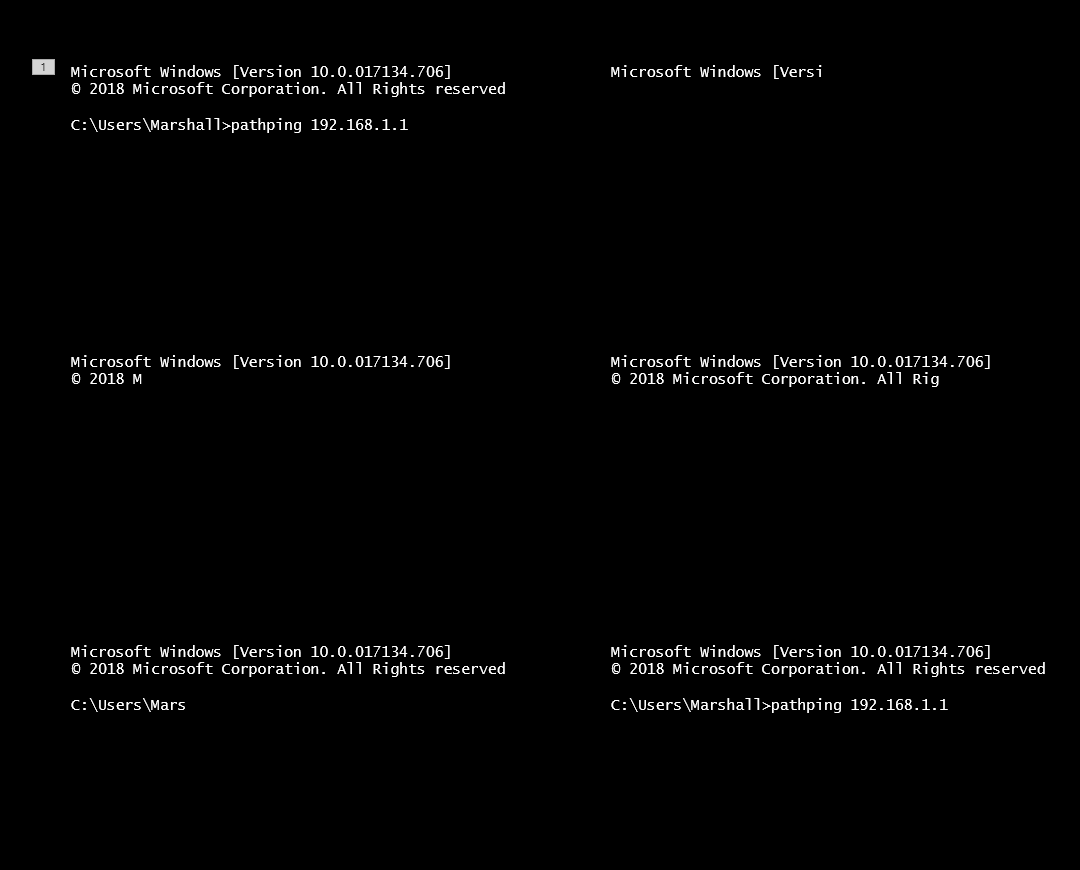
Typewriting and command line effects are very similar. The only difference is the type of text used. If you want to create classic typewriter effects, you should use Courier New font size 12 and black. For the same command line effect you should use Lucida Console font, 12 font size and white (or green) color on black background. Because these two effects are relatively similar, this article will show you how to create command-line effects.
First open PowerPoint and select the slide you want to use this effect. You need to make sure to use the black background so that it is the same as in the command line. To create a black background, go to the Insert tab and click the Shapes button.

On the drop-down menu that appears, select Rectangle in the Rectangles group.
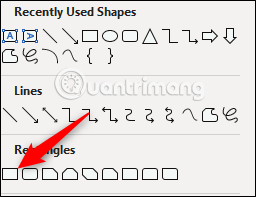
Click on the slide to draw a shape. You can draw shapes on the entire slide or smaller if desired.

Then access the Format tab and select Shape Fill from the Shape Styles group.
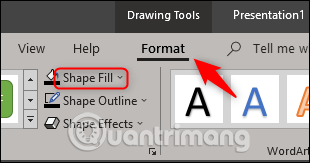
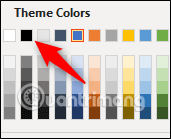
Select black from the drop-down menu.
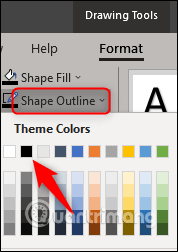
Do the same with Shape Outline .
Finally, click and drag to size the shape the way you want.
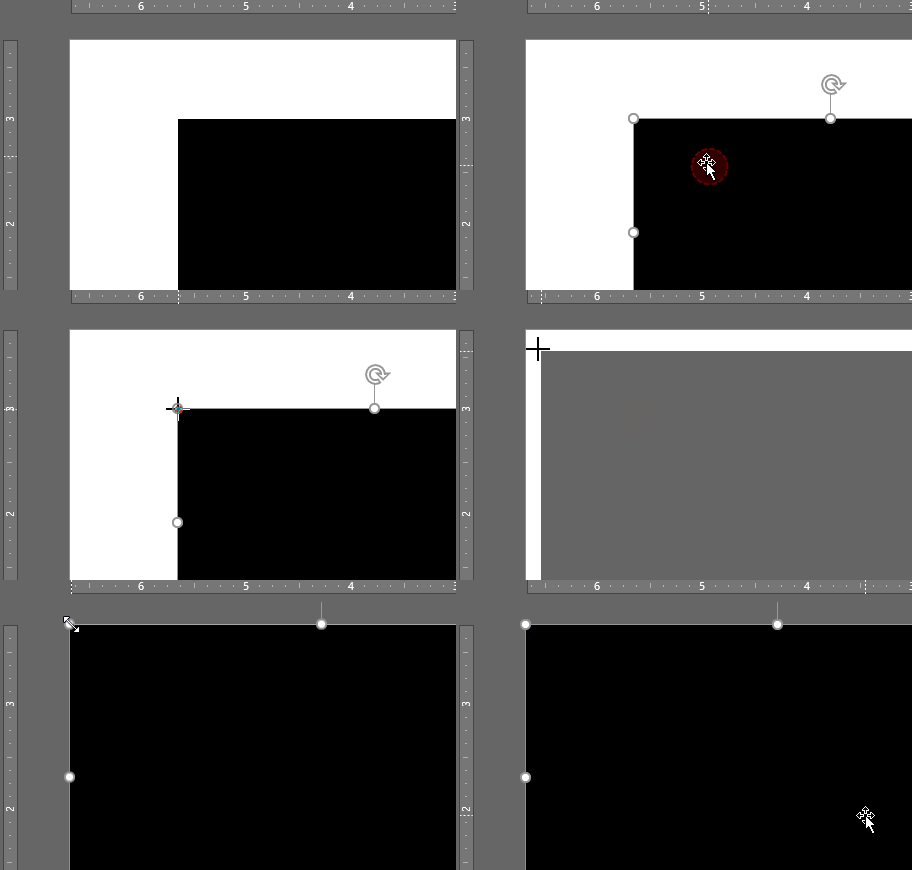
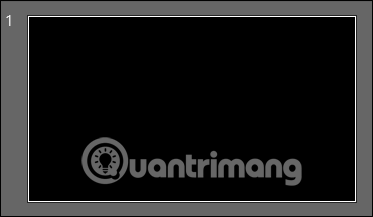
In this example, we'll drag the shape that covers the entire slide.
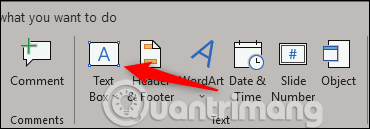
After creating the background, the next step is to enter the text. To enter text, visit the Insert tab and click the Text Box button.
Note : You can enter text directly into the shape by right-clicking on the image and selecting Edit Text . But, using a text box will give you more precise control over where the text appears.
Click and drag on the slide to draw the text box.

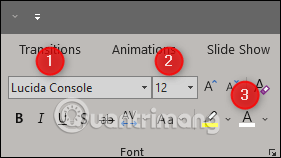
Set the font correctly with the effect you use. Here we will choose Lucida Console font (1), font size 12pt (2) and white text color (3).
After entering text, select that text box, click on the Animations tab and then select Appear from the Animation section.

On the same tab, click the Animation Pane button.
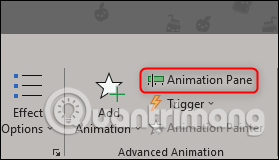
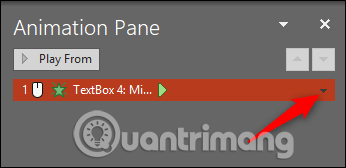
You will see the effect pane appear on the right hand side of the window, select the effect and then click on the arrow that appears.
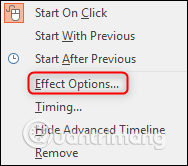
From the drop-down menu, select Effect Options .
In the window that appears, select the arrow next to Animate text . In the drop-down menu that appears, select By letter .
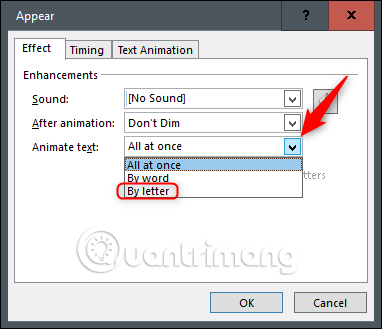
Next, enter 0.1 in the seconds box delay between letters and then click OK .

You will have the same effect as in the image below.
I wish you all success!