Create Table (Table) in Access 2016
When creating a database, you will store your data in Table objects. Objects in the database depend a lot on the table, you should always start designing the database by creating all tables, then new objects. Before creating a table, carefully review your requirements and identify all the tables you need.
Create the Datasheet View table
Let's try to create the first table, storing basic information of Company employees as follows:
According to the table above, we have the Short Text data type that applies to all data fields. Next, open an empty database in Access.

This is the area we will work with. When opening an empty database, Access automatically in the Datasheet View table mode .
Now that we switch to the Field tab, you'll see that the ID field is automatically set to the AutoNumber data type, which is the unique ID and the primary key in this table.
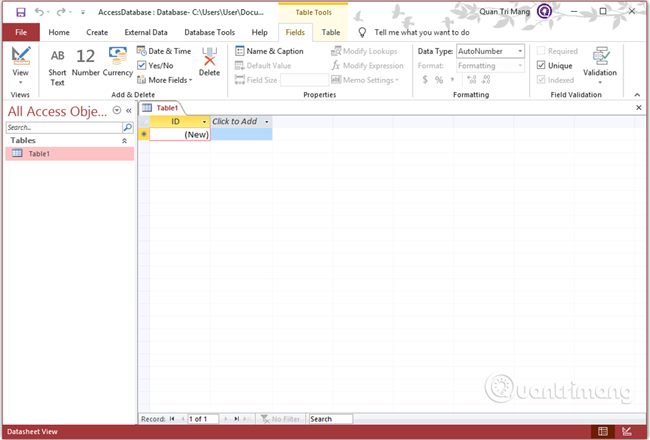
The ID field is already created, now we rename it to suit our requirements. Click Name & Caption in the Ribbon and you will see a dialog box appear.

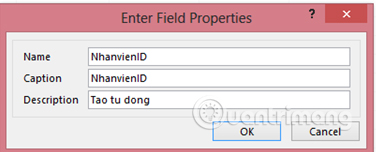
Change the name of this field to NhanvienID to match the created table. Enter other optional information if you want and click OK .
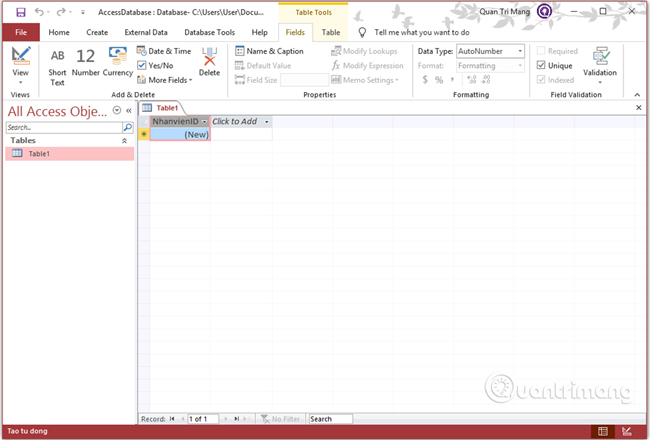
Now let's add some fields by clicking Click to add .
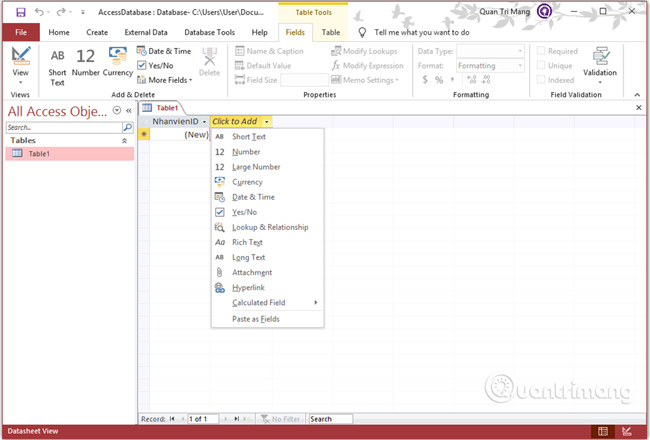
Select the Short Text data type and enter a name in all fields.

When all fields are fully added, click the Save icon to bring up the Save As dialog box, enter the table name into the Table Name for the newly created table.
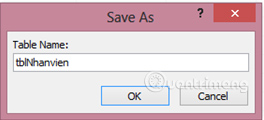
You may wonder, the prefix tbl stands for table . Click OK and you will see the table appear in the navigation pane.
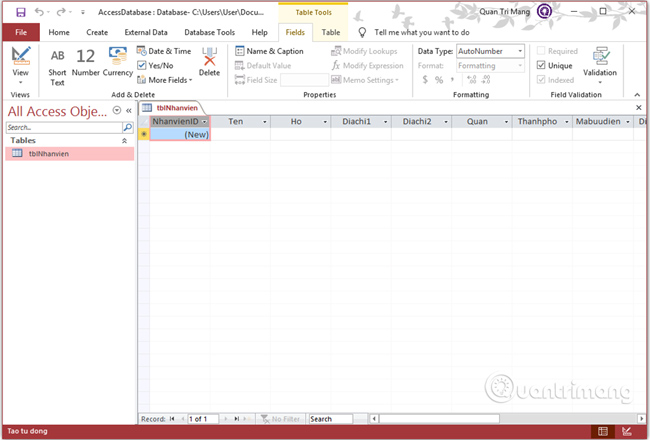
Create the Design View table
In the example above Quantrimang created the Datasheet View table. Now we will create another table using Table Design View on a project, including the following fields:
Next go to the Create tab .

Click Table View , you can see this interface field name and data type will be placed side by side, completely different from Datasheet View.

Now we need to set DuAnID as the primary key for this table, select DuAnID and click the Primary Key option in the ribbon.
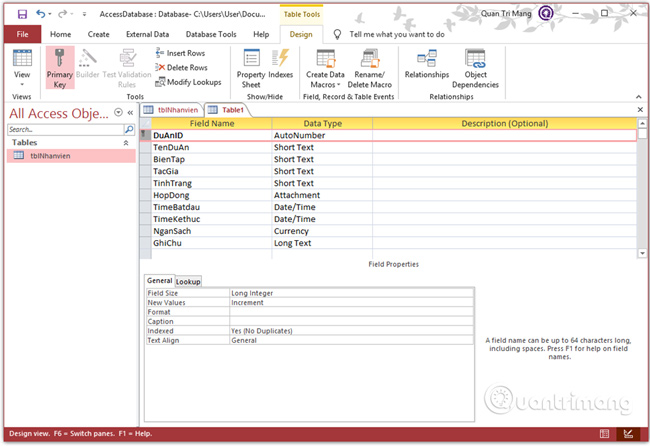
You can now see a small key icon that will display next to that field.
Next, save and name this table.
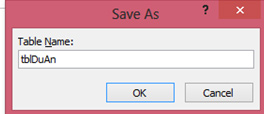
Click OK. You can also edit this panel to the Datasheet View format by clicking the View button in the left corner of the Ribbon
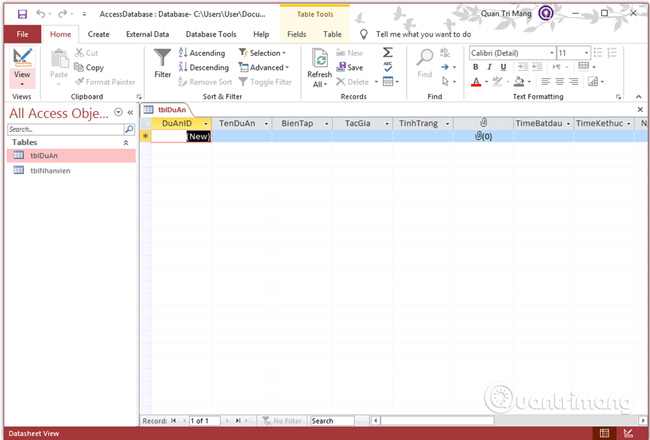
If you want to edit this or any specific field, you can edit it directly in this form, without having to go back to Design View to change it. For example, update the TinhTrang field as shown below.
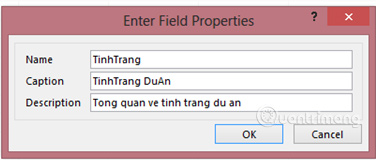
Click Ok to see the changes.

Previous article: Data types in Access 2016
Next lesson: Working with Table in Access 2016