How to create a table, insert a table in Excel 2016
How to create a table, insert a table in Excel 2016. Your Excel data needs to be inserted as a table to facilitate the management and editing of content accordingly. Let's refer to the article detailing how to create and edit tables in Excel 2016.
Your Excel data needs to be inserted as a table to facilitate the management and editing of content accordingly. But you do not know how to create tables in Excel 2016 so you are looking for ways to create tables and insert tables in Excel 2016? Please refer to the article detailing how to create and edit tables in Excel 2016 below.

Ways to create tables in Excel
1. Create a table using Insert Table
This is a basic way of creating tables, used on Microsoft applications, you can create tables simply by:
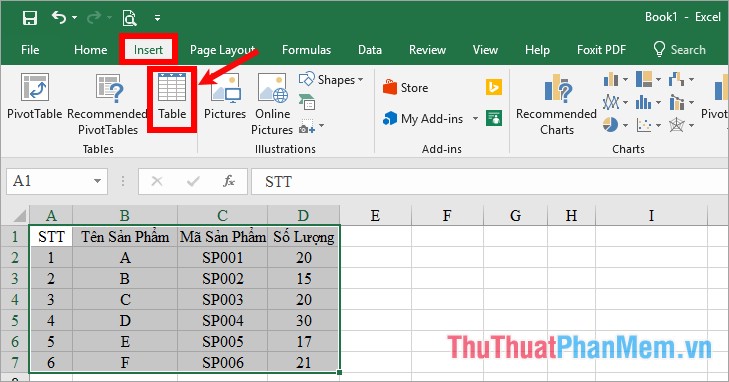
Step 1: Select (black out) the content range in the Excel worksheet to create a table, maybe cells with content or blank cells. Then click the Insert tab -> Table (or you can use the key combination Ctrl + T or Ctrl + L ).
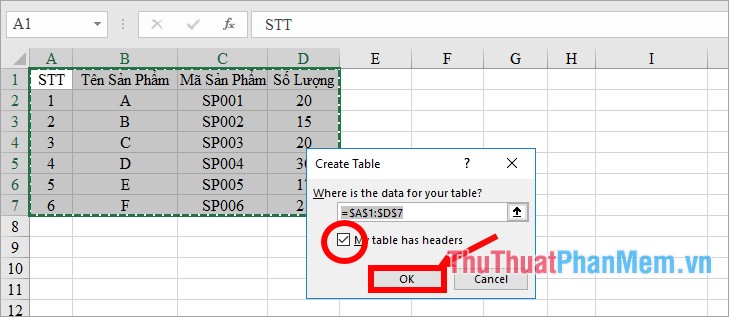
Step 2 : The Create Table dialog box appears , you do one of the following two sections depending on:
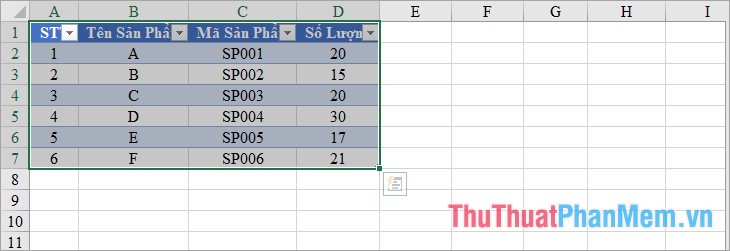
- If the range you selected includes the table header, then check the box before My table has headers . Then click OK to create the table.
Your results will be:

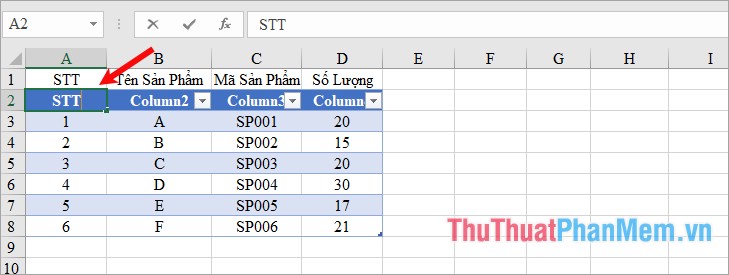
- If the range that you choose does not include the title, then uncheck the box before My table has headers for Excel to create more column headers for you to enter the content. Then click OK to create the table.

At the top of the columns in the table will appear column headers column 1, column 2 ., you just need to double click on it and change the title for the column accordingly.
2. Create a table using Format as Table
Method 1: Choose the type of Excel table available
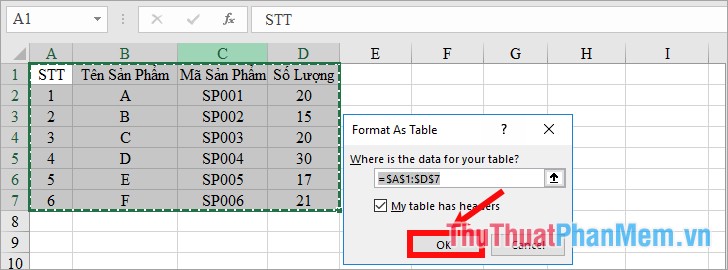
Step 1: Select (black out) the range of data that you want to create the table, then select the Home tab -> Format as Table -> select the type of table you want to create (Excel provides a lot of table types with a variety of colors colors, you just need to choose the one you want).

Step 2: The Create Table dialog box appears , you also have the My table has headers option similar to how to create a table using Insert Table . Then click OK to create the table.
You will create the table according to the type of table you choose:
Method 2: Create a new style table as you like
Step 1: Select the Home tab -> Format as Table -> New Table Style .

Step 2 : New Window Style window appears , enter the type of table name you create in the Name box .

Step 3 : In the Table Element , you select the elements in the table to format and select Format .
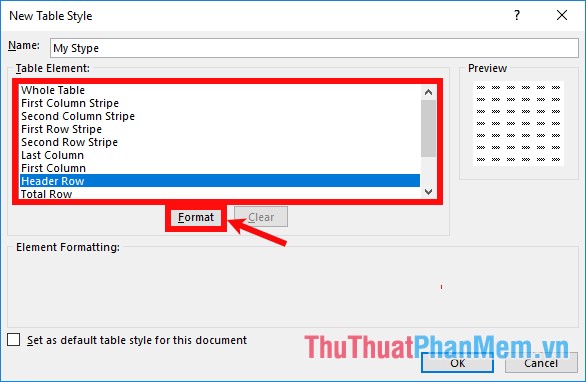
Step 4: The Format Cells dialog box appears, select the format you want the font in the Font tab , the type of border in the Border box , and fill the color in the Fill box . After formatting is complete, select OK .

Step 5 : The changes and formats you can see in the Preview section , after you have formatted the table, select OK to create your own table style.

So the type of table you create will appear in the Custom section of Format as Table , you can choose and use the same way 1.

3. Create a table using the Border
Using Border you can create borders for content in Excel, this can also be considered as a way to create tables in Excel for those who do not need a lot of table requirements.
Step 1 : Select (black out) the range of data to create a table, in the Home tab, select the downward triangle icon as shown below and select All Borders.

Step 2 : If you want to differentiate the subject line from the other rows in the table you can select (black out) the subject line and choose the background color you want.

Edit the table
1. Change on Table Style Options
Step 1 : Select any cell in the table, on the toolbar that appears Design tab , you can change the table style in the Table Styles section .

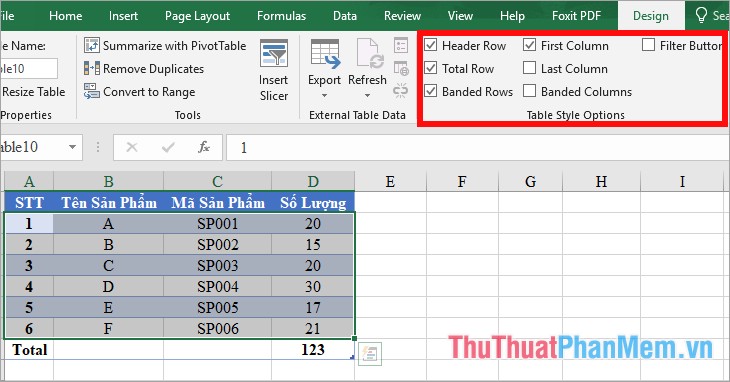
Step 2 : On the Design tab you can change some customizations in Table Style Options:
- Header Row: hide / show the header of the table.
- Total Row : Hide / show the row totals at the bottom of the table.
- Banded Rows : show the line.
- First Column : displays special formatting for the first column of the table.
- Last Column: displays special format for the last column of the table.
- Banded Columns: show the column line.
- Filter Button: hide / show the filter button next to the title cells.
2. Add rows
Add rows in the table
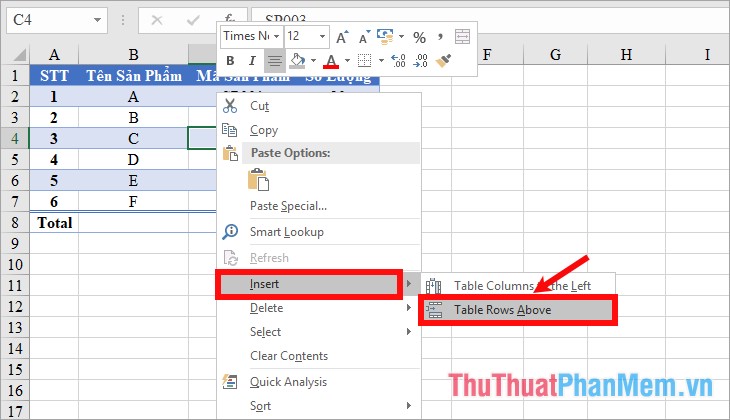
If you want to add a new row in the table, select the mouse in any cell below the row you want to add , right-click -> Insert -> Table Rows Above . New rows will be added on the row you select the mouse.
Add the last row of the table
Select the last cell in the last row, then press Tab key , the row will be automatically added to the table.

Or you select any cell in the last row, right-click and select Insert -> Table Row Below.

3. Add columns
Add columns in tables
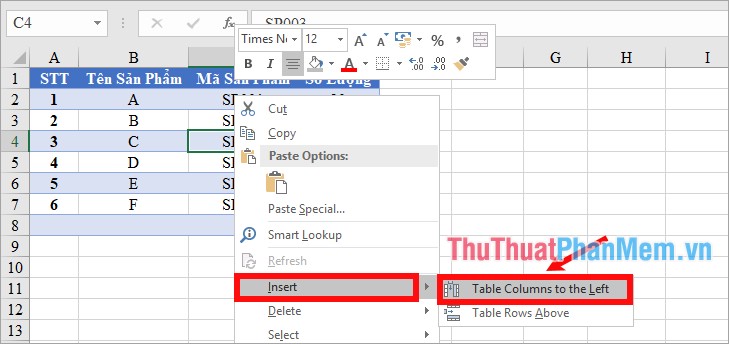
If you want to add a new column in the table, select the mouse in any cell at the right column of the column you want to add , right click -> Insert -> Table Columns to the Left . The new column will be added to the left of the column you selected.
Add the last column of the table
Select any cell in the last column of the table, right-click and select Insert -> Table Columns to the Right.

4. Delete the row
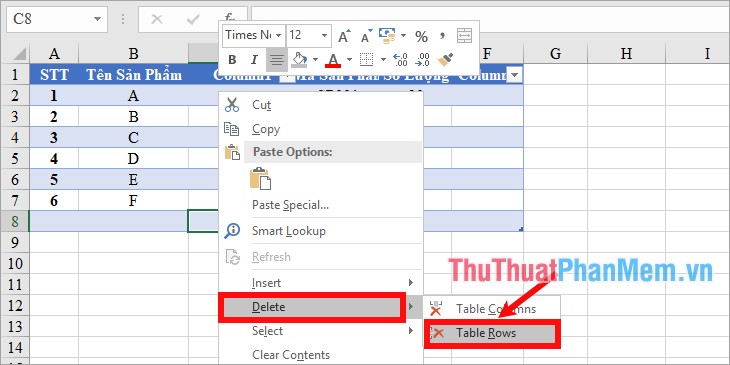
Select any cell on the row to delete, right-click and select Delete -> Table Rows.
5. Delete columns
Select any cell on the column to delete, right-click and select Delete -> Table Columns.

Above is instructions on how to create tables, insert tables in Excel 2016, if you use a lower version of Excel such as 2010 and 2013, then you will do the same as on Excel 2016. Hope the article will help. be for you. Good luck!