
Configure a Mac VLAN
Network administrators - Business administrators, especially those who are most Windows-friendly, may not know that Mac OS X Snow Leopard systems can be configured to create virtual local area networks (VLANs). ). Apple has provided support for the IEEE 802.1Q standard within Mac OS .
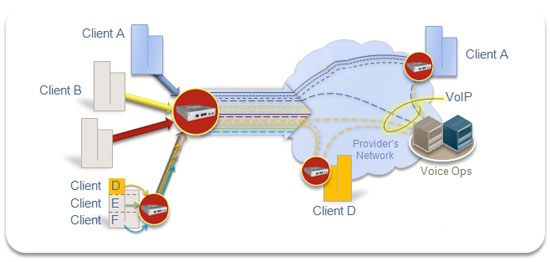
Why would an enterprise administrator want to consider VLANs? Using a VLAN, a physical network can be used to connect multiple departments. However, the addition of software-based VLANs allows segmenting workstations into completely separate LAN local networks. Supported by a layer-3 switch, workstation workstations will be segmented by department. That means that systems within a certain department cannot intrude on information on workstations inside other departments. The security is supported here, and administrators will have stronger control over network traffic routing.
Configure VLAN settings
To execute a VLAN inside Mac OS X, you must know the administrator username and password. When there are system administrator certificates in hand, open System Preferences and select Network in the Internet & Wireless section . If the lock in the lower left corner of Network applet is locked, double-click it, provide the system administrator's username and password and click OK to activate the changes.
When the Network applet is opened and unlocked to enable changes, select the appropriate network location (default options are AirPort, Ethernet and FireWire), or you can create a new location.
With the correct network location highlighted within the Network preferences applet, create a VLAN interface by clicking on the device icon in the lower part of the window. Scroll down to the bottom of the pop-up window and select Manage Virtual Interfaces .
A new window with two columns (Interface and BSD Name) will appear. Click the ' + ' icon in the lower part of the window and select New VLAN . Enter a name for the VLAN inside the VLAN Name field. Specify a VLAN Tag (the tag must be an integer between 1 and 4094 and match the remaining network VLAN configuration). Then make sure the appropriate network interface is selected from the granted drop-down menu, click Create , then click Done . New VLANs will appear with other network interfaces.
If you later need to edit VLAN settings, double-click the corresponding VLAN from within the network interfaces listed in the Network preferences console. When all VLAN settings are configured correctly, click the Apply button. Then save and activate the changes.
VLANs will try to join an existing network using DHCP, by default. If you need to specify network settings manually, mark VLAN inside the network interfaces listed and select Manually from the Configure IPv4 drop-down menu. You then need to provide the IP address, subnet mask, router, DNS server and search domains.
You should read it
- How to Find the Subnet Mask
- What is VLAN? How to configure a VLAN on Cisco Switch?
- How to Find Your Subnet Mask
- What is a subnet mask?
- How to change DNS server on the most popular routers
- Basic knowledge of Virtual LANs
- IP, Subnet mask, installation and configuration for 1 server
- Set up the LAN by dividing the subnet
- Steps to fix 'Unable to Contact your DHCP Server' error on Windows 10
- 10 things to know about Mask in Photoshop
- How to divide the subnets and the benefits of subnetting
- Review the Cisco RV180 VPN router
Maybe you are interested
How to convert text to voice of famous people 9 best iOS emulators on Windows computers How to enable / disable TLS 1.3 in Windows 10 10 Best Home Office Work Desks You Can Afford Decorate the room with a beautiful Christmas paper cover pattern 4 ways to distinguish genuine Louis Vuitton bags and Fake goods