How to change DNS server on the most popular routers
Changing the DNS server settings on your router is not difficult, but every manufacturer uses their own custom interface, which means the process can be very different depending on which router you are owned.
In the following article, you will find the steps needed to change the DNS server on your router. Currently the article only lists the most popular router brands, but the list will soon be expanded later.
Consider the list of the best Public DNS Server of Quantrimang today , because any of these providers can work much better than your ISP.
Note: Changing DNS servers on the router, instead of on your personal devices, is always a better idea.
How to change DNS server on routers
- Linksys
- NETGEAR
- D-Link
- ASUS
- TP-LINK
- Cisco
- TRENDnet
- Belkin
- Buffalo
- Google Wifi
Linksys
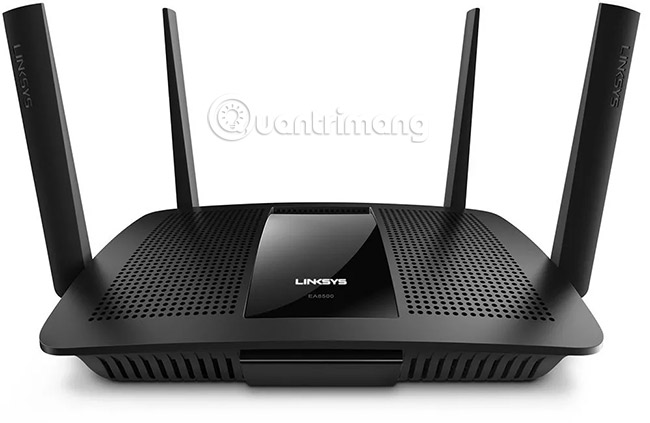
Change the DNS server on your Linksys router from the Setup menu :
- Log in to the web-based administration section of the Linksys router, usually http://192.168.1.1.
- Click Setup from the top menu.
- Click Basic Setup from the Setup submenu .
- In the Static DNS field 1 , enter the main DNS server you want to use.
- In the Static DNS field 2 , enter the secondary DNS server you want to use.
- The Static DNS 3 field can be left blank or you can add a primary DNS server from another provider.
- Click the Save Settings button at the bottom of the screen.
- Click the Continue button on the next screen.
Most Linksys routers do not require a reboot in order for these DNS server changes to take effect, but do so if the router administration page requires you.
Not all Linksys routers use 192.168.1.1.
If the address doesn't work in your case, try searching for the Linksys default password list on the Internet.
Linksys makes small changes to their admin page every time they release a series of new routers, so if the above procedure is not correct in your case, the instructions you need will be included in the tutorial. use on Linksys support page.
NETGEAR
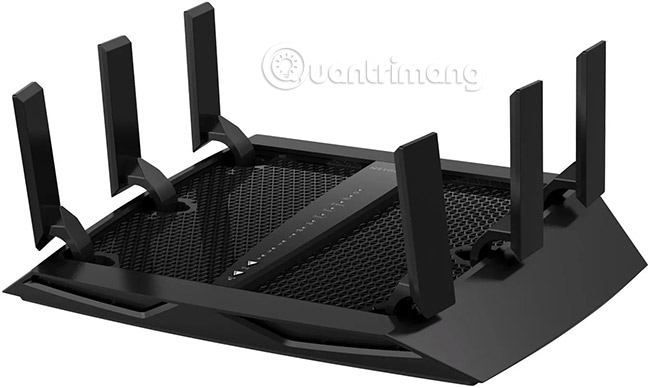
Change the DNS server on your NETGEAR router from the Basic Settings or Internet menu , depending on the model you are using:
- Log in to the NETGEAR router manager page, usually http://192.168.1.1 or http://192.168.0.1.
- NETGEAR has two main interfaces with different ways to take the next step:
- If you have a BASIC and ADVANCED tabs at the top, select Basic, then Internet options (on the left).
- If you don't have those two tabs at the top, select Basic Settings.
- Select the Use These DNS Servers option in the Domain Name Server (DNS) Address section .
- In the Primary DNS field, enter the primary DNS server you want to use.
- In the Secondary DNS field, use the secondary DNS server you want to use.
- If your NETGEAR router provides you with a third DNS field, you can leave it blank or select a primary DNS server from another provider.
- Click Apply to save the changes to the DNS server you just entered.
Follow any prompts about restarting the router if available. If you do not receive any notifications, your changes will now take effect immediately.
The Netgear router has used a number of different default gateway addresses for years, so if 192.168.0.1 or 192.168.1.1 does not work, find your model in NETGEAR's default password list.
Although the procedure outlined above will work with most Netgear routers, one or two models may use a different method.
D-Link
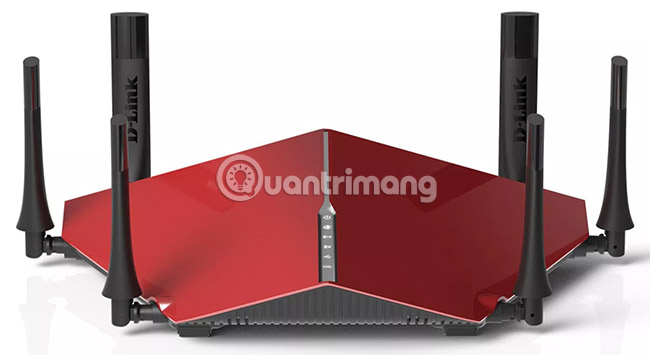
Change the DNS server on your D-Link router from the Setup menu :
- Log in to your D-Link router using http://192.168.0.1.
- Select the Internet option on the left side of the page.
- Select the Setup menu from the top of the page.
- Find the Dynamic IP (DHCP) Internet Connection Type section and use the Primary DNS Address field to enter the primary DNS server you want to use.
- Use the Secondary DNS Address field to enter the secondary DNS server you want to use.
- Select the Save Settings button at the top of the page.
DNS server settings will change immediately but you may be asked to restart the router to complete the changes.
Although most D-Link routers can be accessed through 192.168.0.1, some models use a different address by default. If the address does not work in your case, see the list of D-Link default passwords to find the default IP address of a specific model (and the default password to log in if you need it) .
If the above process does not apply to your case, see the D-Link Support page for information about your specific D-Link router product.
ASUS
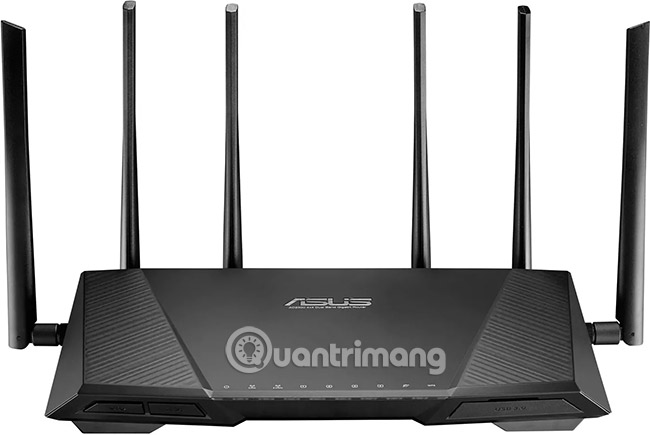
Change the DNS server on your ASUS router via the LAN menu :
- Log in to the admin page of the ASUS router using this address: http://192.168.1.1.
- From the left menu, click on WAN.
- Select the Internet Connection tab at the top, right.
- In the WAN DNS Setting section , enter the primary DNS server you want to use in the DNS Server1 text box.
- Enter the secondary DNS server you want to use in the DNS Server2 text box.
- Save the changes using the Apply button at the bottom of the page.
You may need to restart the router after applying the changes.
You will be able to access the configuration page for most ASUS routers with the address 192.168.1.1. If you have never changed your login information, try using the admin for both username and password.
Unfortunately, the software on every ASUS router is not the same. If you cannot access the router's configuration page using the steps described above, you can learn how to use your router on the ASUS support website. This page will have specific instructions for you.
TP-LINK
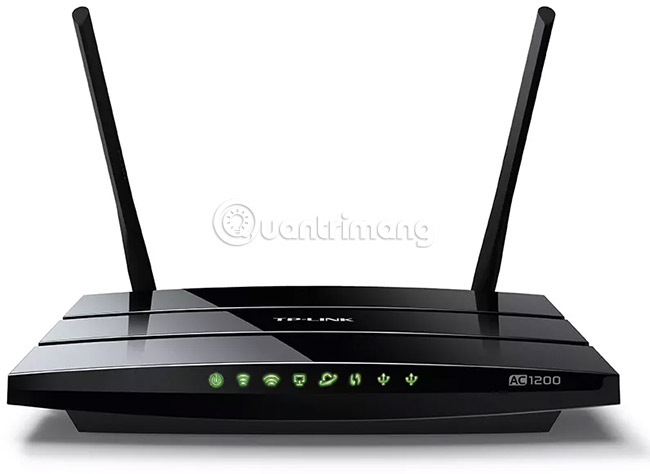
Change the DNS server on your TP-LINK router through the DHCP menu :
- Log in to the configuration page of the TP-LINK router, usually via the address http://192.168.1.1, but sometimes it can be http://192.168.0.1.
- Select the DHCP option from the left menu.
- Click the DHCP Settings option in the submenu of DHCP.
- Use the Primary DNS field to enter the primary DNS server you want to use.
- Use the Secondary DNS field to enter the secondary DNS server you want to use.
- Select the Save button at the bottom of the page to save the changes.
Usually you do not have to restart the router to apply these DNS settings, but some TP-LINK routers may require that.
One of the two IP addresses above, as well as the accompanying instructions, will work with most TP-LINK routers. If not, search for your TP-LINK model at TP-LINK support page. In your router's dedicated manual, it will be the default IP you should use to connect, as well as details about the DNS change process.
Cisco
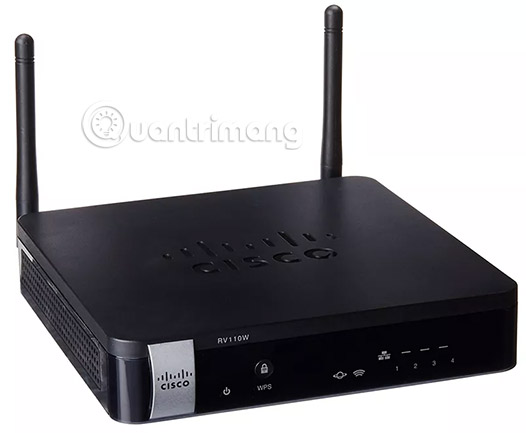
Change the DNS server on your Cisco router from the LAN Setup menu :
- Log in to your Cisco router from http://192.168.1.1 or http://192.168.1.254, depending on your router model.
- Click the Setup option from the menu at the top of the page.
- Select the LAN Setup tab from the menu located immediately below the Setup option .
- In the LAN 1 Static DNS field 1 , enter the main DNS server you want to use.
- In the Static DNS 2 LAN field, use the secondary DNS server you want to use.
- Some Cisco routers may have a Static DNS 3 LAN field, which you can leave blank or enter another DNS server.
- Save the changes using the Save Settings button at the bottom of the page.
Some Cisco routers will ask you to restart the router to apply the changes. If not, all changes will be applied immediately after selecting Save Settings.
If you have problems with the instructions above, see the Cisco Support page to find the correct instructions for your model.
If you can't even open Cisco's router configuration page with one of the addresses above, take a look at Cisco's default password list for IP addresses, as well as other default login data for Cisco routers. Specifically.
Note: These steps will be different for co-branded Cisco-Linksys routers. If your router has Linksys anywhere, follow the steps to guide changing DNS servers on the Linksys router.
TRENDnet
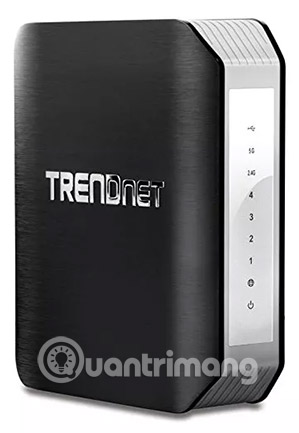
Change the DNS server on your TRENDnet router via the Advanced menu :
- Log in to your TRENDnet router at http://192.168.10.1.
- Select Advanced at the top of the page.
- Select the Setup menu on the left.
- Click the Internet settings submenu in the Setup menu .
- Select the Enable option next to Manually configure DNS .
- Next to the Primary DNS box , enter the primary DNS server you want to use.
- Use the Secondary DNS field for the secondary DNS server you want to use.
- Save the settings by clicking Apply.
If you are asked to restart the router, follow the instructions on the screen. But not all TRENDnet models require this.
The instructions above will work with most TRENDnet routers but if you find that they are not correct in your case, please visit TRENDnet's support page (http://www.trendnet.com/support/) and search for manuals in PDF format for your model.
Belkin
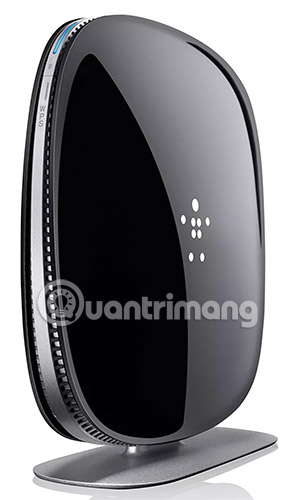
Change the DNS server on your Belkin router by opening the DNS menu :
- Log in to your Belkin router via http://192.168.2.1.
- Select DNS in the Internet WAN section from the left menu.
- In the DNS Address field , enter the primary DNS server you want to use.
- In the Secondary DNS Address field, use the secondary DNS server you want to use.
- Click the Apply Changes button to save the changes.
You may be asked to restart the router for the changes to take effect (just follow the prompts on the screen if available).
You can reach almost all Belkin routers with 192.168.2.1 but there may be some exceptions, in which another address is used by default. If this IP address does not work for you, the specific address used for your model can be found on the Belkin support page (http://www.belkin.com/us/support).
Buffalo
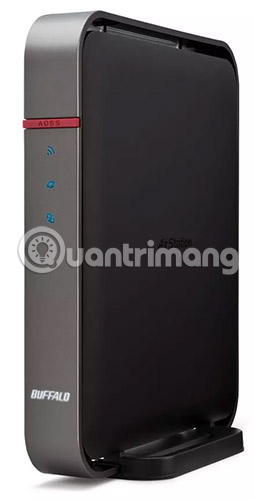
Change the DNS server on your Buffalo router from the Advanced menu :
- Log in to the Buffalo router at http://192.168.11.1.
- Click the Advanced tab at the top of the page.
- Select WAN Config on the left side of the page.
- Next to the Primary field in the Advanced Settings section , enter the main DNS server you want to use.
- Next to the Secondary field , enter the secondary DNS server you want to use.
- Near the bottom of the page, select Apply to save the changes.
If the admin admin address does not work or other steps do not appear to fit your specific Buffalo router model, you can find specific instructions on the Buffalo support page (http://www.buffalotech.com /support).
Google Wifi
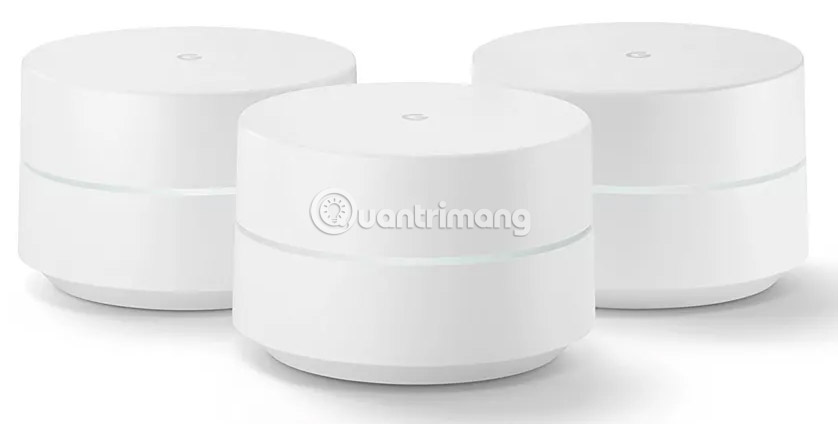
Change the DNS server on your Google Wifi router from the Advanced networking menu :
- Open the Google Wifi application on your mobile device.
- You download Google Wifi for Android or Google Wifi for iOS devices.
- Click on the menu item on the upper right to enter the settings.
- Scroll down to Settings and select Network & General .
- Click Advanced networking from the Network section .
- Select the DNS entry .
Note: As you can see on this screen, Google Wifi uses Google's DNS server by default but you have the option to change the server to your own ISP set or customized.
- Click Custom to find two new text boxes.
- Next to Primary server text field , enter the DNS server you want to use with Google Wifi.
- Next to Secondary server, enter the optional secondary DNS server.
- Click the SAVE button at the top right of the Google Wifi application.
Unlike routers of most other manufacturers, you cannot access Google Wifi settings from your computer using the IP address of the device. You must use the bundled mobile application that you can download from step 1 above.
All Google Wifi mesh points are connected to a network using the same DNS server mentioned in the above steps. You cannot choose different DNS servers for each Wifi point.
If you need help, you can refer to the Google Wifi Help Center for more information.
The article only refers to the most popular router manufacturers. The list will be added as soon as possible.
See more:
- How to change DNS Quad9 to block malicious domain
- 3 "legitimate" reasons to change DNS Server
- Instructions for checking Google DNS settings after changes