Basic operations on objects on slides in PowerPoint
Introduce the basic operations with objects on Slide in PowerPoint 2013. The example on Silde has 2 objects as shown: The operations for working with 2 objects on Silde include: 1. Moving the object to 1 unit new position. 2. Copy the object to 1 page
Table of Contents
The following article introduces you to basic operations with objects on Slide in PowerPoint.
The example on Silde has 2 objects as shown:
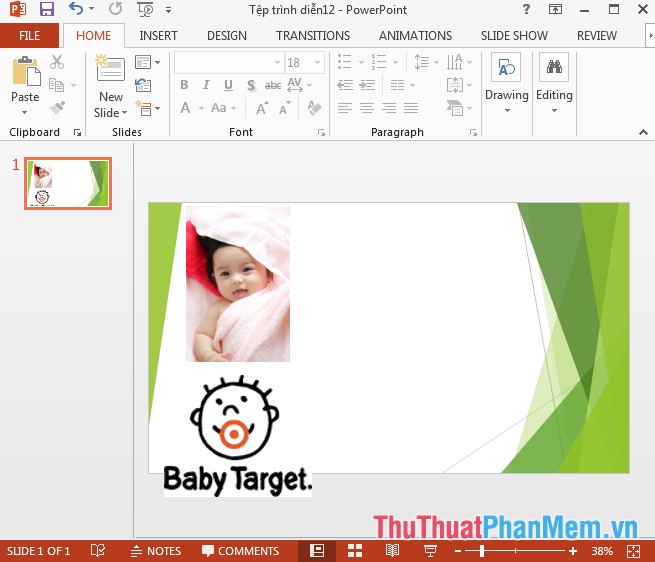
The operation of working with 2 objects on Silde includes:
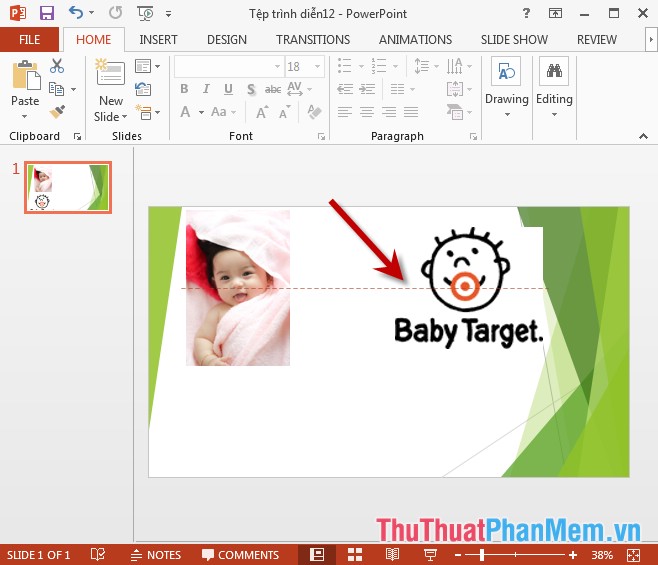
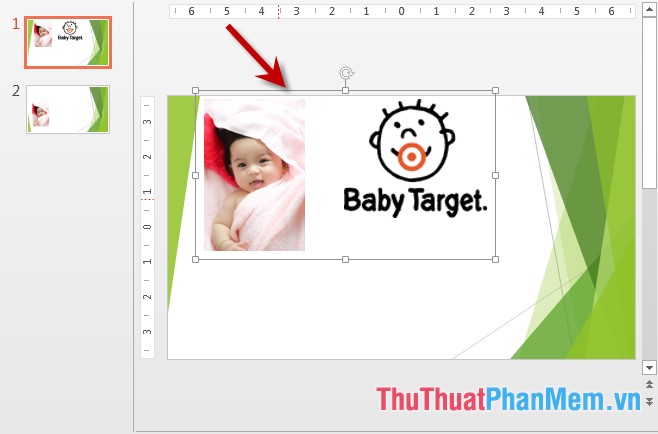
1. Move the object to a new location.
- To move an object to a new position, just click on the object -> hold and move the object to the desired position:
2. Copy the object to another page.
Step 1: Click on the object you want to copy -> right-click and select Copy ( or press Ctrl + C):

Step 2: Move to Slide to paste -> right-click and select Paste ( or press Ctrl + V):

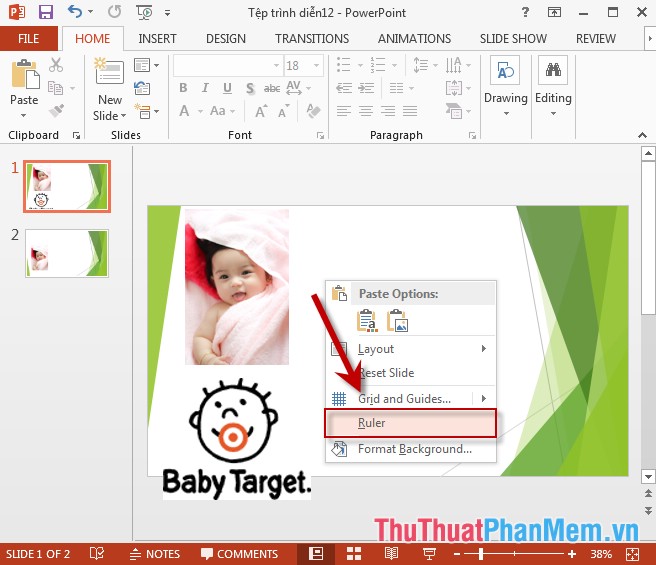
3. Display the ruler on the slide.
- To display a ruler on a slide in order to align the position of the objects you just right-click the slide to display a ruler -> select Ruler:
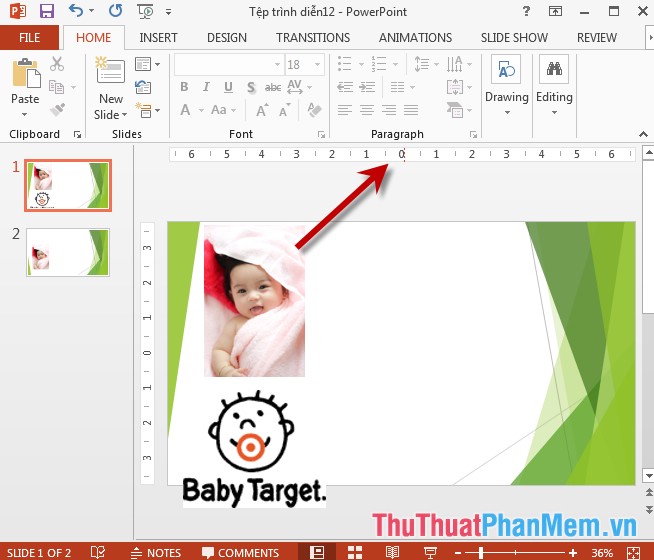
- Display Ruler helps you align objects easily.
- In case you do not want to display the Ruler bar to do the same thing and uncheck the checkbox in Ruler.
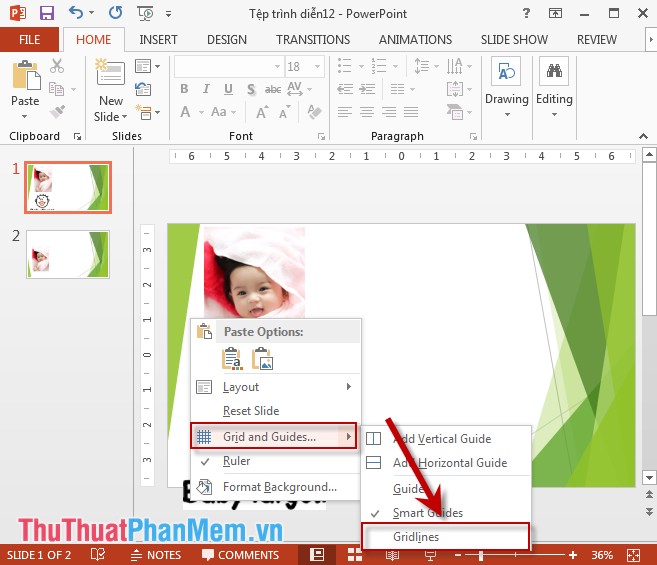
4. Display the grid on the slide.
- Similar to the display of the Ruler bar -> right click on the silde and select Grid and Guides . you can choose to display only the horizontal or vertical grid bar or the example here shows both horizontal and vertical grid and select Gridline:
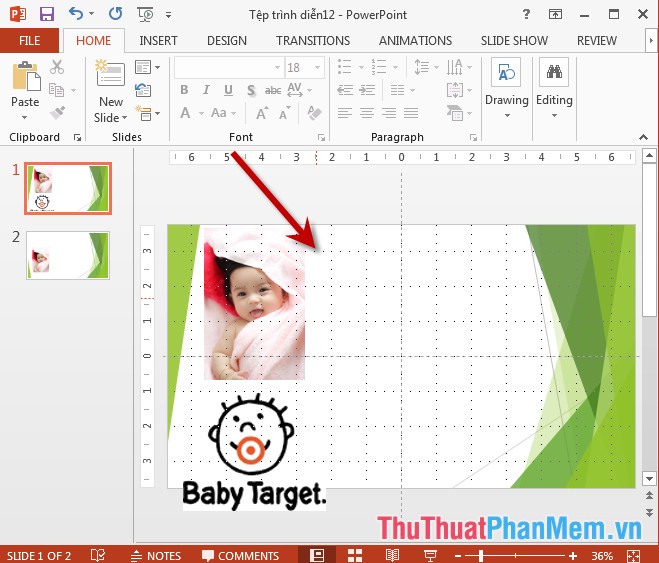
- Results after grid display:
5. Edit the position of 2 objects.
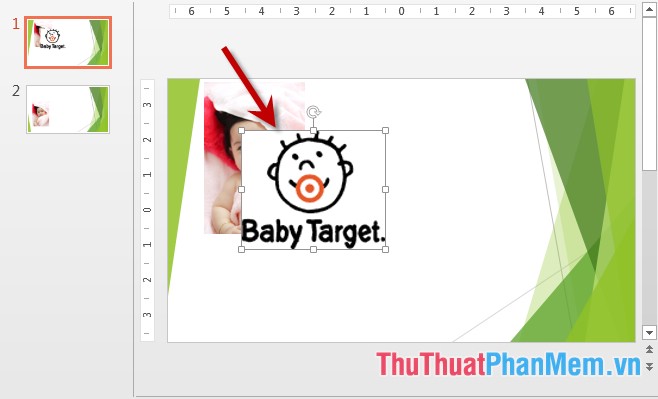
- For example, there are 2 objects with the same position:
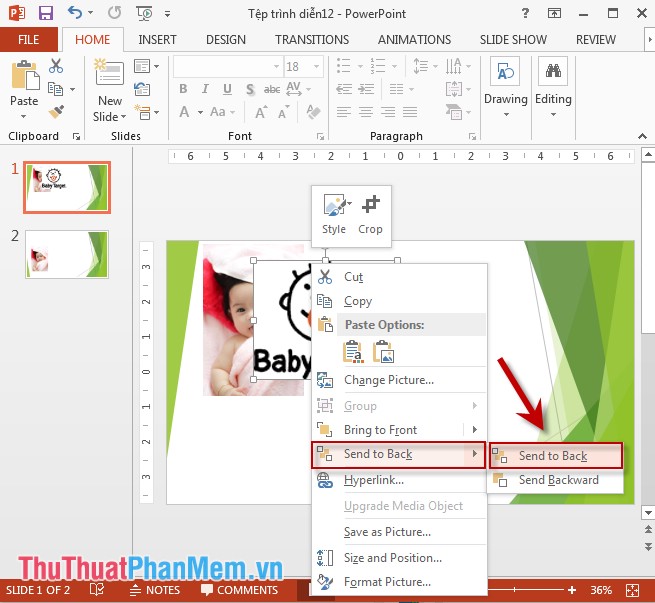
- You want the front object hidden behind the object after it to do the following: Right-click the front object -> select Send to back -> Send to Back:
- If you click on the object after it -> click on Bring to Front -> Bring to Front
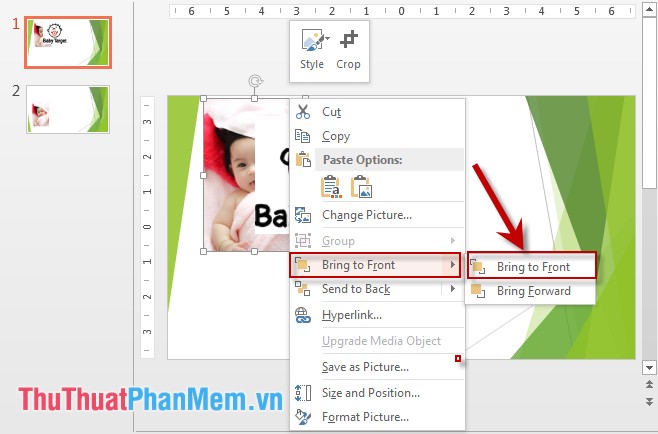
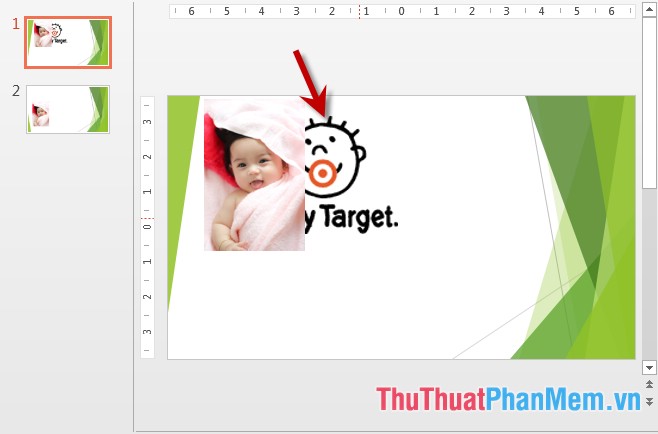
- Results 2 subjects:
So depending on the location of the selected object, choose Send to or Bring to accordingly.
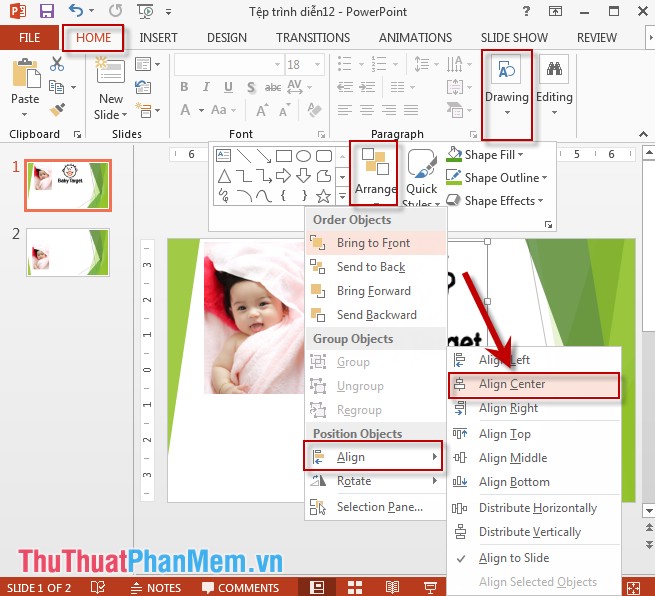
6. Align the object against the Slide.
- Click on the object to be aligned -> Home -> Drawing -> Align -> select the type of position for the object, for example, select the object in the middle of the Slide and click Align Center:
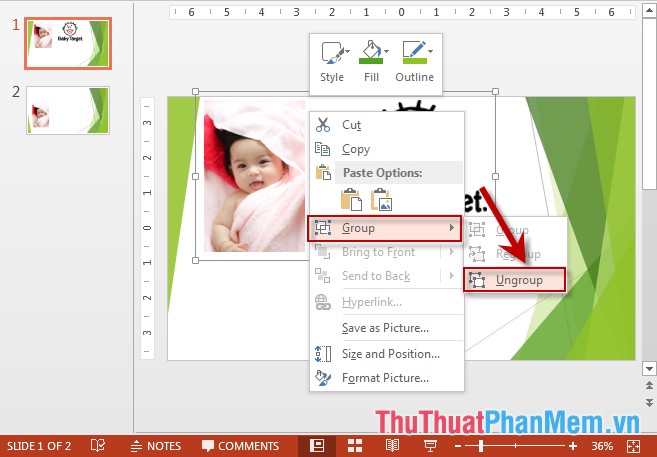
7. Group objects in Slide.
- You have too many objects on 1 Slide, you want to group them into 1 object to facilitate the moving and editing done as follows:
+ Select all the objects you want to group (by pressing and holding Ctrl key while clicking and selecting objects, or using the drag-and-drop operation) -> right-click on one of the objects -> select Group - > Group:
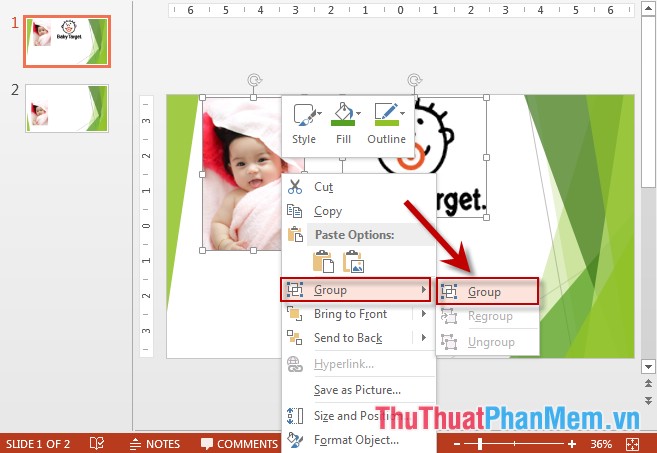
- Results 2 objects are grouped into 1 object:
- In case you want to separate right-click objects into grouped objects -> Group -> UnGroup:
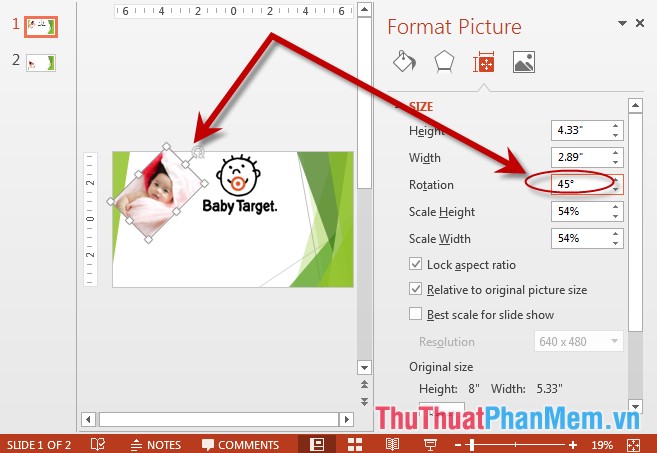
8. Rotate the object.
- Right-click the object to rotate -> Rotate -> select the rotation angle available support or click More Rotation Options to select other rotation angle:

- The Format Picture dialog box appears -> enter the rotation angle in Rotation -> the object has been rotated according to the set angle:
The above is a detailed guide of basic operations with objects on Slide in PowerPoint 2013.
Good luck!
Was this article helpful?
Your feedback helps us improve.
Related Articles
 PowerPoint 2019 (Part 18): Adding Animations to Text and Objects9 minutes read
 Basic information about slides in PowerPoint 201611 minutes read
 PowerPoint 2016: Basic information about slides11 minutes read
 PowerPoint 2019 (Part 4): Basic Slide Concepts10 minutes read
 PowerPoint 2019 (Part 17): Aligning, Arranging, and Grouping Objects7 minutes read
 Why People Use Google Slides More Than PowerPoint5 minutes read
Reader Comments 0
Sign in with email or Google to join the discussion.