Using Excel to enter and process data, make sure that with a lot of data you will need to number them. With short data, you can manually enter the order number for the data manually, but with long data lists this job will take a lot of time. So you can use the features that Excel supports for automatic numbering.
The article shows some ways of automatic numbering in Excel.
Method 1: Number with your mouse
Numbering with the mouse cursor has 2 ways: numbering for short lists and numbering for long lists.
1. Number the number with the mouse for the short list.
This method is used for short-numbered lists, you can quickly drag the mouse cursor.
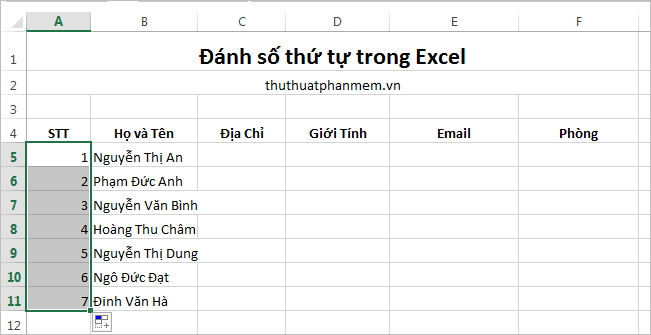
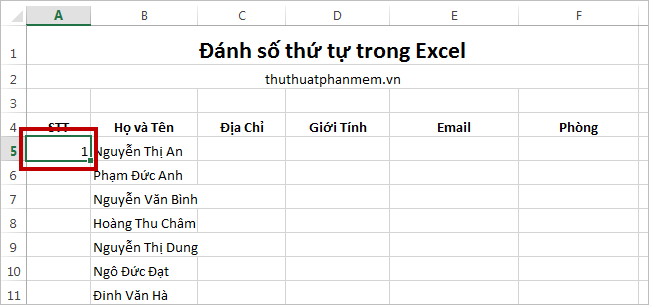
Step 1: In the list to be numbered you enter the number you need to start numbering in the first box, for example, the number 1.

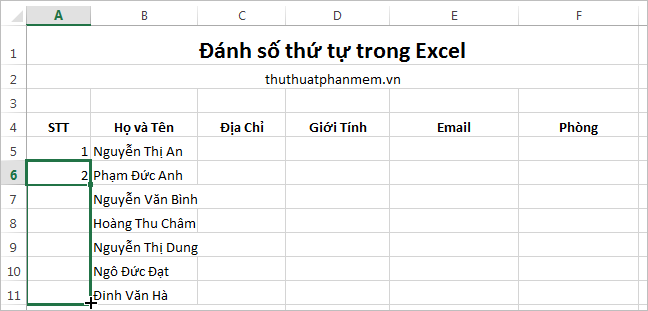
Step 2: Hold down CTRL and drag the mouse cursor to the lower right corner of the first cell you just entered the number until the mouse pointer turns into a + sign and there is a small + sign at the top as shown below.

Step 3: Hold down the left mouse button and drag the mouse pointer to the end of the numbered list.

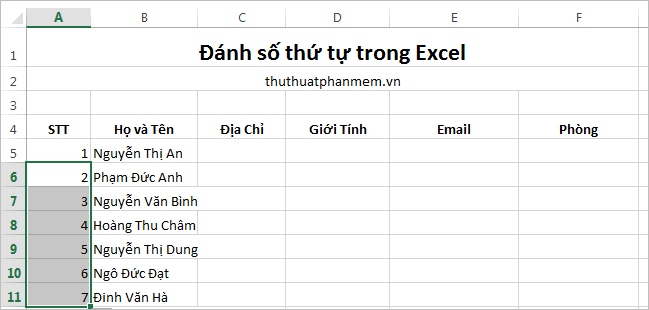
Your results will be listed in ascending order:
2. Number the number with the mouse for the long list.
For lists that need to be numbered in the order of hundreds and thousands of lines, you should do the following:
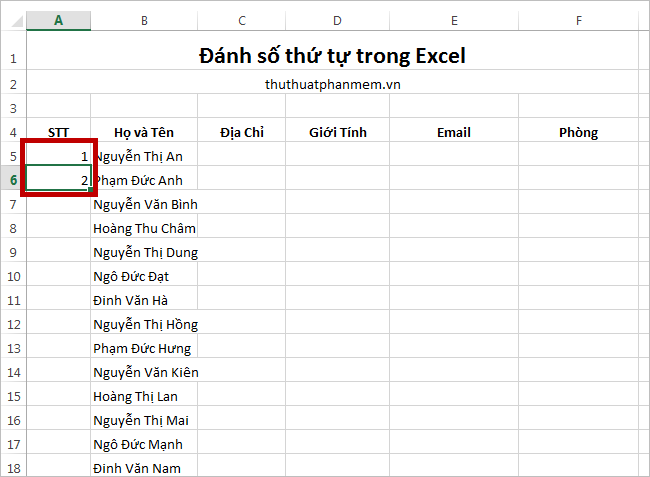
Step 1: Enter the first ordinal number you want to start numbering in the example list starting from 1, followed by the second number in the next box, example 2 (if you want to number one by one) 1 unit increments then you enter the next number as 2, if you want to number the ascending 2 units then you enter the next number is 3 .).
Step 2: Drag the mouse to select the two cells you just entered and drag the mouse pointer into the lower right corner of the second cell so that the cursor appears + sign .
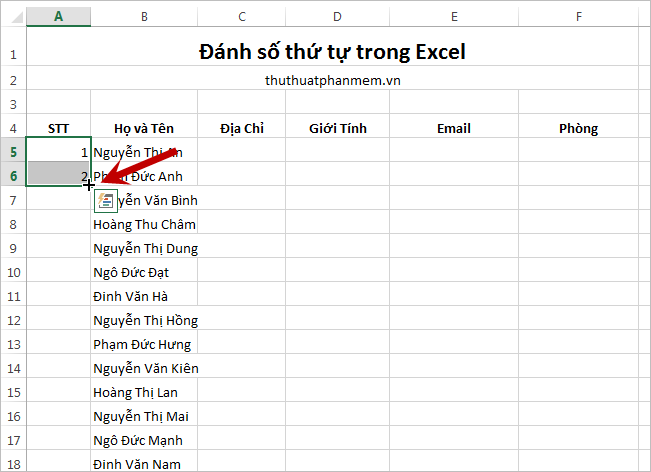
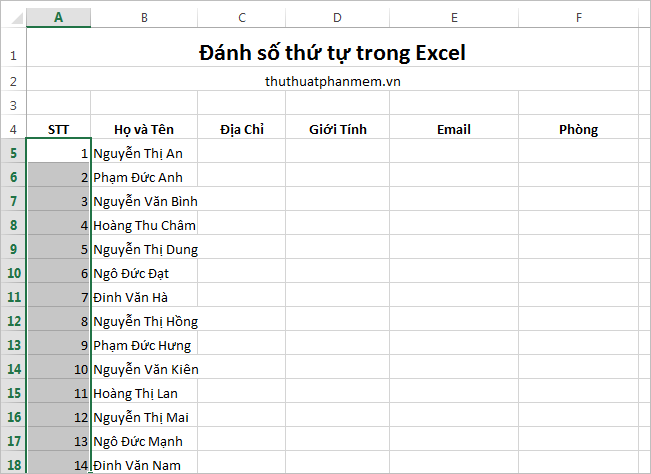
Step 3: Double-click the left mouse button to let Excel automatically number you. Your results will be as follows:
Method 2: Number the number with the formula
Step 1: Enter the first ordinal number to be numbered in the starting number box (any number).
Step 2: Enter the formula in the next cell eg = A5 + 1
Where: A5 is the first cell that you enter in step 1.
1 is a unit of increase, if you want to increase by 2 units then replace the number 1 with the number 2 .

Step 3: Then you drag the cursor in the lower right corner of the formula cell. When the mouse pointer changes to a + symbol, you drag the mouse down to copy the numbered formula in Excel.
Your results will be as follows:
Thus you quickly numbered automatically in Excel. Good luck!


 The most detailed guide on how to number pages, skipping the first page and starting from any page in Word.
 7 ways to number pages in Word that you need to know.
 Common calculation functions in Excel, formulas, and examples.
 How to number pages in Word starting from page 2
 Formulas for calculating the number of terms, formulas for calculating the sum of the terms.
 Ways to earn Spins in Coin Master