How to get and provide remote support using the Quick Assist app in Windows 11
This guide will show you how to use the Quick Assist app to get help or help someone over a remote connection in Windows 11.
The Quick Assist app lets you get help with a computer problem from family or friends, or help them solve it. Quick Assist uses a remote connection, so be sure to only use it with people you trust, as they can view your computer screen or control your PC (if you allow them to).
- When you get help using the Quick Assist app, you let someone you trust view your screen or take control of your PC.
- When you help someone with Quick Assist, you'll ask them to share their screen or take control of their PC. You'll be asked to sign in to Quick Assist with your Microsoft account.
Option 1: Help someone remotely using the Quick Assist app
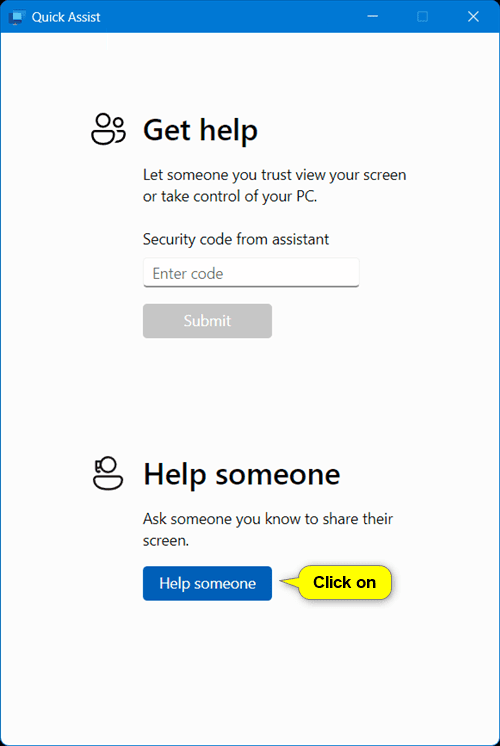
1. Open the Quick Assist application ( Win + Ctrl + Q ).
2. Click Help someone .
3. Enter the email address for your Microsoft account and click Next .

4. If prompted, enter the password for your Microsoft account and click Sign in .

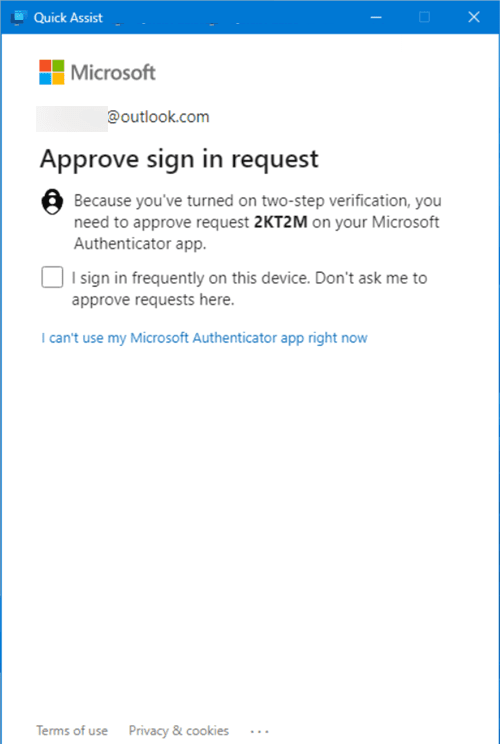
If you've turned on two-step verification for your Microsoft account, you'll now need to verify it.
5. Share the 6-digit code with the person you are helping so they can perform steps 1 and 2 in the second option below.
The person you're helping must enter the shared code before it expires in 10 minutes, or you'll both have to close the Quick Assist app and start over.
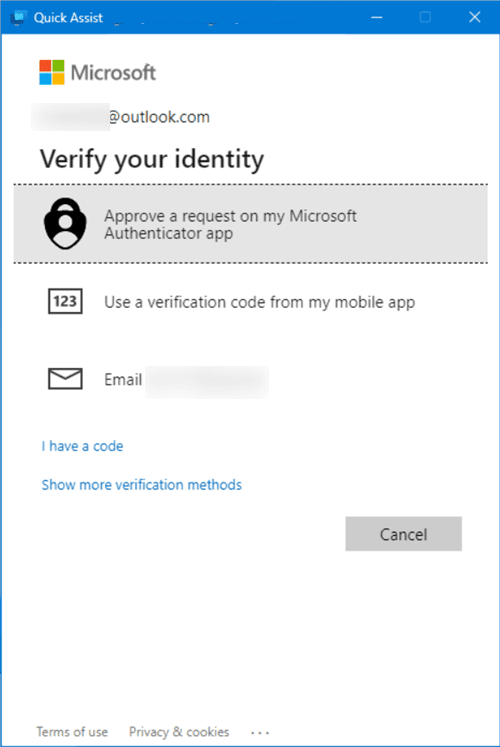
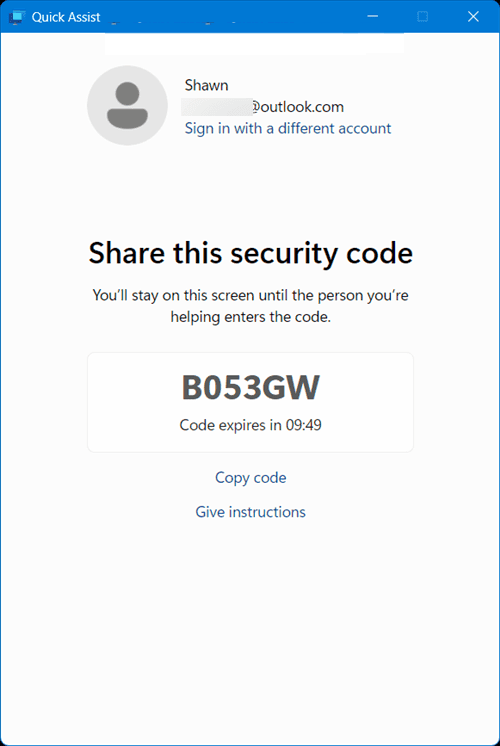
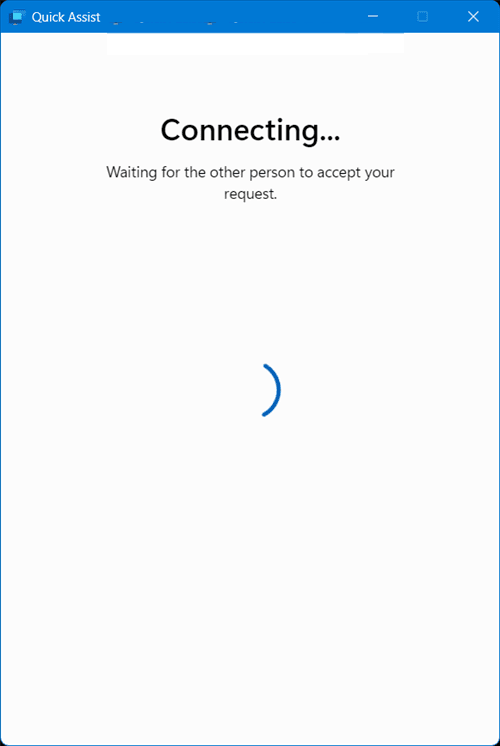
6. After the person you are helping completes steps 1 and 2 in the second option, you will see the Connecting screen below until they allow you to complete step 3 in the second option.
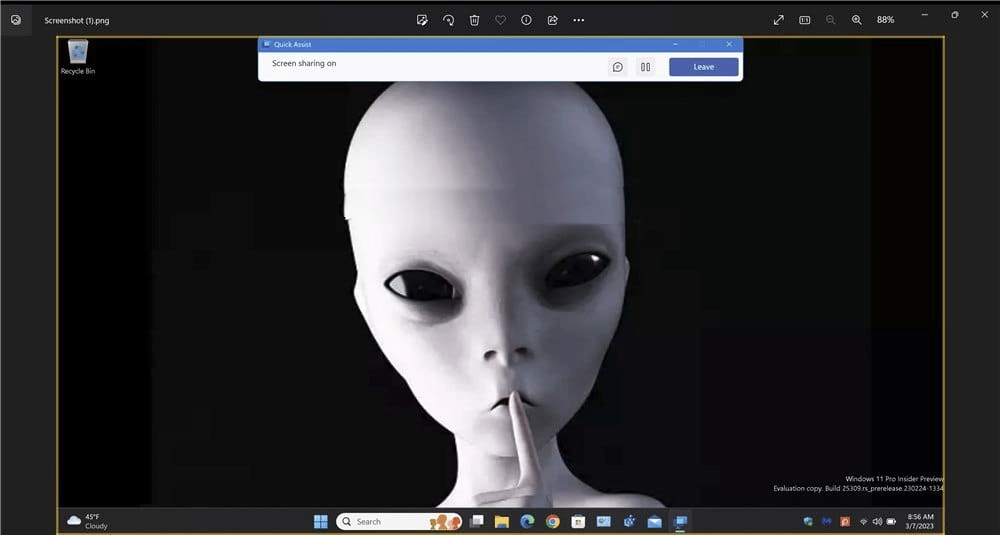
7. Once you're connected and helping someone, you can use different tools in Quick Assist if you want, such as the laser pointer, annotations, chat to type messages, and more.
8. If you want to request full control of their PC, click Request control , then wait for them to allow ( Allow ) in step 4 in option two.
You can click Stop control at any time to stop controlling their PC and just continue sharing your screen.
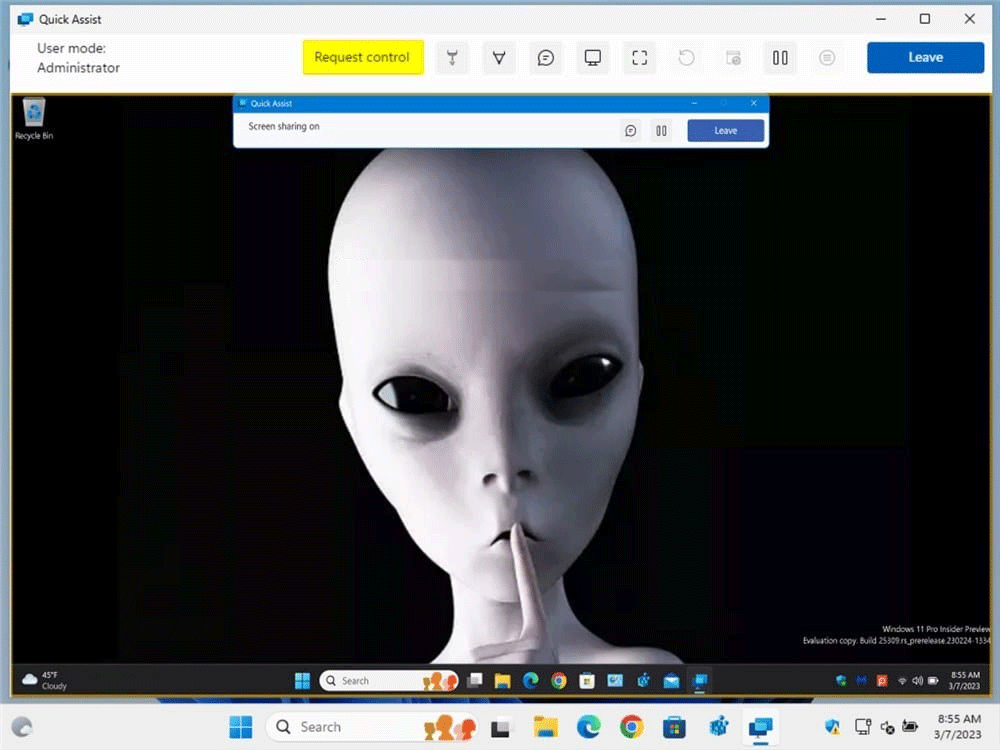
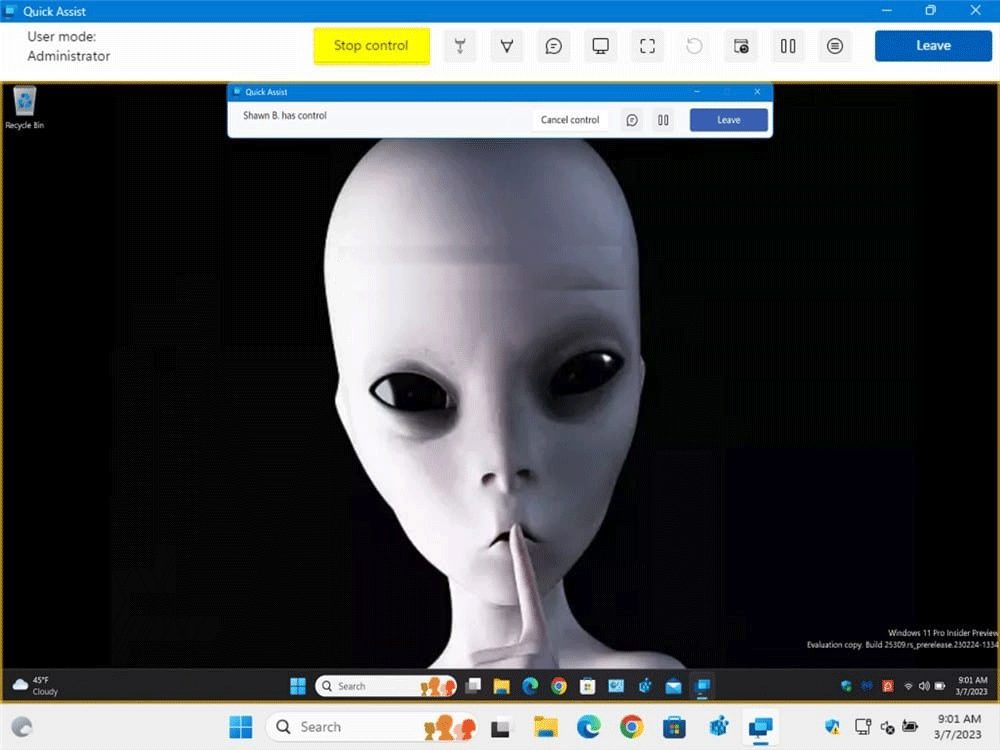
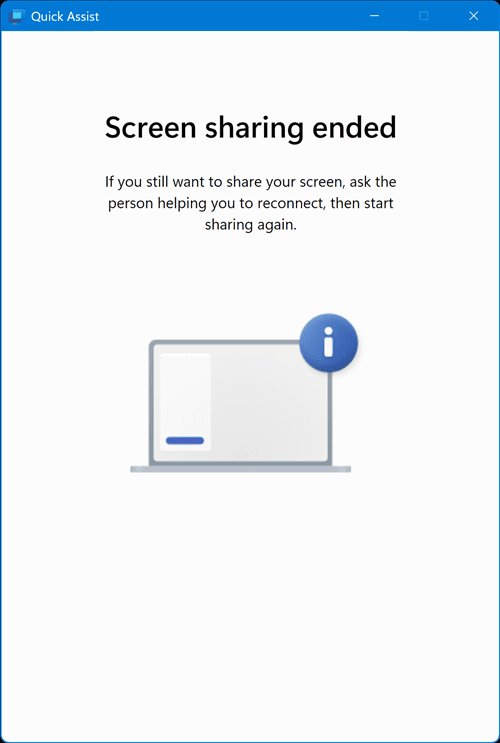
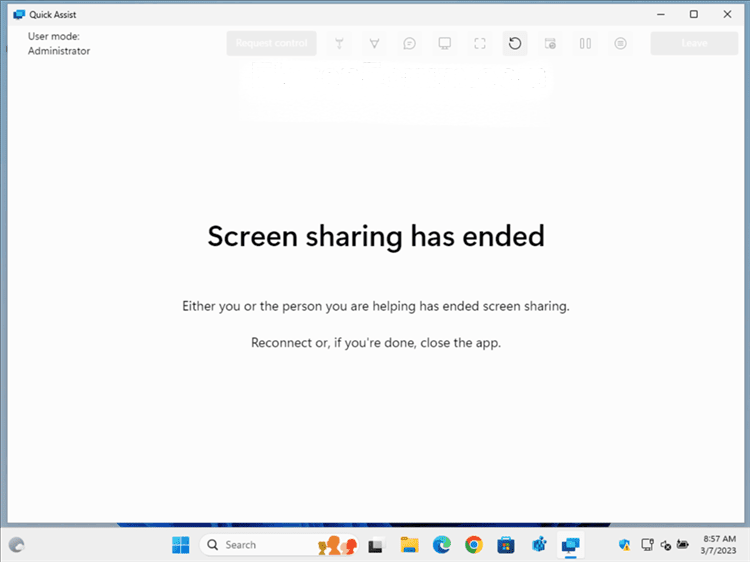
9. When you're done helping them, click Leave .
Option 2: Get remote help using the Quick Assist app
1. Open the Quick Assist application ( Win + Ctrl + Q ).
2. Enter the 6-digit code shared with you by your helper and click Submit .
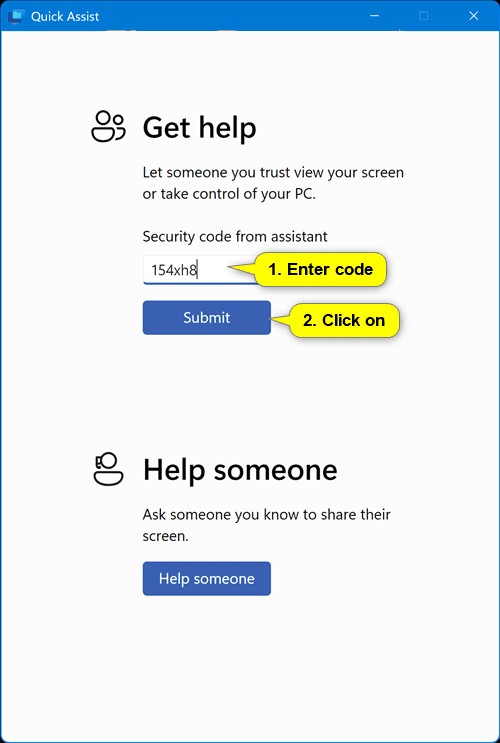
3. Click Allow .
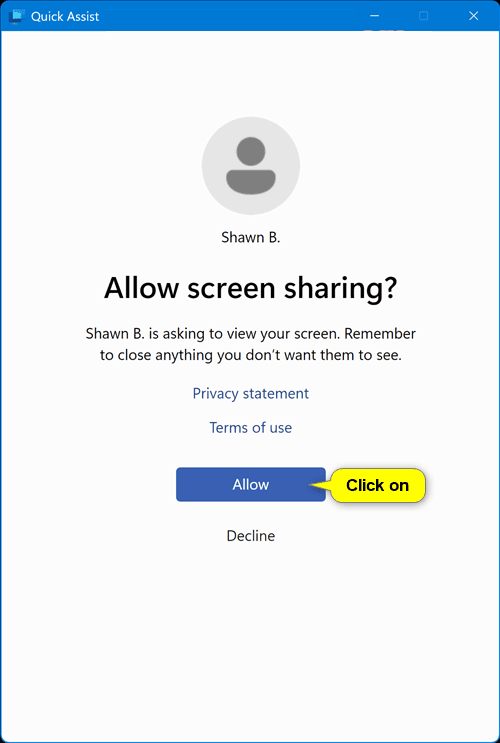
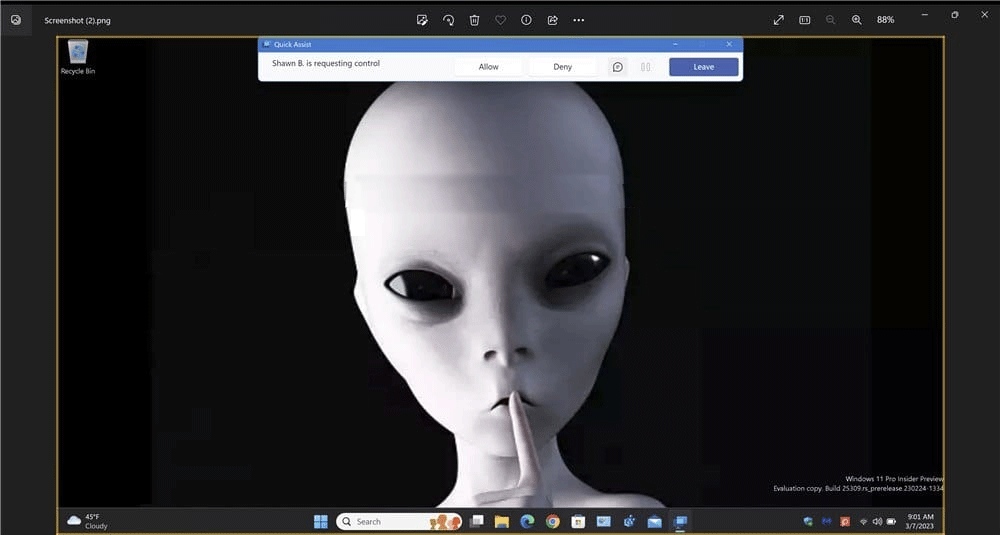
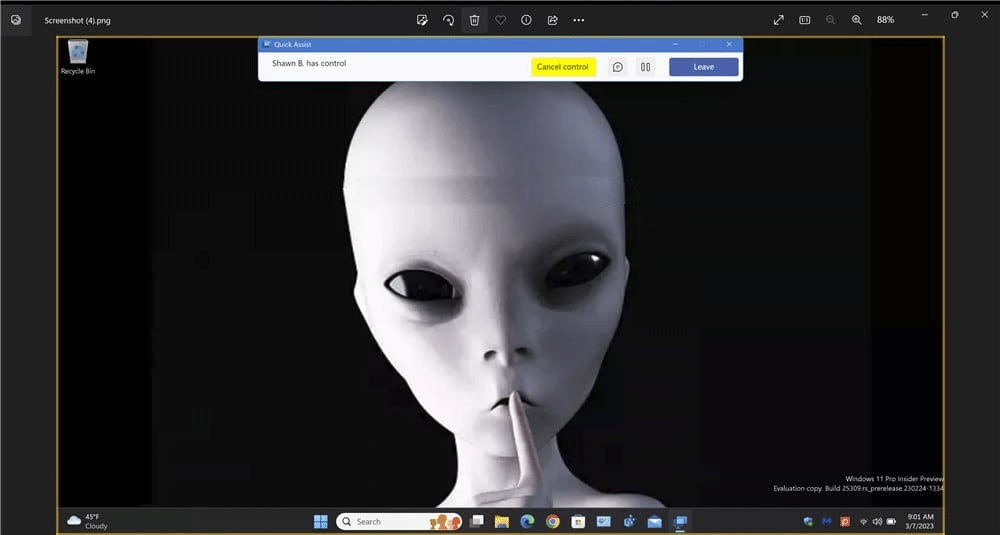
4. If someone helps you request full control of your PC, you can click Allow if you want.
You can click Cancel control at any time to stop giving them full control and just continue sharing your screen.
5. After you receive the help, click Leave .
