Table of Contents
Open Snagit’s Capture window, choose Image, Video, or All-in-One, select the area you want, and complete the capture from the small toolbar. Image captures open in Snagit Editor for cropping and annotation; video captures can include system audio, a microphone, and a webcam when supported.
Snagit is paid software for Windows and macOS. Download it from TechSmith’s official Snagit page and check the current requirements there, because the old 2.4 GHz/1 GB specification no longer describes modern releases.
Take a screenshot with Snagit
- Open the Capture window and select Image for a still image or All-in-One if you want to decide after selecting an area.
- Choose any effects or destination settings you need. Leave them at their defaults for a straightforward capture.
- Select Capture. The default global shortcut is normally PrtScn on Windows or Control + Shift + C on Mac, unless it has been reassigned.
- Drag over an area, click a window, or select the full screen. Use the capture toolbar to choose an image, video, or scrolling capture when those choices appear.

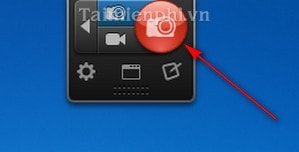
TechSmith’s official image-capture tutorial explains the controls in the current version.
Capture a scrolling page
For a webpage or document longer than the visible window, select the scrolling arrows or Panoramic Capture offered after you select the region. Keep the source still while Snagit scrolls. If automatic scrolling fails, use Panoramic Capture and scroll manually at a steady pace.
Edit the screenshot in Snagit Editor
After capture, the image opens in Snagit Editor. Crop empty edges first, then add only the annotations that help the reader: arrows for direction, shapes for focus, callouts for short explanations, and blur for sensitive information.
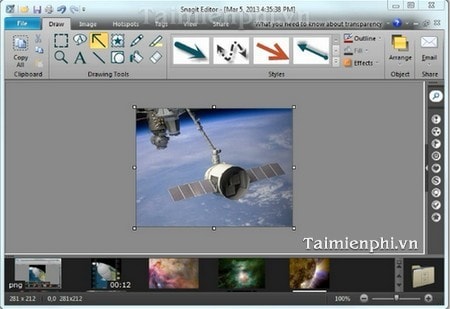
- Use consistent colors and line weights across a tutorial.
- Blur or remove passwords, email addresses, account IDs, and notification previews before sharing.
- Keep an editable Snagit project copy if you may need to change annotation objects later.
- Use the recent captures tray to reopen recent images and videos, but do not treat it as your only archive.
Save a Snagit screenshot
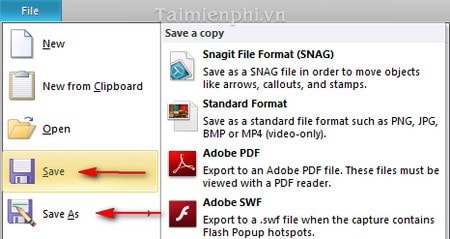
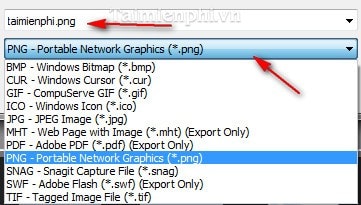
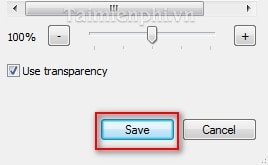
Press Ctrl + S on Windows or Command + S on Mac, choose the destination folder, and name the file descriptively. Use Save As to create a separate copy or change formats.
| Format | Best use |
|---|---|
| PNG | Interface screenshots, diagrams, and text |
| JPEG | Photographic images where smaller size matters |
| Documents or captures intended for review | |
| Snagit project format | Preserving editable annotations for later work |
Record a screen video
- Select the Video tab in the Capture window.
- Choose whether to record the microphone, system audio, webcam, and cursor. Wear headphones if speaker output would feed back into the microphone.
- Select Capture, drag over the recording area, and start after the countdown.
- Pause if necessary, then stop the recording. Review the beginning and end and trim unwanted sections before sharing.
For a broader comparison of built-in and third-party choices, see how to record your computer screen.
Share without exposing private data
Snagit can share files to apps and online services, but sharing availability depends on the version and installed connectors. Confirm the destination and access permissions before upload. For confidential material, save locally and use an approved workplace system instead of a public share link.
If Snagit is more than you need, compare it with options in 15 useful screen-capture applications or the ShareX versus Greenshot guide.
Related Articles
 Snagit - Snagit Download and Installation Guide4 minutes read
 Snagit - Take Screenshots Extremely Fast: Key Facts5 minutes read
 How to Taking Screenshots with Snagit: Step-by-Step Guide14 minutes read
 Camtasia and Snagit: A Practical Guide5 minutes read
 How to Use FastStone Capture to Record Your Computer Screen3 minutes read
 How to Capture Screen and Record Video on Nintendo Switch Game Console10 minutes read
Reader Comments 0
Sign in with email or Google to join the discussion.