Table of Contents
In Camtasia, start a new recording, choose the screen area and audio sources, record your demonstration, then edit the result on the timeline and export an MP4. A short plan and a 20-second test recording prevent most problems with framing, sound, and unreadable text.
Check the current requirements
Camtasia is now available for Windows and macOS; the old Windows XP, 1 GB RAM, and 500 MB storage requirements in the legacy guide no longer apply. Current releases require a supported 64-bit operating system and substantially newer hardware. Check TechSmith’s current Camtasia system requirements for the exact version you plan to install.
Download the installer from the official Camtasia page. Keep recordings and project media on a local drive while editing; TechSmith specifically advises against using cloud-synced folders as the active media location.
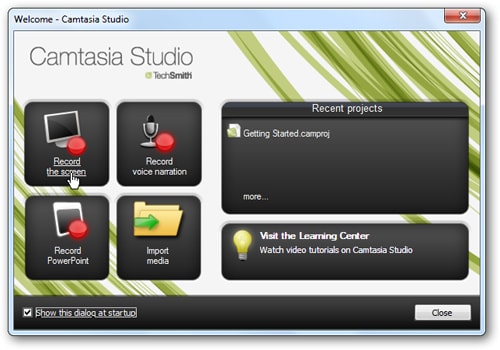
Plan the recording before pressing Record
- Write a short outline and close unrelated apps and notifications.
- Use the final delivery dimensions when practical. Recording 1920×1080 and exporting 1920×1080 avoids unnecessary scaling.
- Increase text size in the app you are demonstrating rather than relying on constant zoom effects.
- Use an external microphone in a quiet room when voice clarity matters.
- Record a short test and listen with headphones.
Record the screen, audio, and webcam
- Select New Recording or the recorder button.
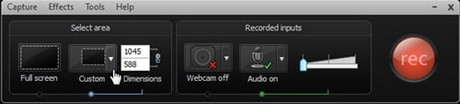
- Choose the full screen, a window, or a custom area. Keep the capture region aligned to standard video proportions when possible.
- Turn the webcam on only if it adds value. Position its preview where it will not cover interface controls.
- Select the intended microphone and, if required, system audio. Watch the input meter and avoid levels that reach the maximum constantly.
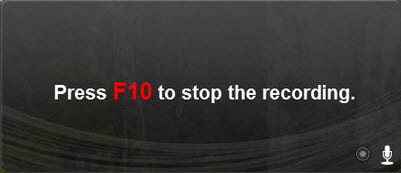
- Select Record. In the legacy Windows recorder, F9 starts or pauses and F10 stops; verify shortcuts in your installed version before relying on them.
Speak a short lead-in before the first action and pause briefly between steps. Those gaps make editing easier.
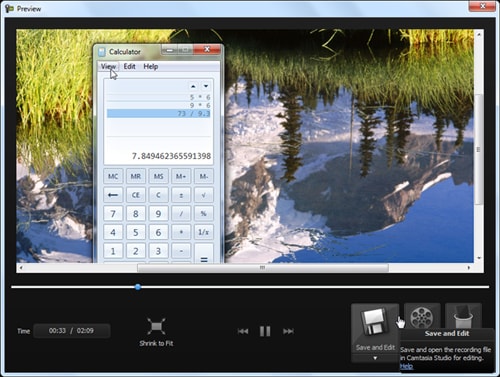
When the capture ends, save the raw recording and send it to the editor. Do not delete the source recording until the final video has been reviewed and backed up.
Set up the project and timeline
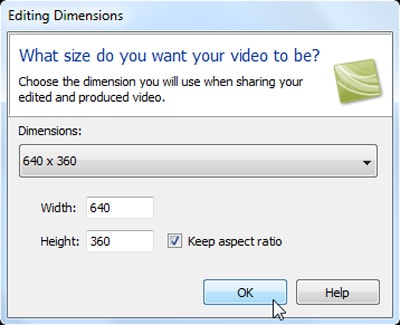
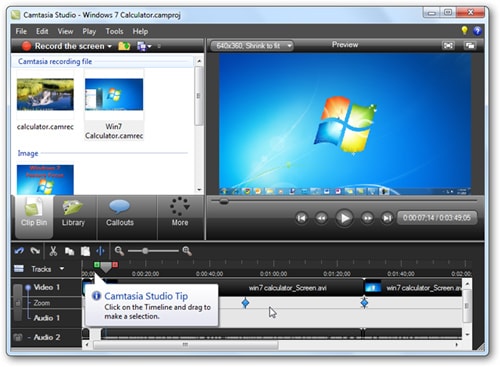
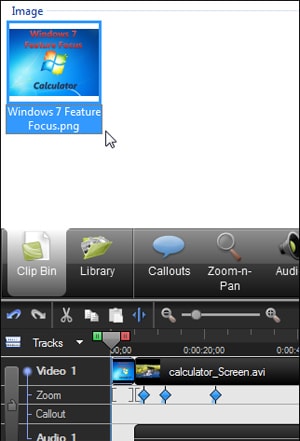
Confirm the canvas dimensions before detailed editing. Import any additional images, video, or audio into the media bin, then arrange clips on the timeline. Higher tracks appear over lower ones. Split a clip at the playhead to remove mistakes, long pauses, or repeated actions.
Use zoom and callouts with restraint
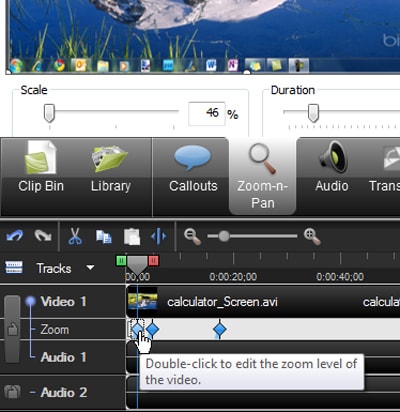
Add a zoom only when the original recording makes an important control hard to read. Keep enough context around the pointer so viewers understand where they are. Prefer one smooth zoom and a matching zoom-out over several abrupt changes.
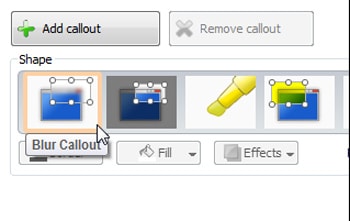
Use callouts, arrows, and highlights to identify a button or warn about a destructive step. Keep wording short, place the annotation away from the target, and leave it on screen long enough to read.
Add supporting media and effects
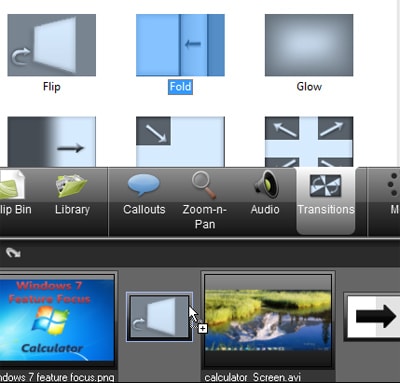
Drag an image, music track, or B-roll clip from the media bin to its own timeline track. Use only music you have permission to publish, lower it beneath narration, and add brief fades to avoid sudden starts and stops.
Clean up audio and add captions
Remove obvious noise and uneven pauses, but do not over-process the voice. Add closed captions for accessibility and correct product names, shortcuts, and punctuation after automatic transcription. TechSmith’s caption tutorial covers the current workflow.
Export the finished video
- Watch the entire project from the beginning, including the first and last seconds.
- Check that text is readable at normal playback size and that narration is not clipped.
- Select Export and choose a local file or an approved sharing destination.
- Use an MP4 preset that matches the project dimensions. Change advanced settings only when the destination has a specific requirement.
- Play the exported file outside Camtasia before deleting any source material.
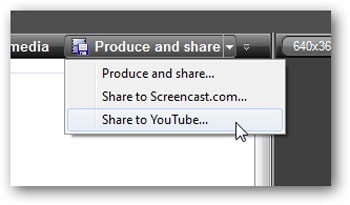
TechSmith’s export and sharing guide reflects current controls. For alternatives, compare the best screen recorders with audio and the broader guide to recording a computer screen.
Prevent blurry Camtasia exports
- Match recording, canvas, and export dimensions.
- Avoid enlarging low-resolution source footage beyond 100%.
- Use larger interface text before recording.
- Keep active project media on a fast local drive.
- Export a short test section before rendering a long project.
Related Articles
 Shortcuts in Camtasia Studio6 minutes read
 How to Adjust Video Audio on Camtasia Studio10 minutes read
 How to Pair 2 Videos into 1 Using Camtasia Studio9 minutes read
 How to Add Drawings to Videos on Camtasia Studio6 minutes read
 Install Camtasia Studio 9, 8 to Record Computer Screen Video: Step-by-Step Guide6 minutes read
 Create GIF Animations from Videos Using Camtasia Studio3 minutes read
Reader Comments 0
Sign in with email or Google to join the discussion.