How to use Quick Parts to quickly insert a Word text block
Quick Parts on Word is a feature that allows to quickly create and insert a block of text into a document, without the user having to repeat it..
For text editing in Word, there are many user support tools such as Quick Parts feature.
During the content input process, sometimes you often have to repeatedly insert a piece of text, or tables. If we insert that content manually, it will take a lot of time, especially for documents with long content and to insert the text block multiple times. So Quick Parts feature will help you save a lot more operations. How to create and insert text blocks with Quick Parts on Word will be guided in the following article of Network Administrator.
1. How to create Quick Parts on Word:
Step 1:
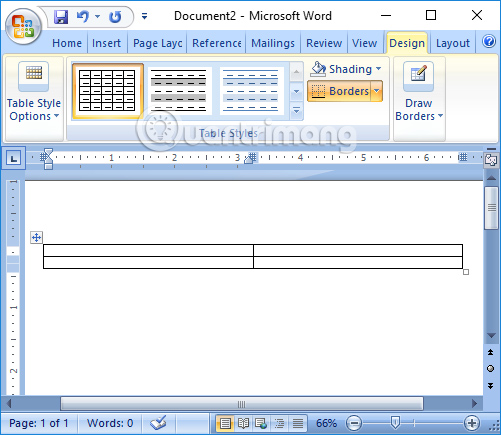
To create Quick Parts on Word, we need to insert the object that we want to convert to Quick Parts into content. In the example below, I will move the 2 x 2 tables into Quick Parts, so I will insert that table into the document content.
Step 2:
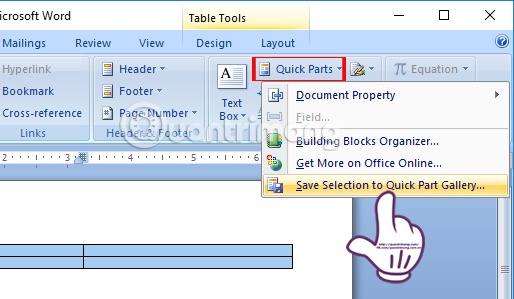
Once you have created the content, the user will highlight and click on the Insert tab on the Ribbon. Then click on the Quick Parts button and then select Save Selection to Quick Parts Gallery or press Alt + F3 shortcut key combination.
Step 3:
Next came the Create New Building Block interface . In the Name section, the user will name that Quick Parts. Finally click OK to save the Quick Parts.
In case you want to create multiple Quick Parts on Word, we will create separate categories and arrange Quick Parts into the respective categories created to categorize them in Category.

Quick Parts on Word support users to create any content. You can create the table as above, or fill in the table and then create Quick Parts. The implementation is similar.
2. How to insert Quick Parts into Word:
Once you have created the Quick Parts and saved them in the library, you will proceed to insert the content into the document.
Step 1:
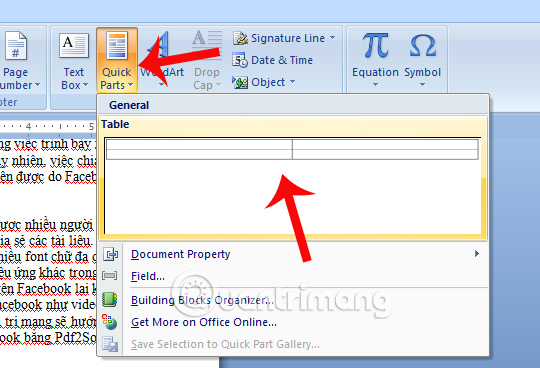
When you click the Quick Parts button from the Insert tab, a drop-down menu will appear with a preview image of each previously created Quick Parts.
Step 2:
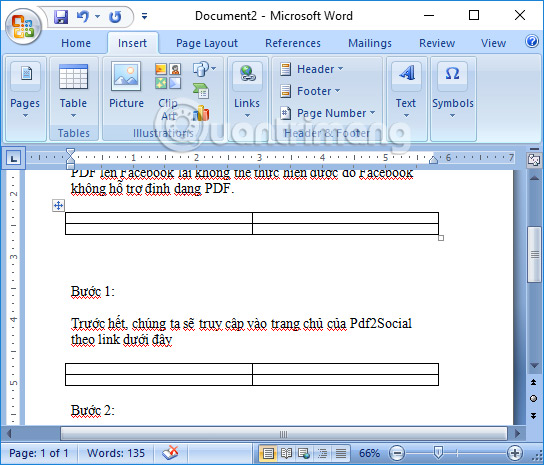
Purple to the location of the document content to insert text block, then click the object to insert the content in the Quick Parts list is okay. We continue to do the same to insert other text blocks in the document.
3. How to delete Quick Parts on Word:
In case users no longer use Quick Parts created, they should be deleted to clean up the Quick Parts list.
Step 1:
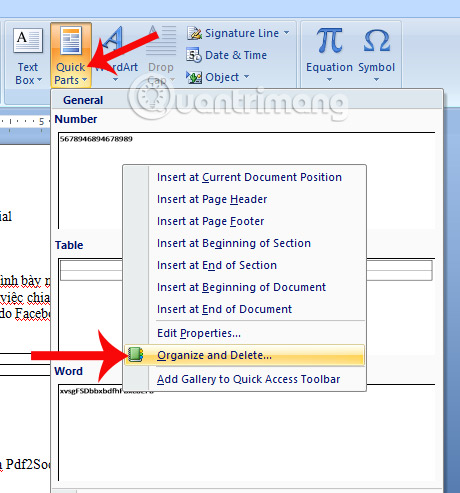
Users also click on the Insert tab and then click on Quick Parts . Right-click on the text block object you want to delete. Then click on the option to Organize and Delete in the list.
Step 2:
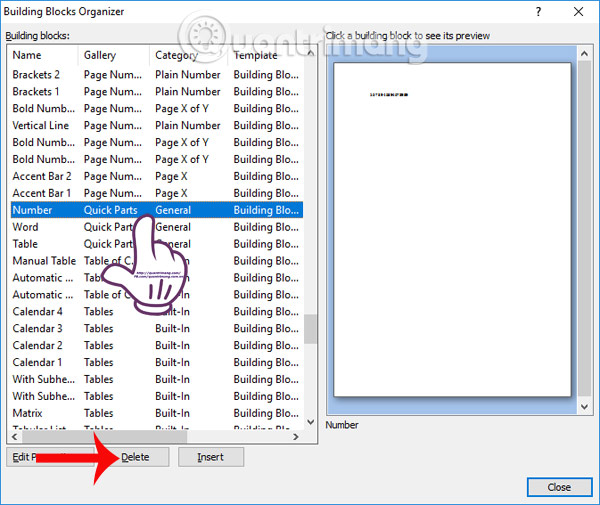
The appearance of the Building Blocks Organizer dialog box appears. Here we will see a list of Quick Parts. Click on the Quick Parts you want to delete and click Delete below to delete the list.
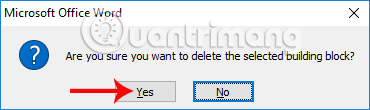
When the following dialog box appears, click Yes to be sure to remove the selected Quick Parts from the list.
With Quick Parts feature available on Word, people will save time editing content much more, when not repeating the process of inserting text blocks into the document. Managing and deleting created Quick Parts is also easy to follow the article above.
I wish you all success!