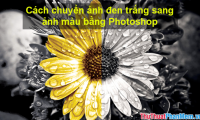
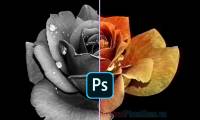
How to use Photoshop CS5 - Part 11: Change colors from black and white photos
Have you ever wanted to color black and white photos to bring out an old, classic or old look? Try comparing the actual photos and embarking on the process with the basic functions of Photoshop.
Have you ever wanted to color black and white photos to bring out an old, classic or old look? Try comparing the actual photos and embarking on the process with the basic functions of Photoshop.
Start with gray photo:
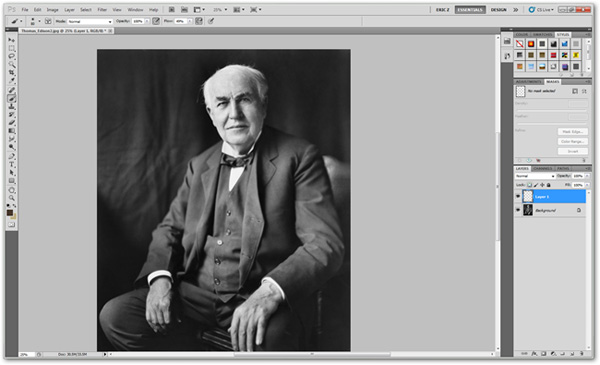
First, we need to make a clear distinction between black and white photos that are not really gray - Grayscale. As in this test, after opening the image, check the color mode:
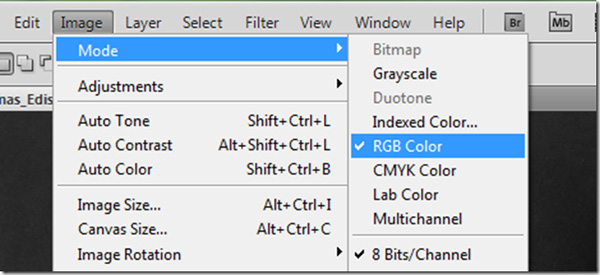
Select Image> Mode> RGB to switch to RGB item. If it is a Grayscale image or a different color mode, Photoshop will automatically switch.
Use Blending mode to fill colors:
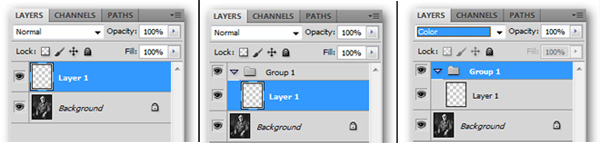
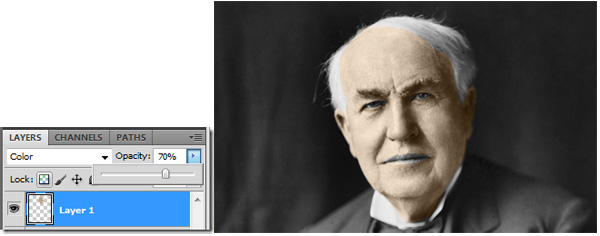
This can be considered the simplest way, instead of having to create multiple layers - Layer with different individual tones, we only need to create a single layer and a group of Blending modes. The order of steps is as follows:
- Press Ctrl + Shift + N to create New Layer.
- Select New Layer , press Ctrl + Shift + G to merge the new Layer.
- Select this new Layer group and change the Blending Mode to Color (as shown above).
Other ways to fill colors without Painting:
At this step, we can change the color in any layer if we want, but how? Let's start with the most basic way, using the Lasso Tool or Pen Tool:
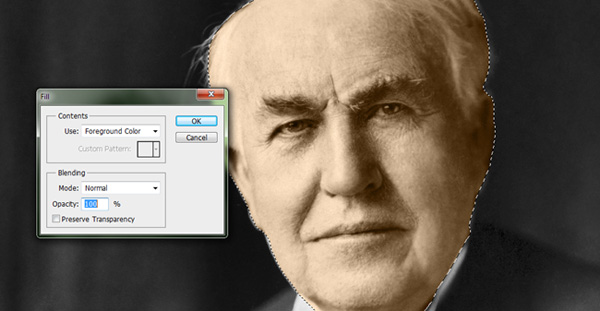
Both of these tools produce similar results in this case, you need to select the manipulation area carefully and uninterrupted, then fill in the necessary color via Bucket Fill or choose Edit> Fill. Maybe the results are not really satisfactory and perfect, but this is the fastest way. Please continue to refer to the section below to do the Photoshop Brush tool.
Use the Brush Tool:
We will return to the step of creating the Layer group and change the Blending Mode to 'Color' . Select the white layer and select the Brush Tool :
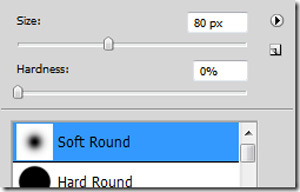
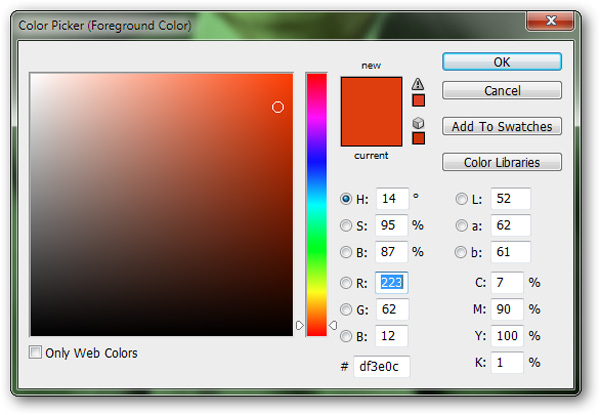
Press B to select the Brush Tool , then right-click and photo and select Soft Round as shown above. Next, click on the Foreground Color section on the Toolbar to display the Color Picker :
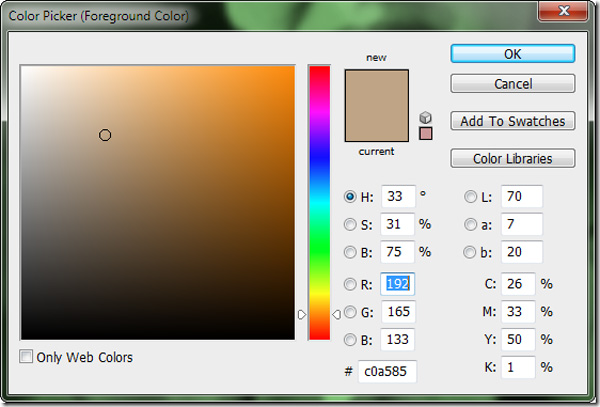
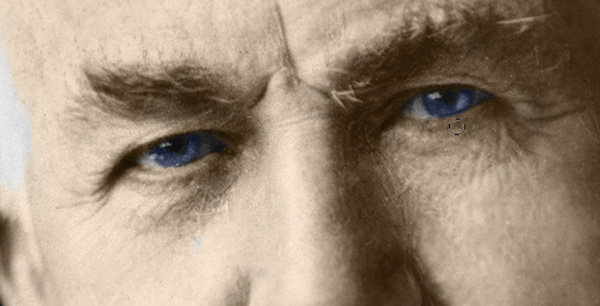
Remember that you need to choose natural colors, to match the main details in the photo. For example, here is the color of the skin:
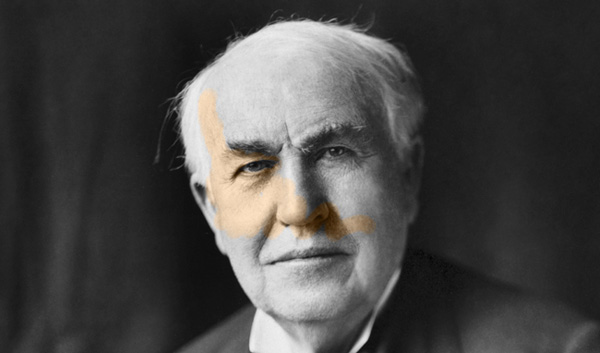
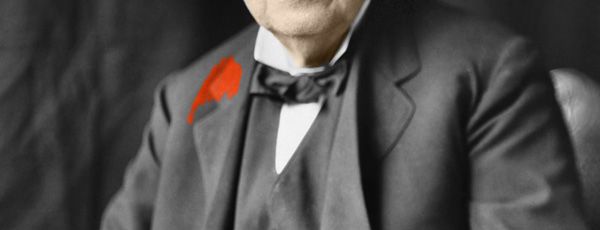
Then, paint on the appropriate parts, remove the extra parts with the Erazer tool:
Adjust the Opacity parameter to bring out a more natural look:
Create a new layer ( Ctrl + Shift + N ) if you want to add another color:
Note that you should harmonize the fill and adjust other parameters like Opacity.
Improved color via Hue / Saturation feature:
Continuing below, we will find the appropriate color to paint on the outer garment. The steps are quite sequential and simple, just be creative and focus a bit. First, choose a color tone that fits properly:
And paint on any part of the dress to sample:
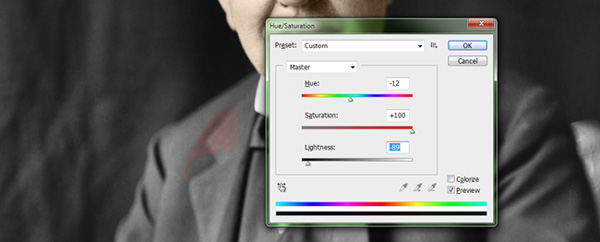
Then press Ctrl + U to display the Hue / Saturation control panel:
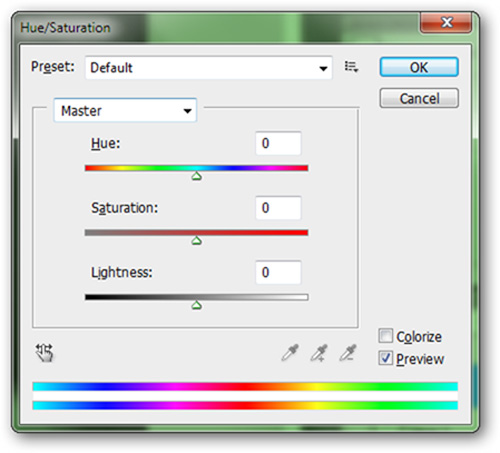
Adjust the Hue, Saturation, and Lightness parameters to match the details in the picture. For example, here you can see that the red color has turned red brown:
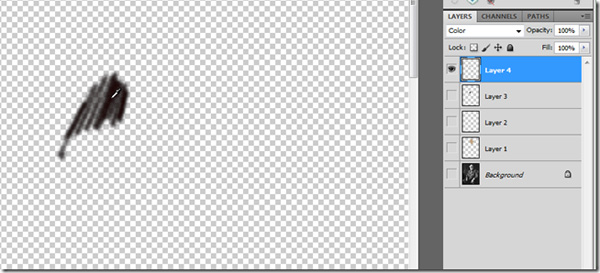
Then press Alt and the icon
 in the Layer panel, to hide all the remaining layers. Press the I button to select the Eyedropper tool, and click on the color area you just made to turn it into a background color:
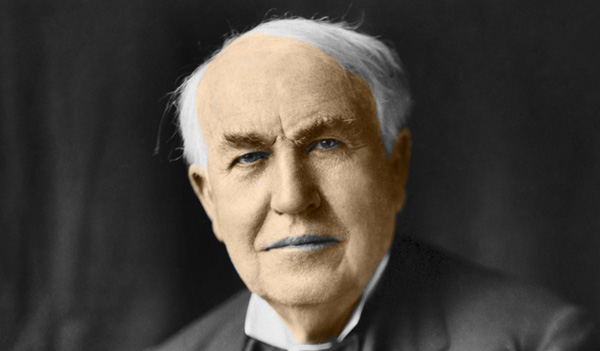
Do the same with different details in the frame. And after a few steps as above, you will get the following result:
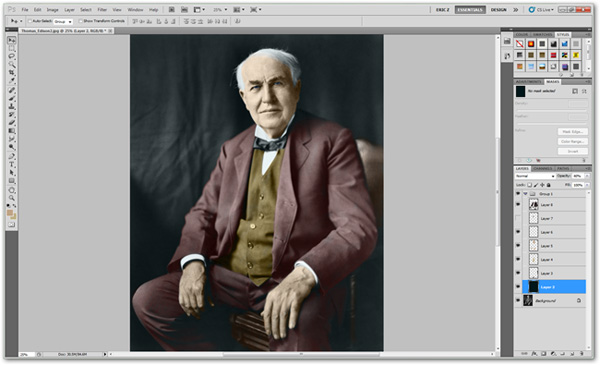
Of course, to be able to achieve the results as shown above, you will have to spend a lot of time and effort, as well as meticulousness to every detail. This process can be very difficult and complicated, but when you have mastered the tools and skills needed in Photoshop, we believe that you will become professional designers in the future. Wish you success and a new year full of health, happiness, luck in life and career!
Next lesson: How to use Photoshop CS5 - Part 12: Create Light and Glow effects
Previous lesson: How to use Photoshop CS5 - Part 10: Use Layer Mask and Vector Mask to delete the background image
Was this article helpful?
Your feedback helps us improve.
Related Articles
 How to convert color photos to black and white Photoshop4 minutes read
 Make artistic black and white photos with PhotoScape3 minutes read
 How to convert black and white photos to color photos using Photoshop3 minutes read
 How to convert a color image to black and white using Photoshop3 minutes read
 How to create a black and white image in Word is very simple2 minutes read
 How to change colors for photos in Photoshop5 minutes read
Reader Comments 0
Sign in with email or Google to join the discussion.