Table of Contents
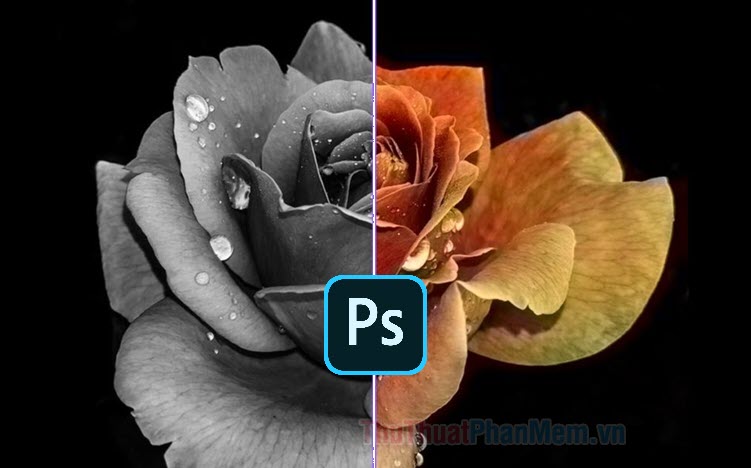
This guide explains how to convert a Color Image to Black and White Using Photoshop, with clear steps, practical tips, and important checks before you begin.
1. Use the Desaturate tool
To convert color photos to black and white photos quickly, use the Desaturate feature by visiting the menu Image (1) => Adjustments (2) => Desaturate (3) . Or you can operate faster with the keyboard shortcut Shift + Ctrl + U .

And then our photo turned to black and white quickly.

2. Use the Black & White feature
Step 1: You need to duplicate the original layer to edit again when needed. First, right-click on the Background Layer (1) => Duplicate Layer. (2) .

Next, click OK to create a new Layer copy.

Step 2: Go to Image menu (1) => Adjustments (2) => Black & White. (3) . Or you can use the keyboard shortcut Alt + Shift + Ctrl + B to quickly open this feature.

Step 3: Click OK to finish. If you have color editing skills, you can customize parameters such as Reds, Yellows, Greeens, Cyans, Blues, Magetas before clicking OK .

And finally we will have the photo turned black and white as shown below is successful.
3. Use the gray system (Grayscale)
Step 1: Click menu Image (1) => Mode (2) => Grayscale (3) .

Step 2: If the following message appears, click Flatten .

And another message pops up, click Discard .

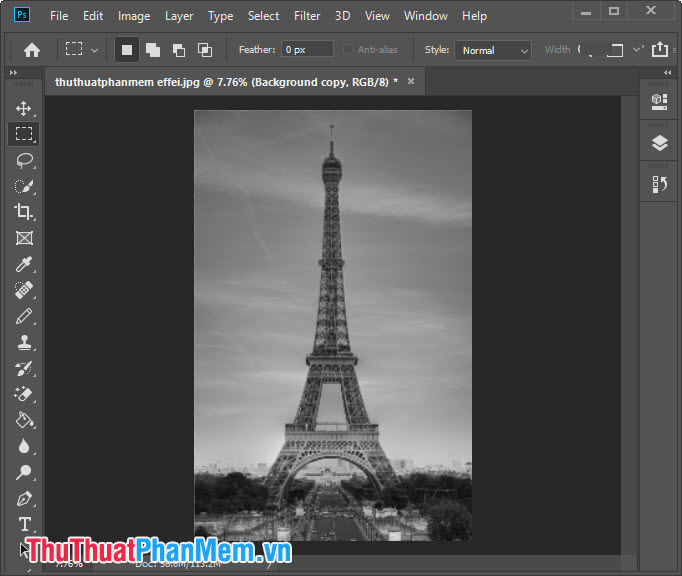
And finally we will have the image converted to black and white as shown below.

4. Use the Hue / Saturation feature
Step 1: You access the menu Image (1) => Adjustments (2) => Hue / Saturation. (3) . Or you can use the keyboard shortcut Ctrl + U to quickly open this tool.

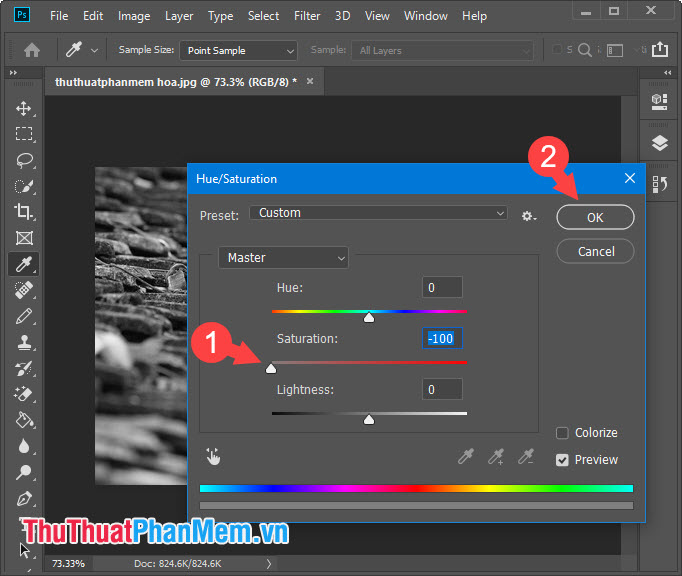
Step 2: Drag all the Saturation (1) to the left to reduce the color saturation. Next, click OK (2) to save.
After completing the above steps, your photo will turn into a black and white photo like that.

With the way to convert color images to black and white images in the article, we can choose the easiest way and suit your editing needs. Good luck!
FAQ
What should I know about Convert a Color Image to Black and White Using Photoshop?
Focus on the key features, requirements, limitations, and practical use cases explained in this guide.
How do I get the best results with Convert a Color Image to Black and White Using Photoshop?
Follow the recommended steps, use current software or information, confirm compatibility, and review settings before major changes.
Are there any risks or limitations?
Potential limitations depend on compatibility, data quality, cost, privacy, support, and how the product or method is used.
Related Articles
 How to Convert Color Photos to Black and White Photoshop4 minutes read
 How to Convert Black and White Photos to Color Photos Using Photoshop3 minutes read
 How to Use Photoshop CS5 - Part 11: Change Colors from Black and6 minutes read
 How to Create a Black and White Image in Word Is Very Simple3 minutes read
 How to Convert Black and White Photos to Color Images with4 minutes read
 The Visual Illusion That Makes the Black and White Image into3 minutes read
Reader Comments 0
Sign in with email or Google to join the discussion.